Use letterheads
Roles
These roles reflect the default DreamApply setup.
You can define custom roles based on your
institution's needs. Learn more →:
You can define custom roles based on your
institution's needs. Learn more →
Your institution may need to send various types of confirmation letters to applicants at different stages of the admission process. These can include:
- Official offer letters
- Housing confirmations
- Visa support letters
- Financial and quotation letters
To ensure all official letters are consistent and compliant with your documentation policies, you can use letterhead templates in DreamApply.
Letterhead templates standardize the letter look and feel, including branding, layout and document text. They can also contain content markers, like the applicant’s name, programme and department, that are automatically replaced with actual data when the letter is generated.
Letter generation
You can generate letters from letterhead templates when you confirm a specific offer type and send out an offer. DreamApply provides two options to create and attach letters:
- 1-click attach: Use this option if you are certain that the letter content is verified and all content markers are correctly populated with actual data. When this option is used, DreamApply generates a letter and attaches it to the offer. No review or editing is required.
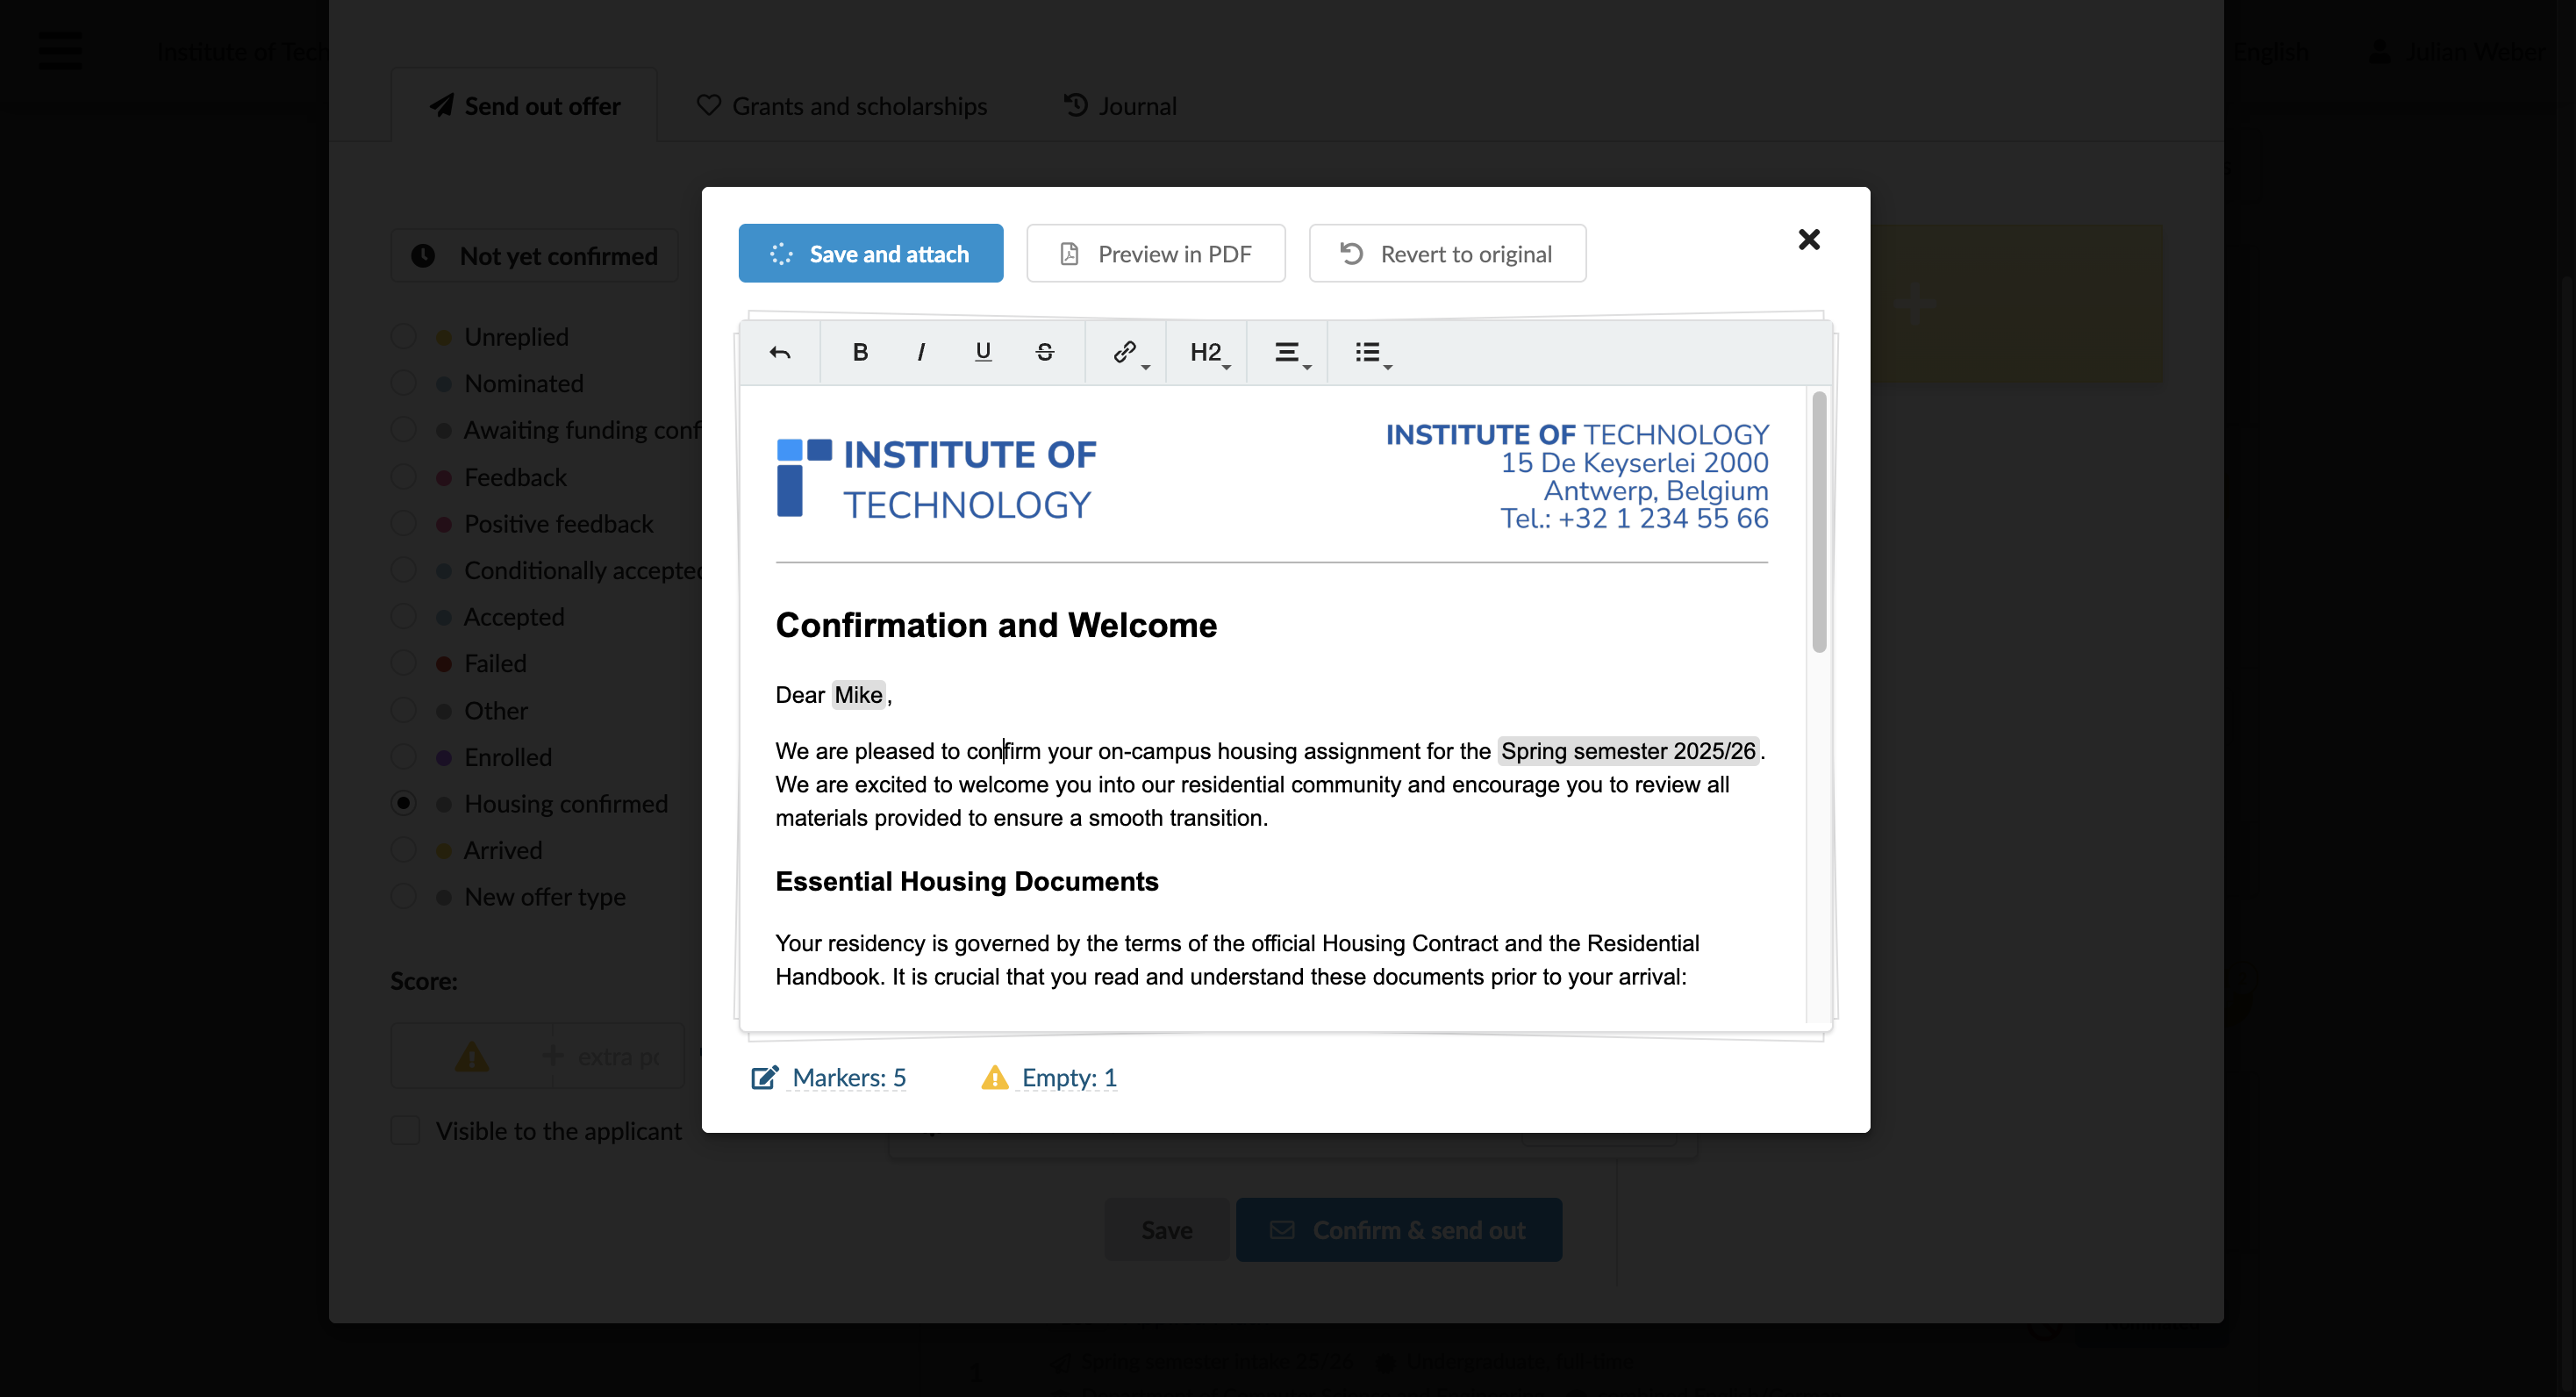
- Save and attach: Use this option if you need to review or modify a letter before attaching it. When this option is used, DreamApply generates a letter and opens it in the preview mode, allowing you to review and edit its content before attaching.
To prevent errors, DreamApply performs the following checks:
- Missing data fields: If data for some content marker is missing, DreamApply opens the letter in the preview mode and prompts you to correct the content before attaching.
- Duplicate documents: If a letter has already been generated for the same applicant and priority, DreamApply prompts you to review the existing document and attach it if appropriate.
If you save and attach a letter without correcting an empty content marker, DreamApply automatically removes the empty data field from the generated letter.
Before you begin
To set up and manage letterhead templates, your account must have the Superuser role or the letterheads permission.
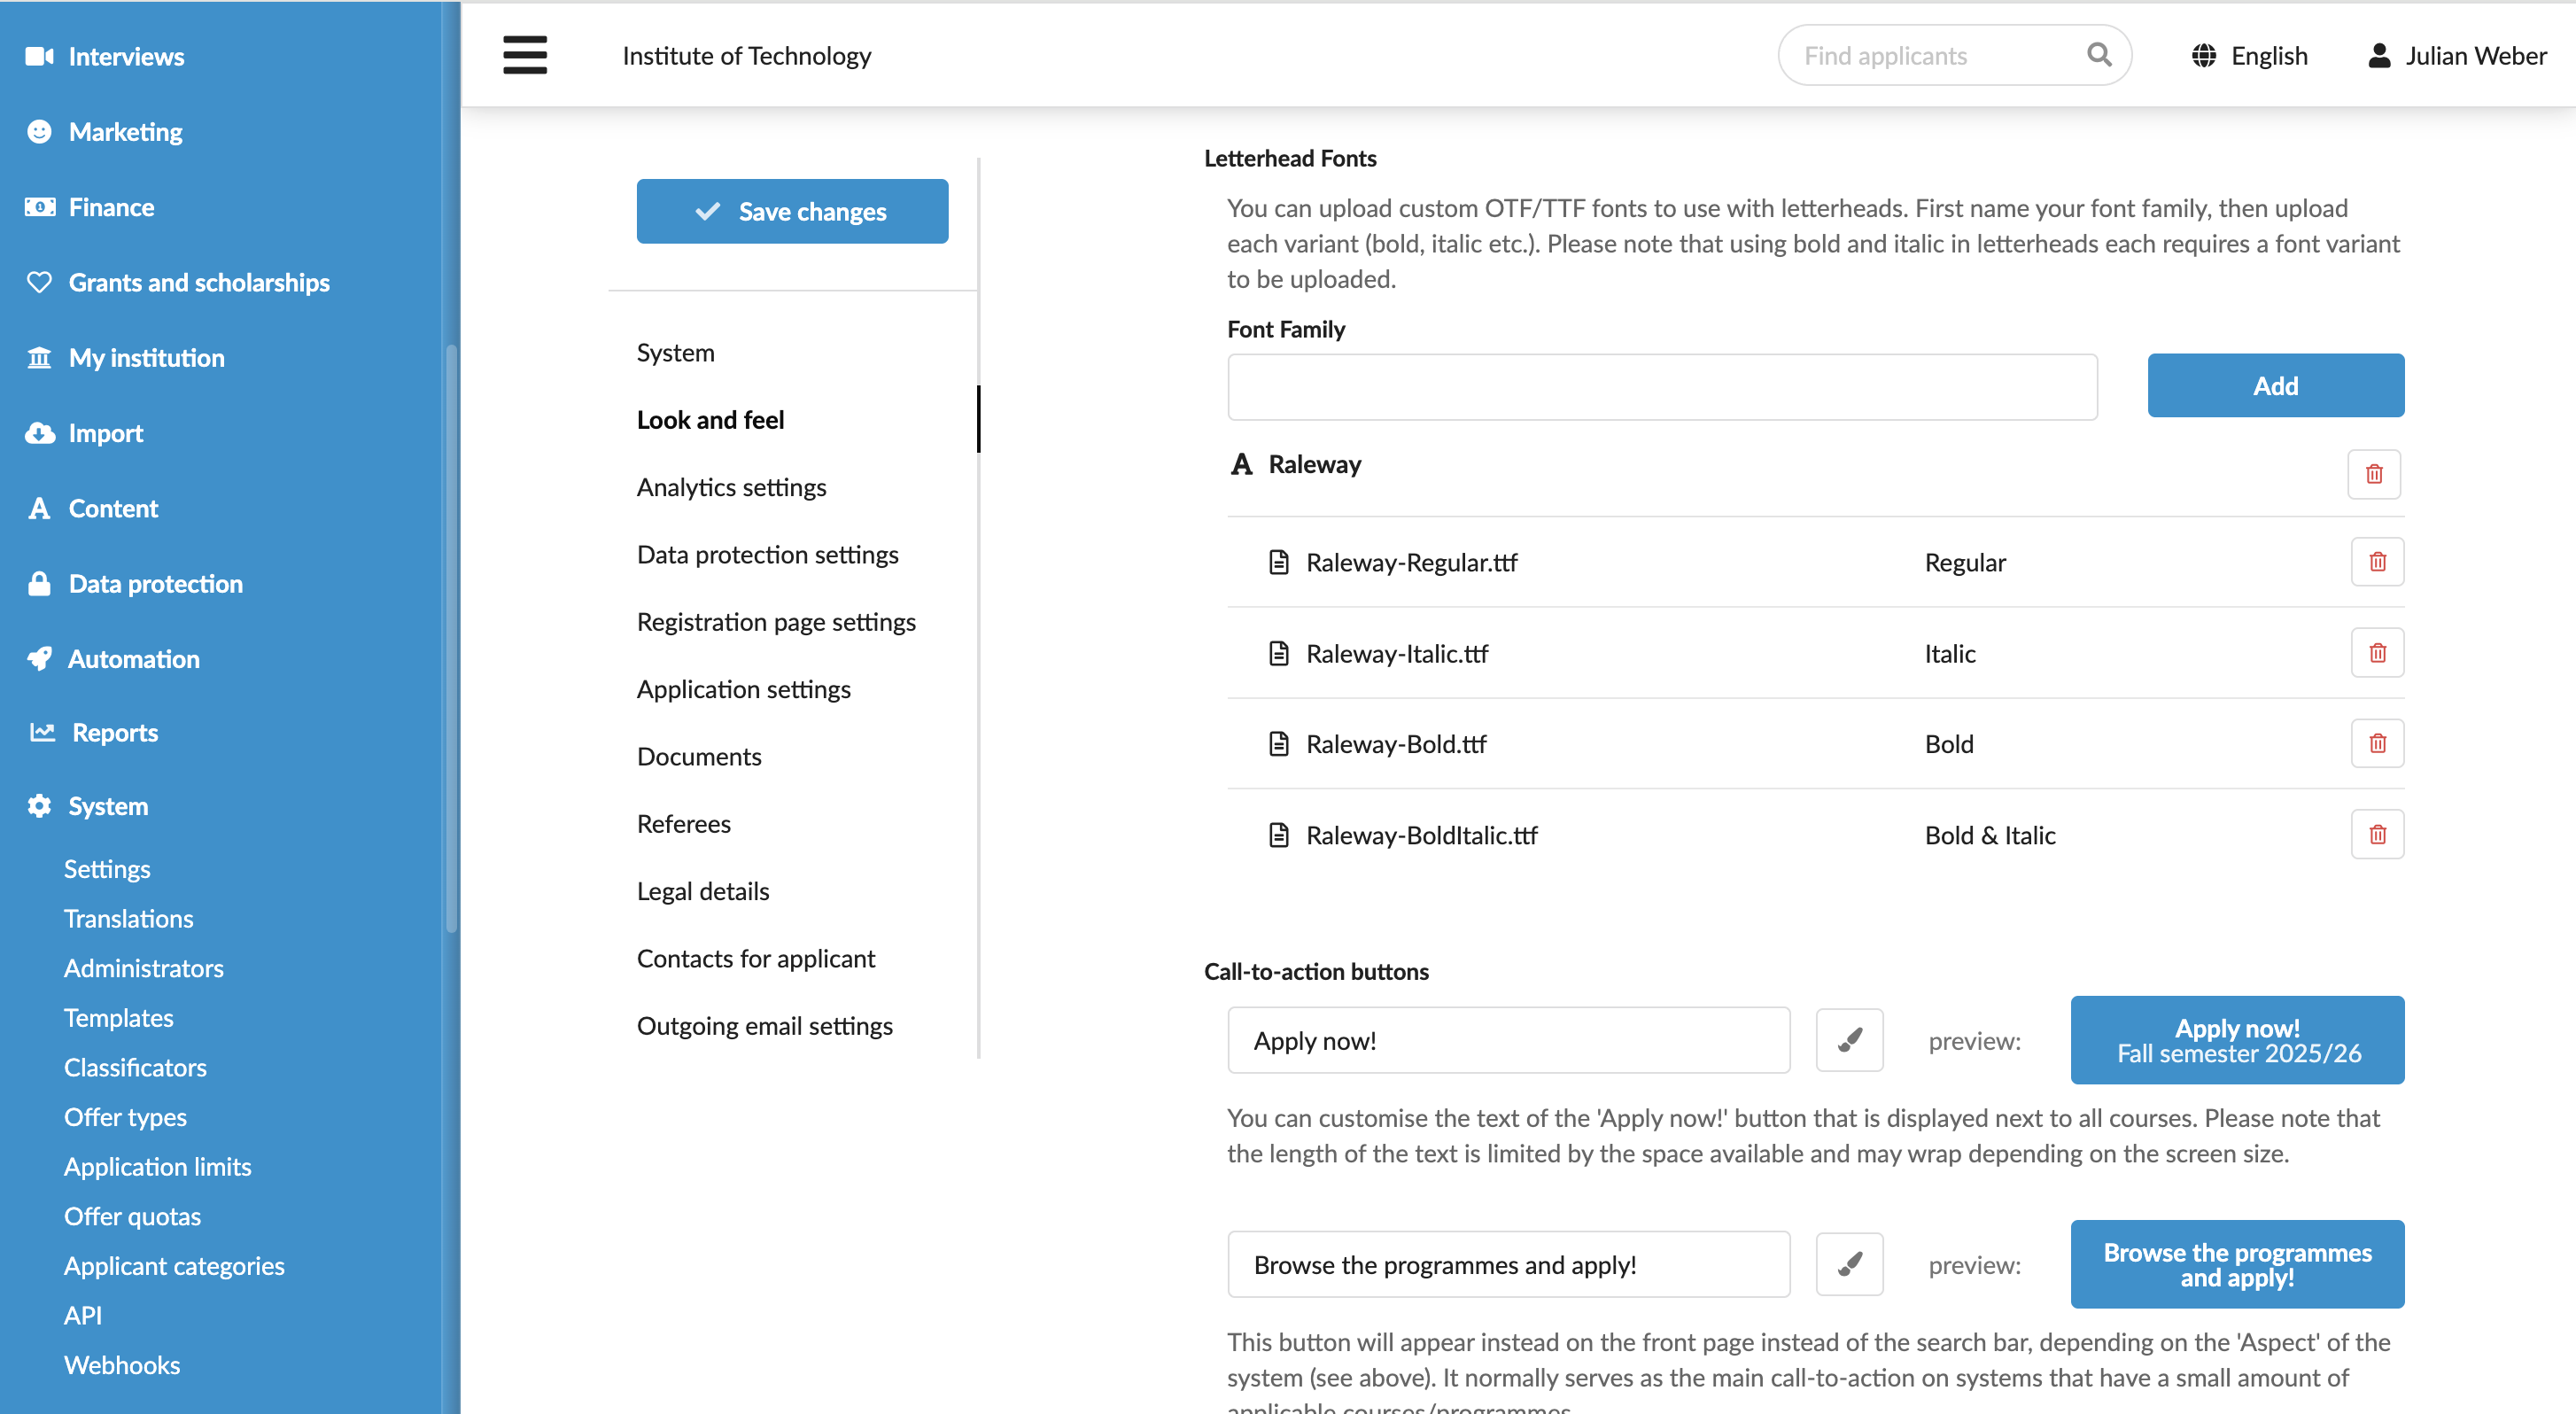
Add letterhead fonts
By default, DreamApply uses its standard font for letterhead content. You can add custom fonts in the OTF/TTF format if needed.
To add a custom font:
- In the main menu, under System, select Settings.
- In the Look and feel, select Letterhead Fonts.
- Specify the font name and upload the following font variants: Regular, Italic, Bold and Bold & Italic.
- At the top of the form, click Save changes.
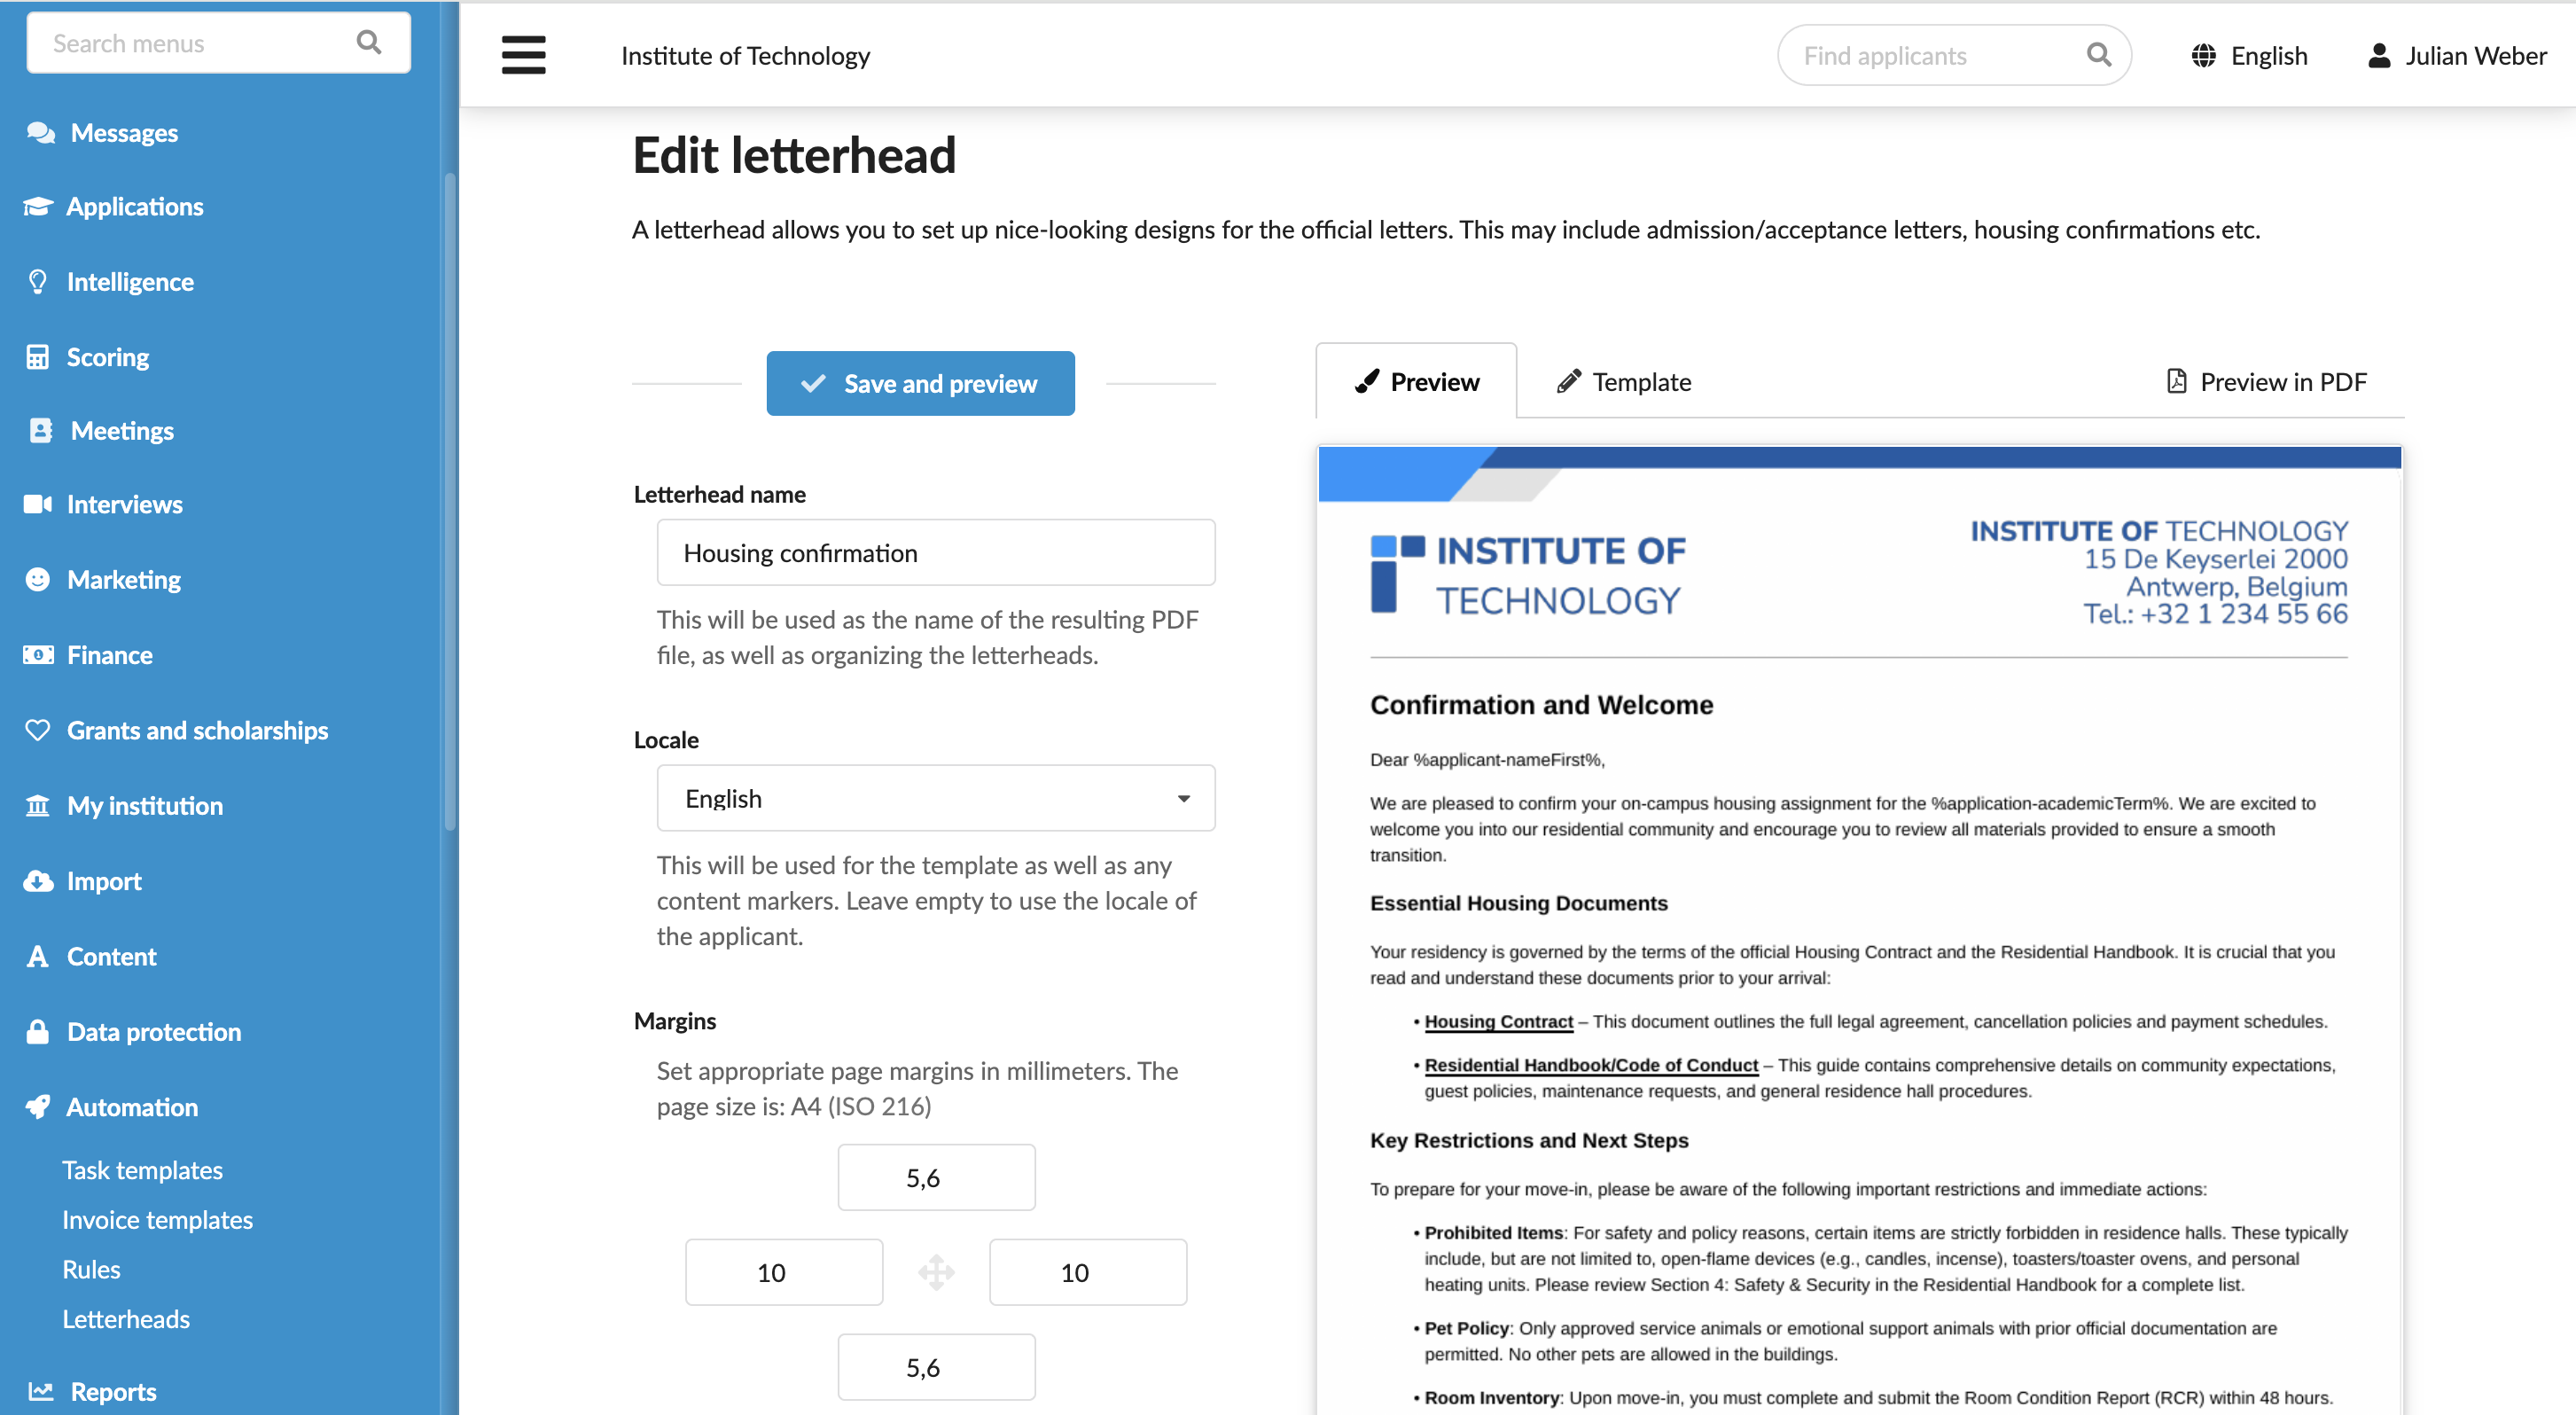
Create a letterhead template
You can create multiple letterhead templates for different stages of the admission process.
To add a letterhead template:
In the main menu, under Automation, select Letterheads.
Click New letterhead.
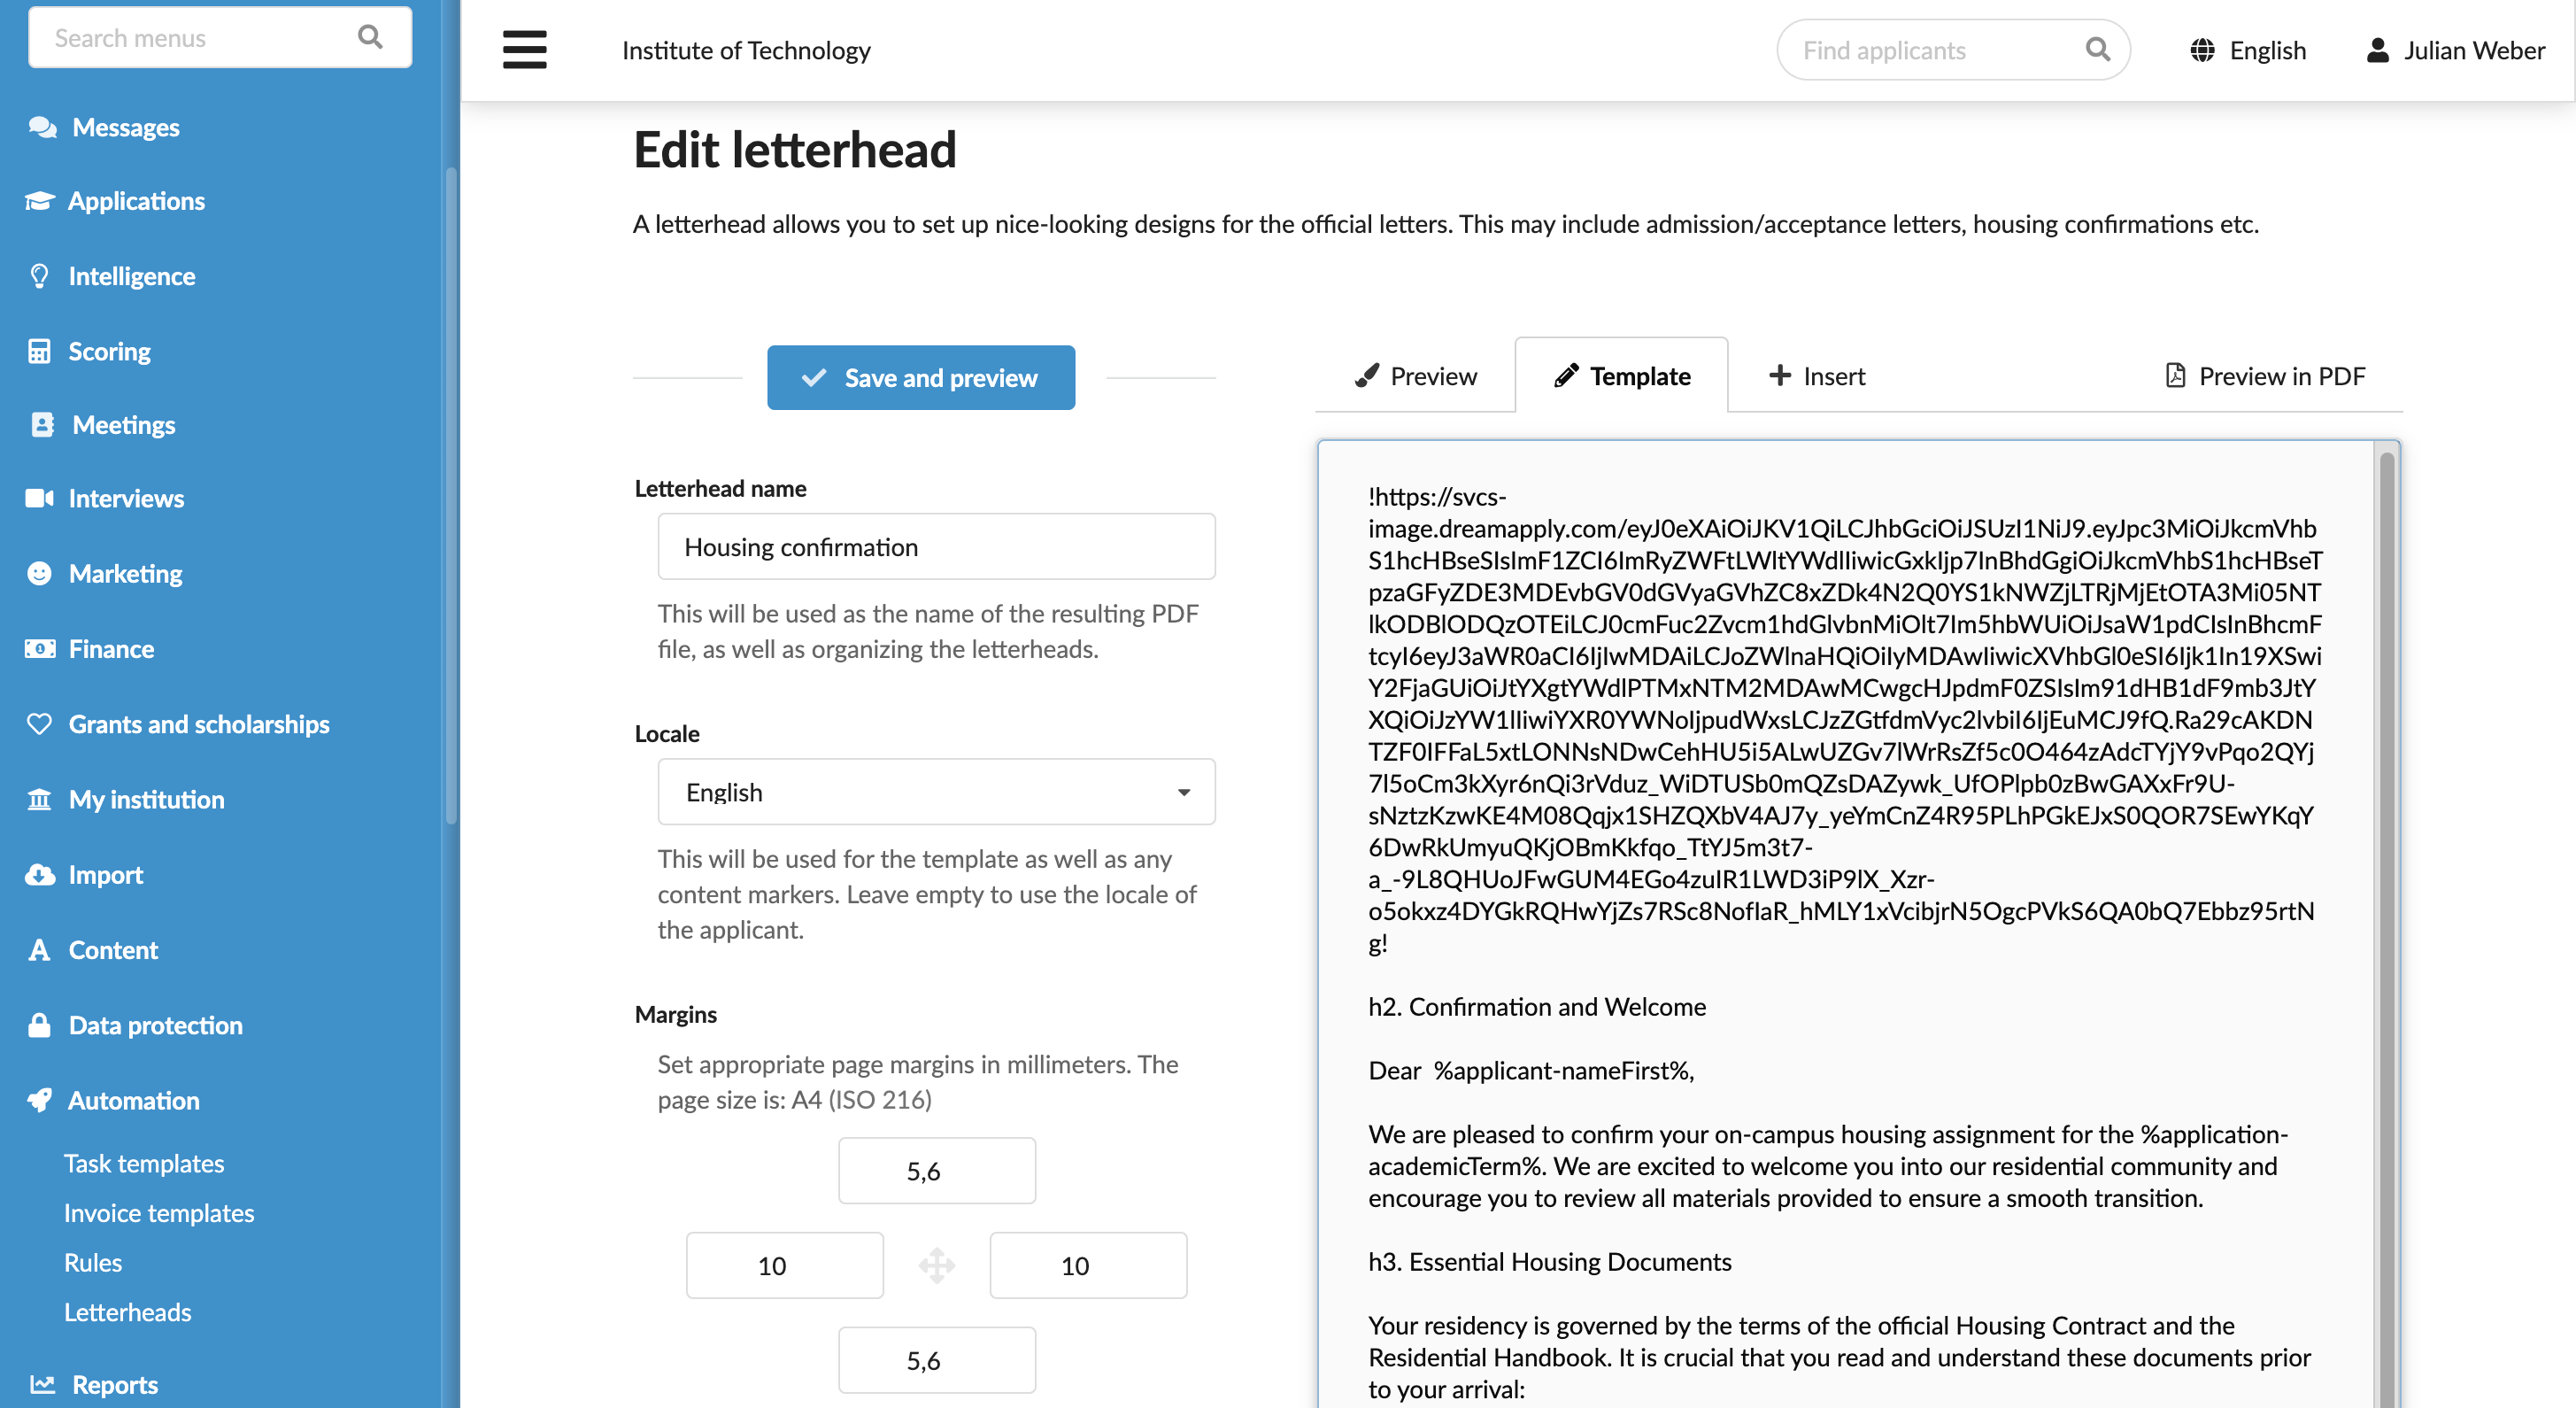
On the right side of the form, use the Template and Insert tabs to combine the letterhead content:
- Use the Textile markup to structure and format the text
- Insert images, rules, page breaks and content markers to personalize the letter content
On the left side of the form, define the layout and branding settings.
Upload the background image first to understand the available layout space, especially if it includes borders or other design elements. Then, set fonts, table styles, the header and footer and adjust margins to align with the background.
If necessary, add a verification badge —
%dream-badge%— that applicants can scan to confirm the document’s authenticity.At the top of the form, click Save and preview.
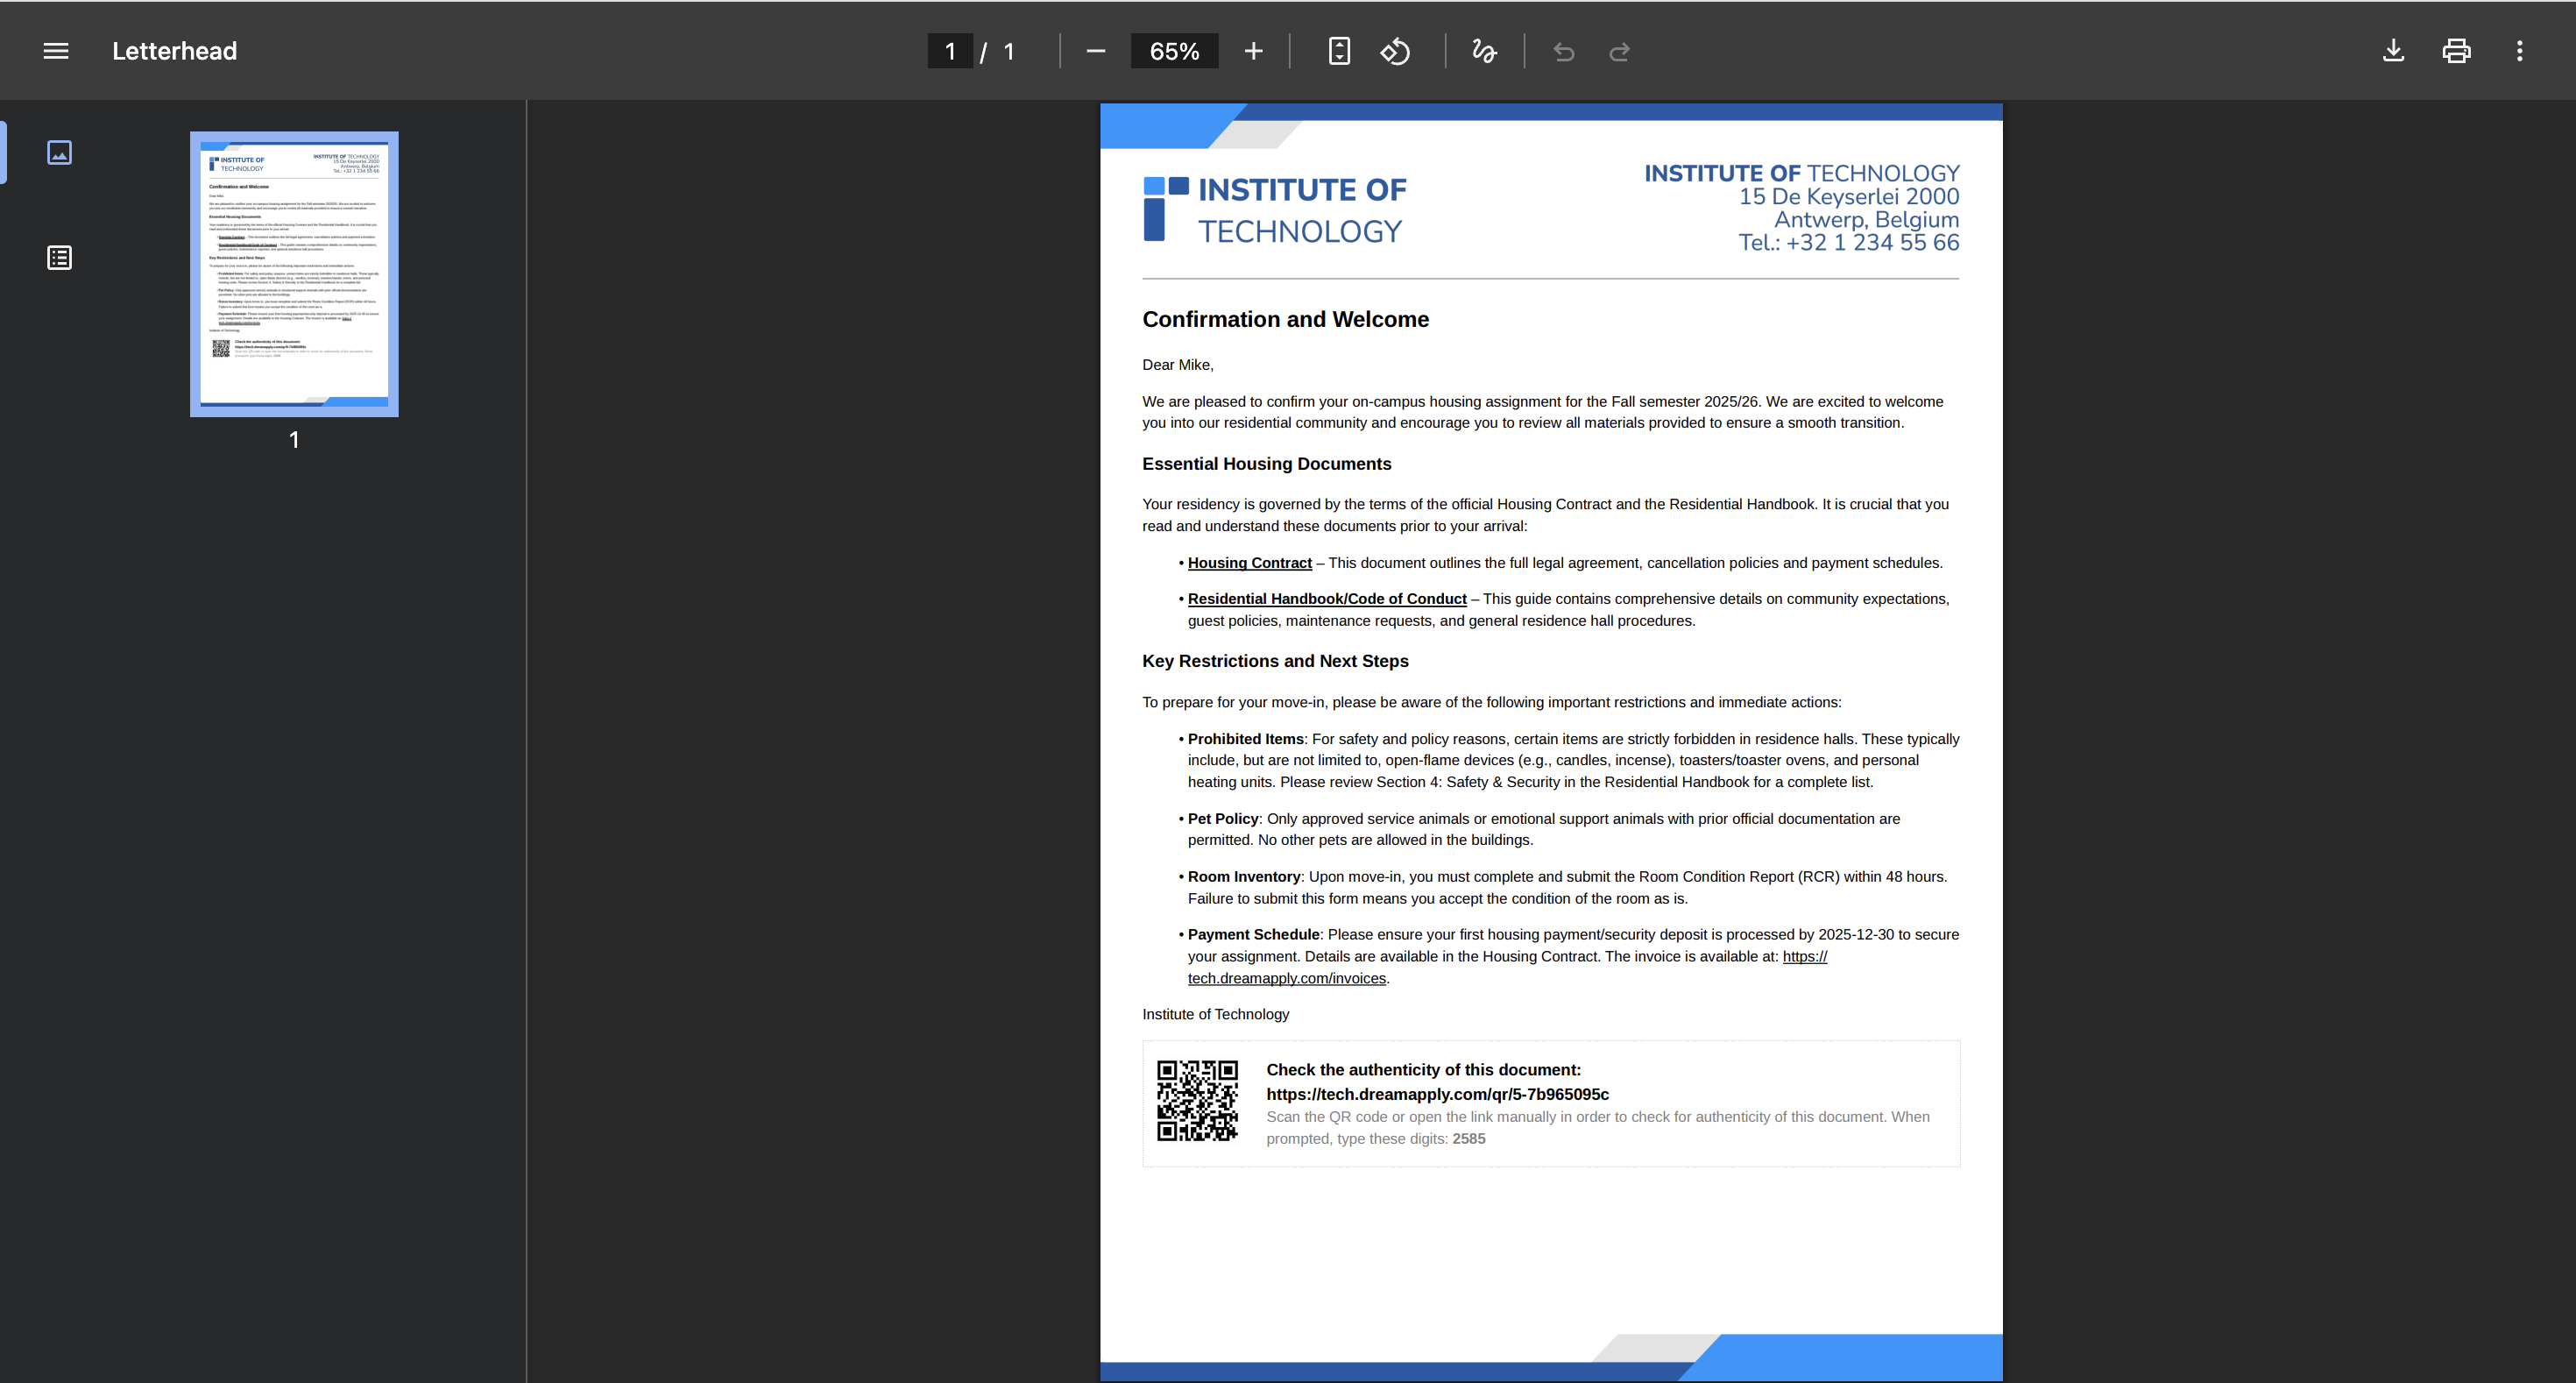
Embed the DreamApply badge
DreamApply provides a built-in document verification badge that you can embed into your letterhead templates. This badge allows recipients to confirm that a document is authentic and was officially issued by your institution.
To include the badge, add the following content marker to your letterhead template:
$dream-badge%
You can place this marker anywhere in the template. Common placements include:
- Header
- Footer
- Next to any signatures (if available)
When DreamApply generates a document, it replaces the content marker with a unique, scannable verification badge and a URL. A recipient can then scan the badge or open the URL and enter the provided code to confirm the authenticity of the document.
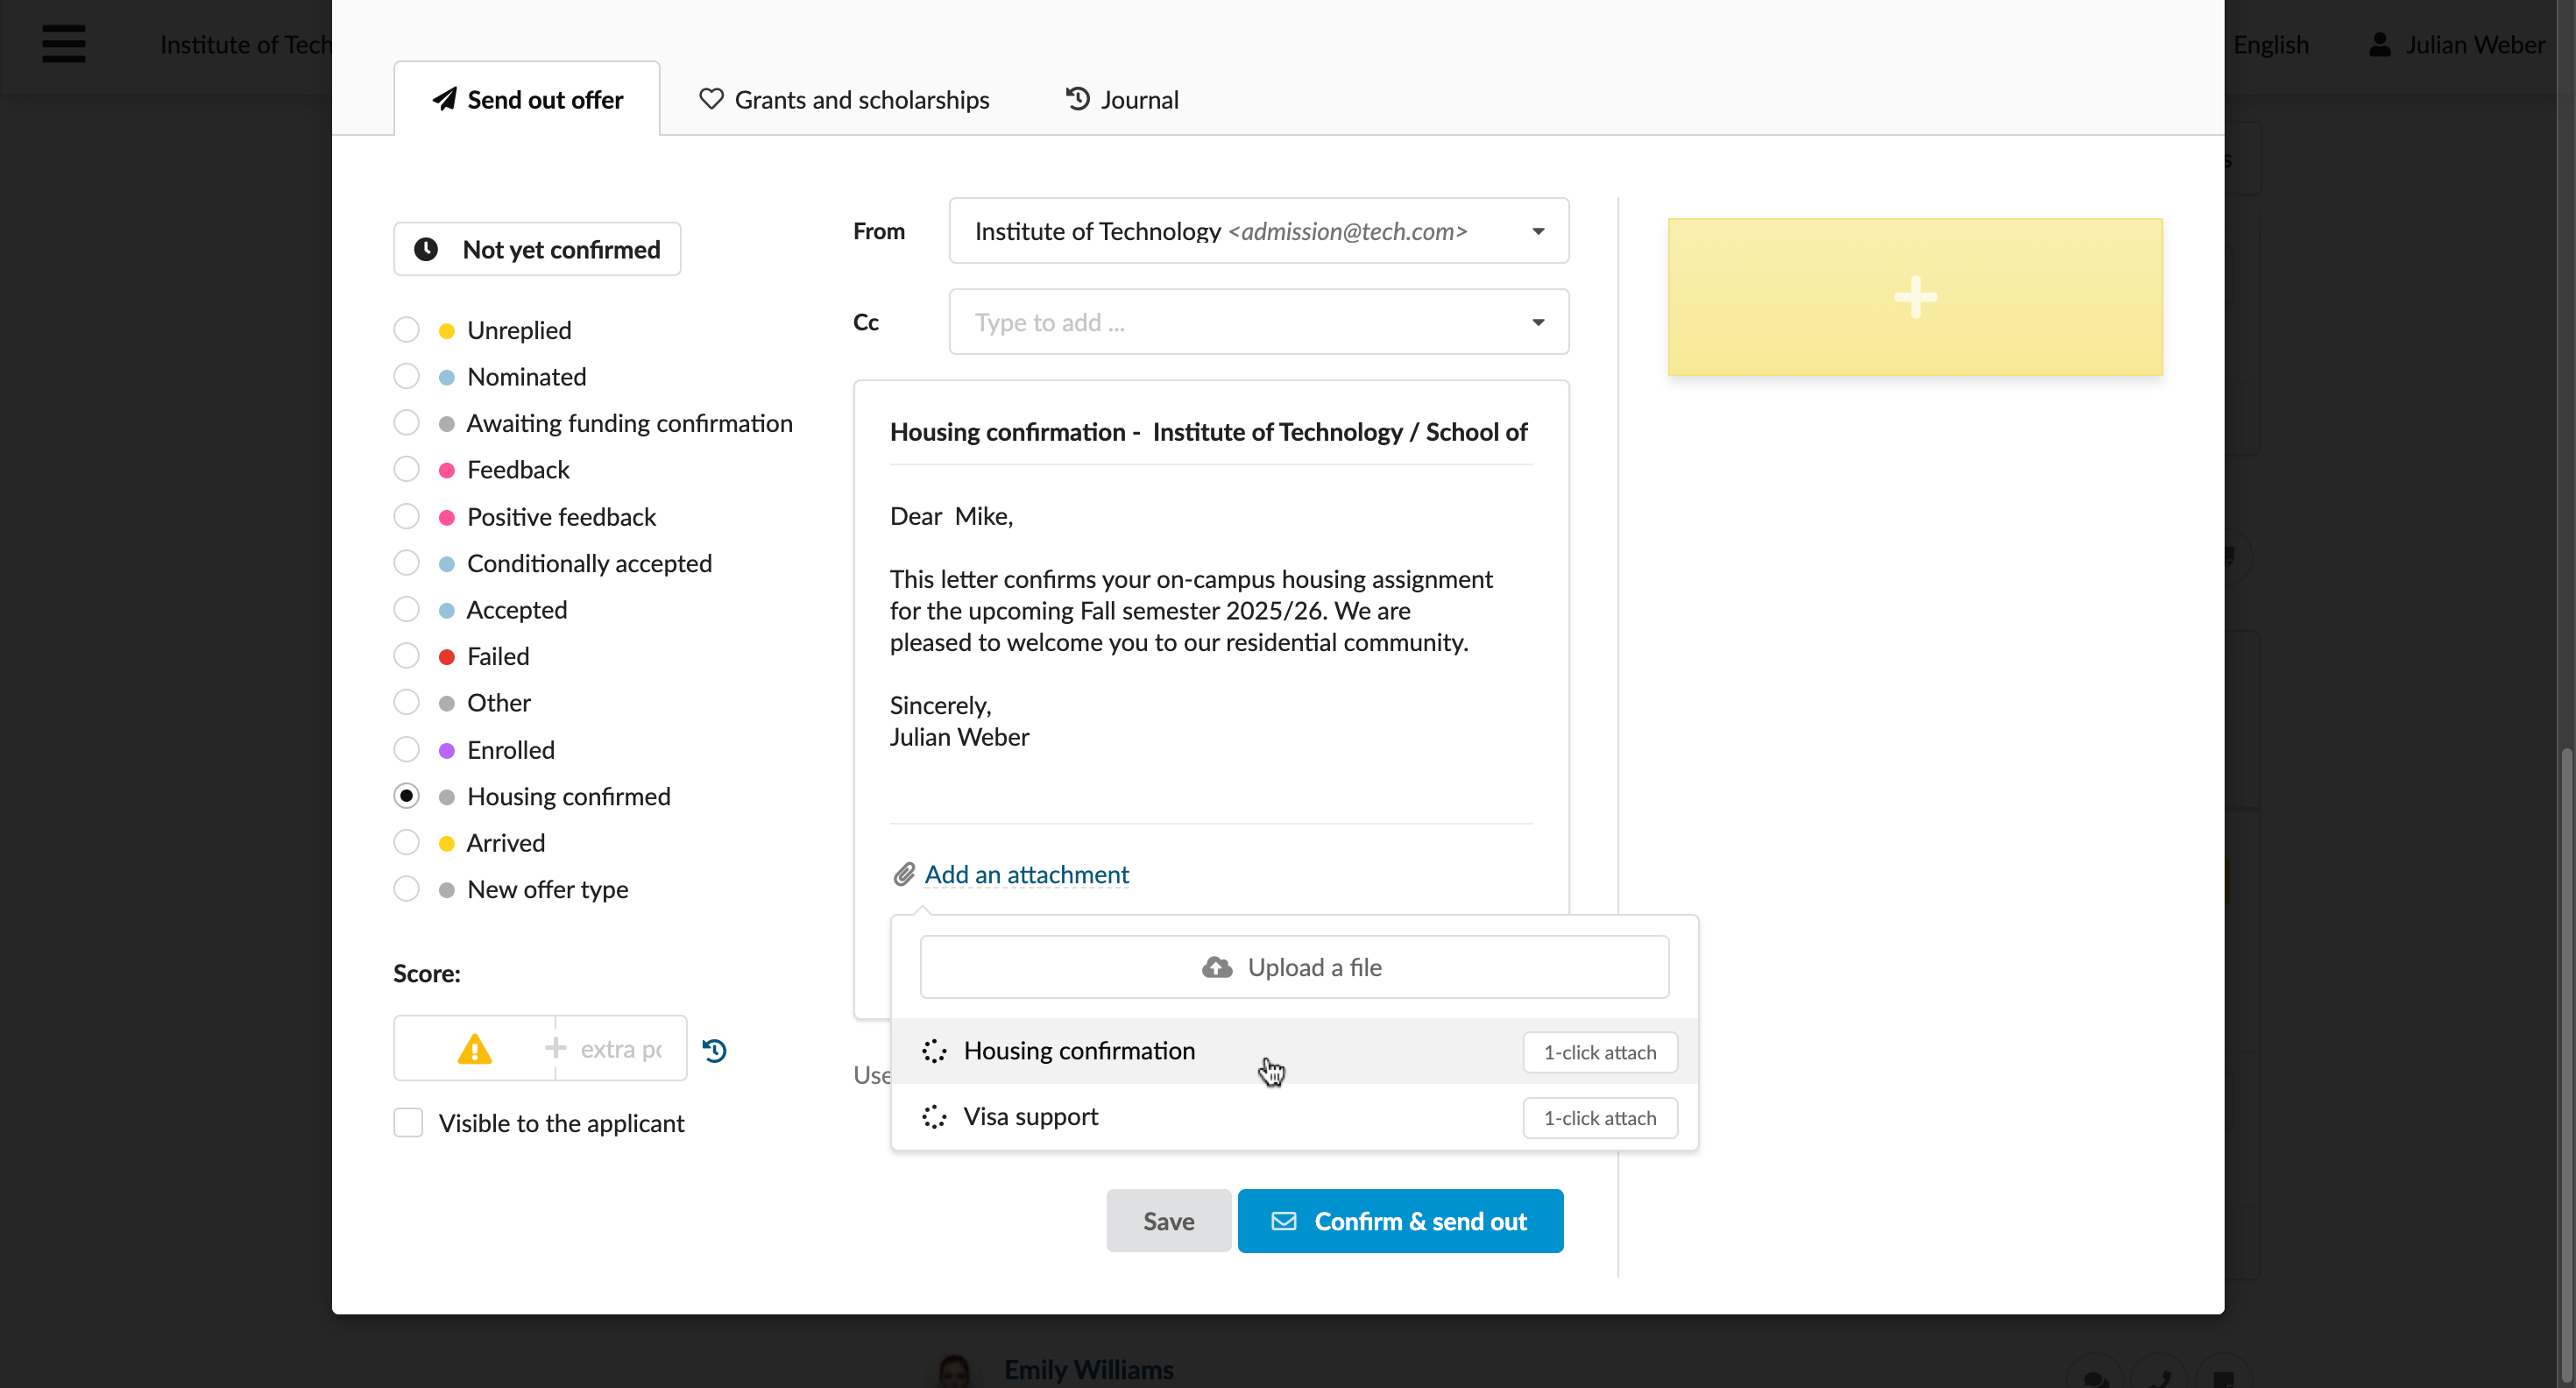
Send a letter
You can create and attach a letter to an offer before sending it out to an applicant.
In the main menu, under Applications, select Browse.
Click the offer button on the application card.
On the Send out offer tab, select the offer type.
Click Add an attachment and choose one of the two options:
- To instantly generate and attach a letter, click 1-click attach
- To preview a generated letter and edit it, click the template name
If opened in the preview mode, review and update the letter content and click Save and attach.
To send out an offer with the generated letter, click Confirm and send out.