Customize email templates
Roles
These roles reflect the default DreamApply setup.
You can define custom roles based on your
institution's needs. Learn more →:
You can define custom roles based on your
institution's needs. Learn more →
You can tailor the design, branding and content of transactional emails to match your institution identity and deliver the right message.
Customization options depend on the type of transactional emails. For authentication-related emails and emails sent to other parties, customization options are limited to email branding.
Before you begin
To customize email settings, your account must have the Superuser role or the following permissions:
- instance permission to customize email branding
- templates permission to customize email content
- task-classes permission to customize task templates
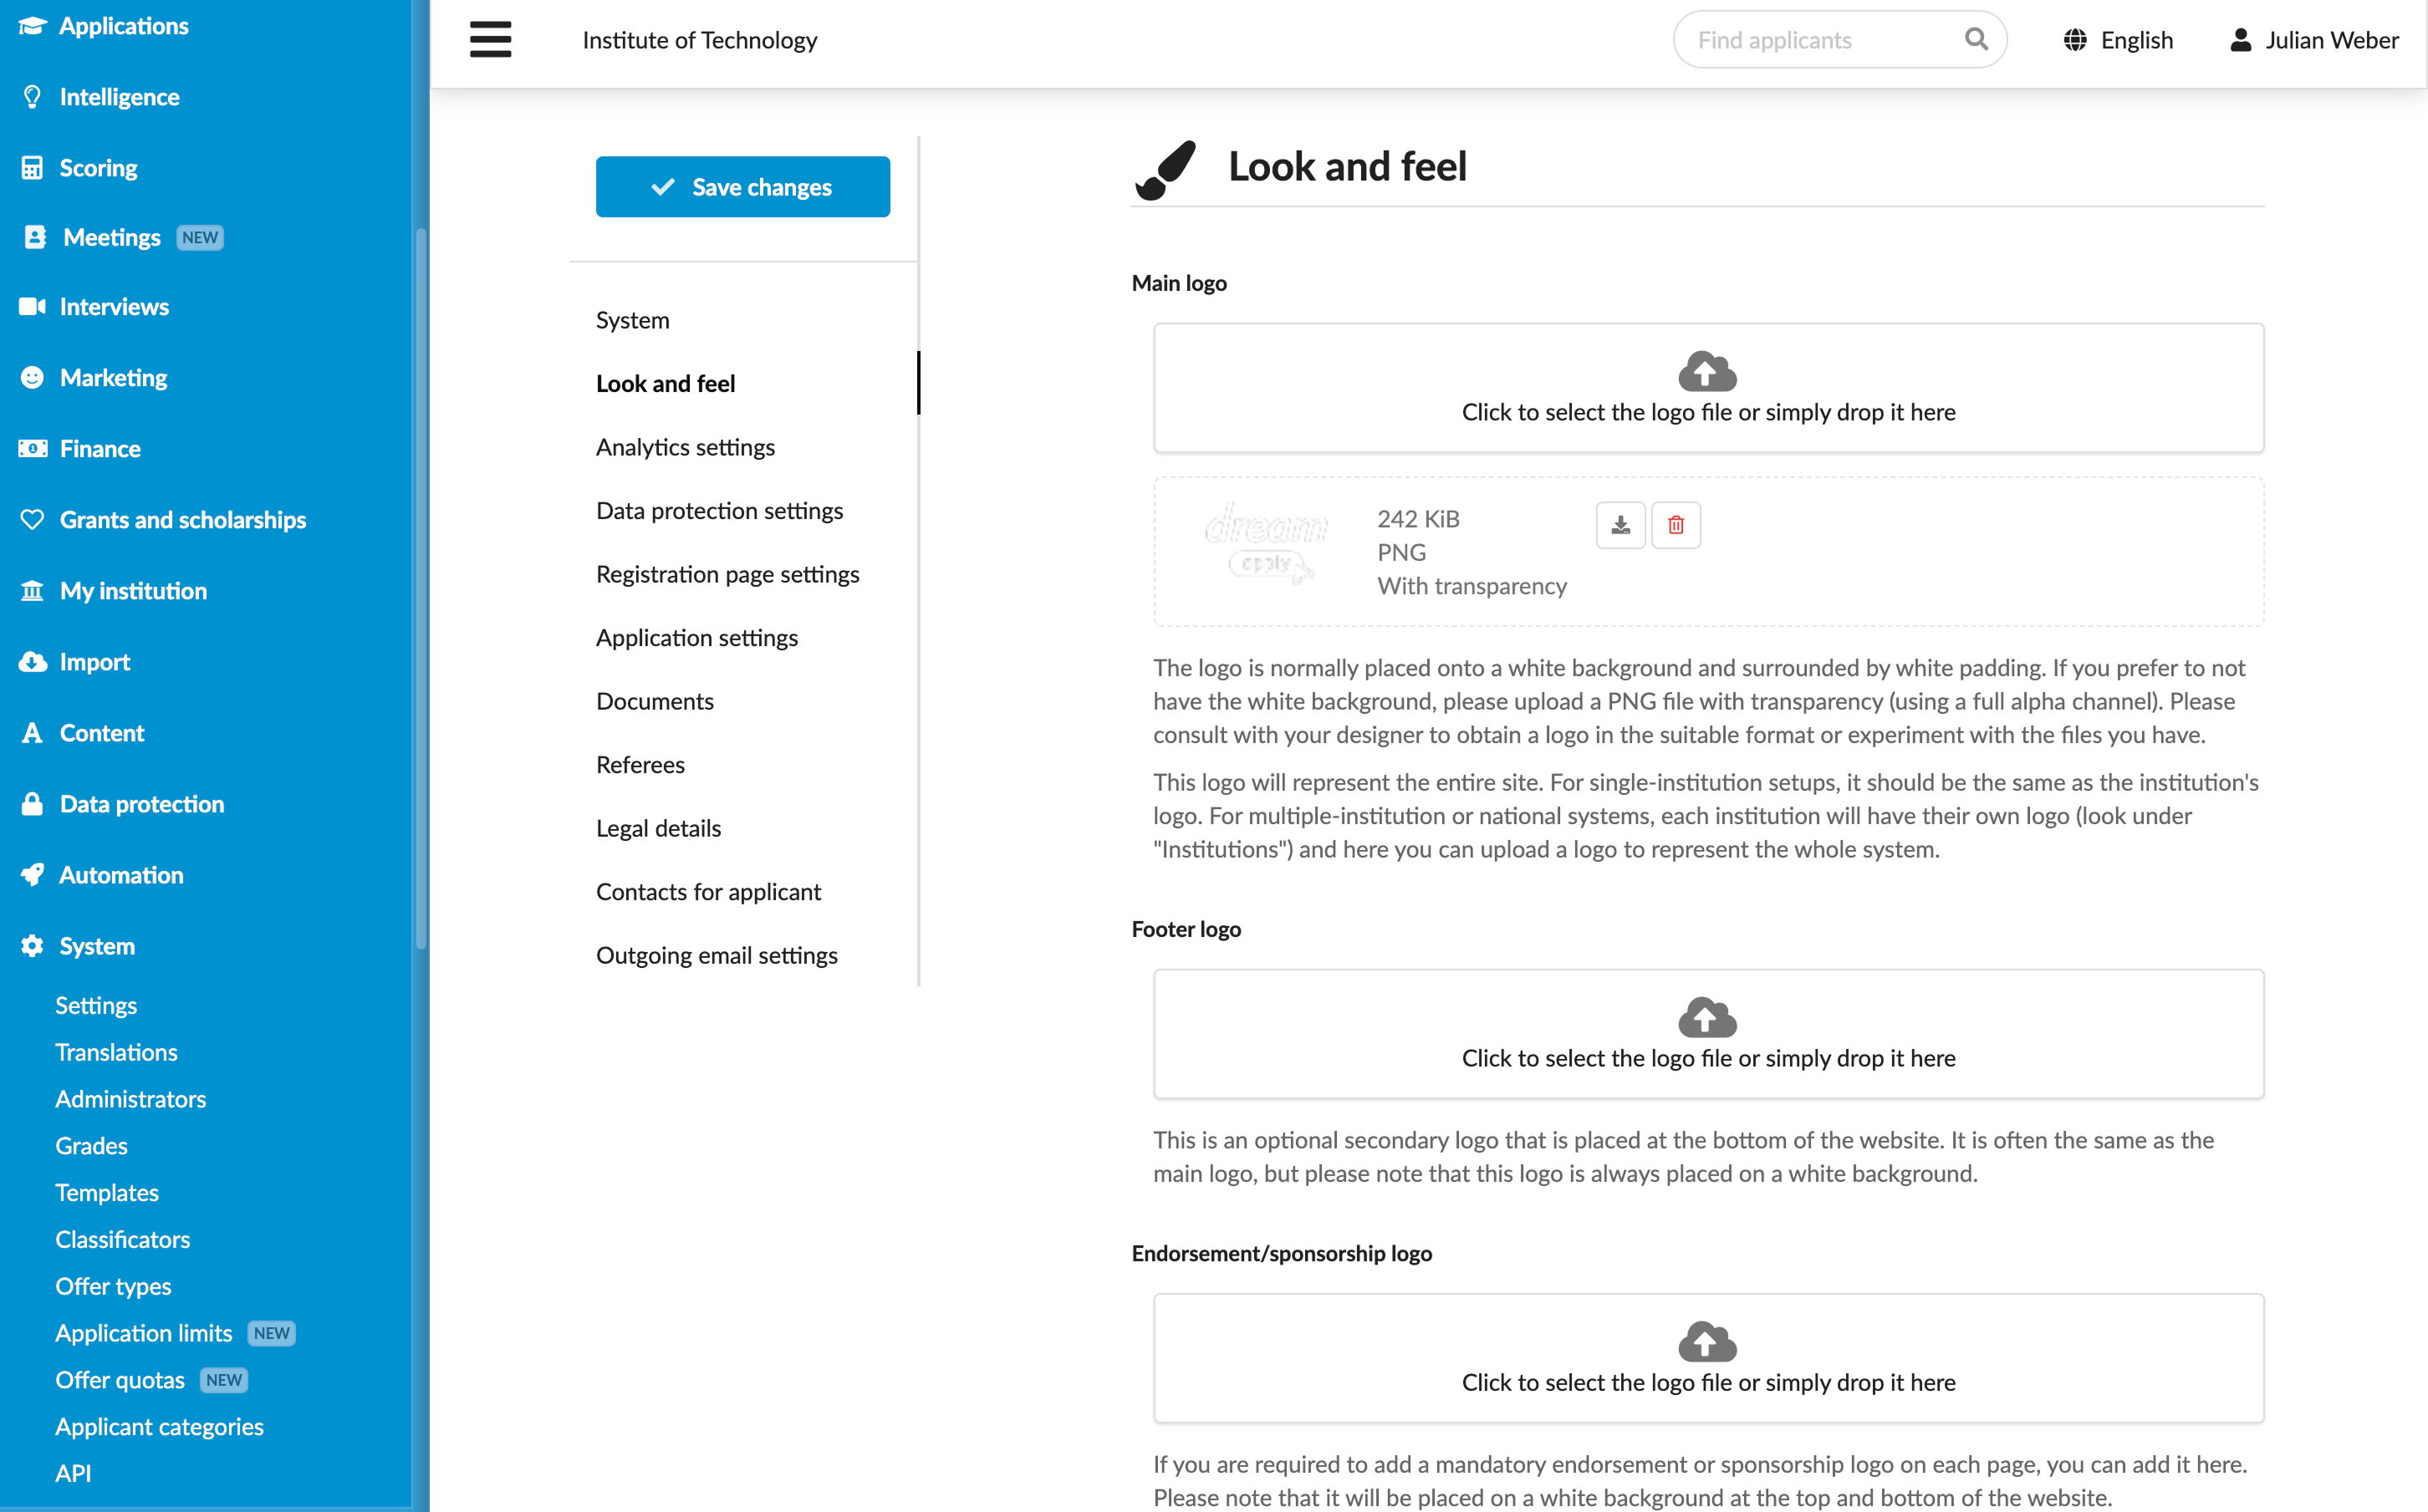
Customize email branding
To adjust the logo and color scheme for transactional emails:
- In the main menu, under System, select Settings.
- Use the Look and feel section to adjust the email branding settings.
- At the top of the form, click Save settings.
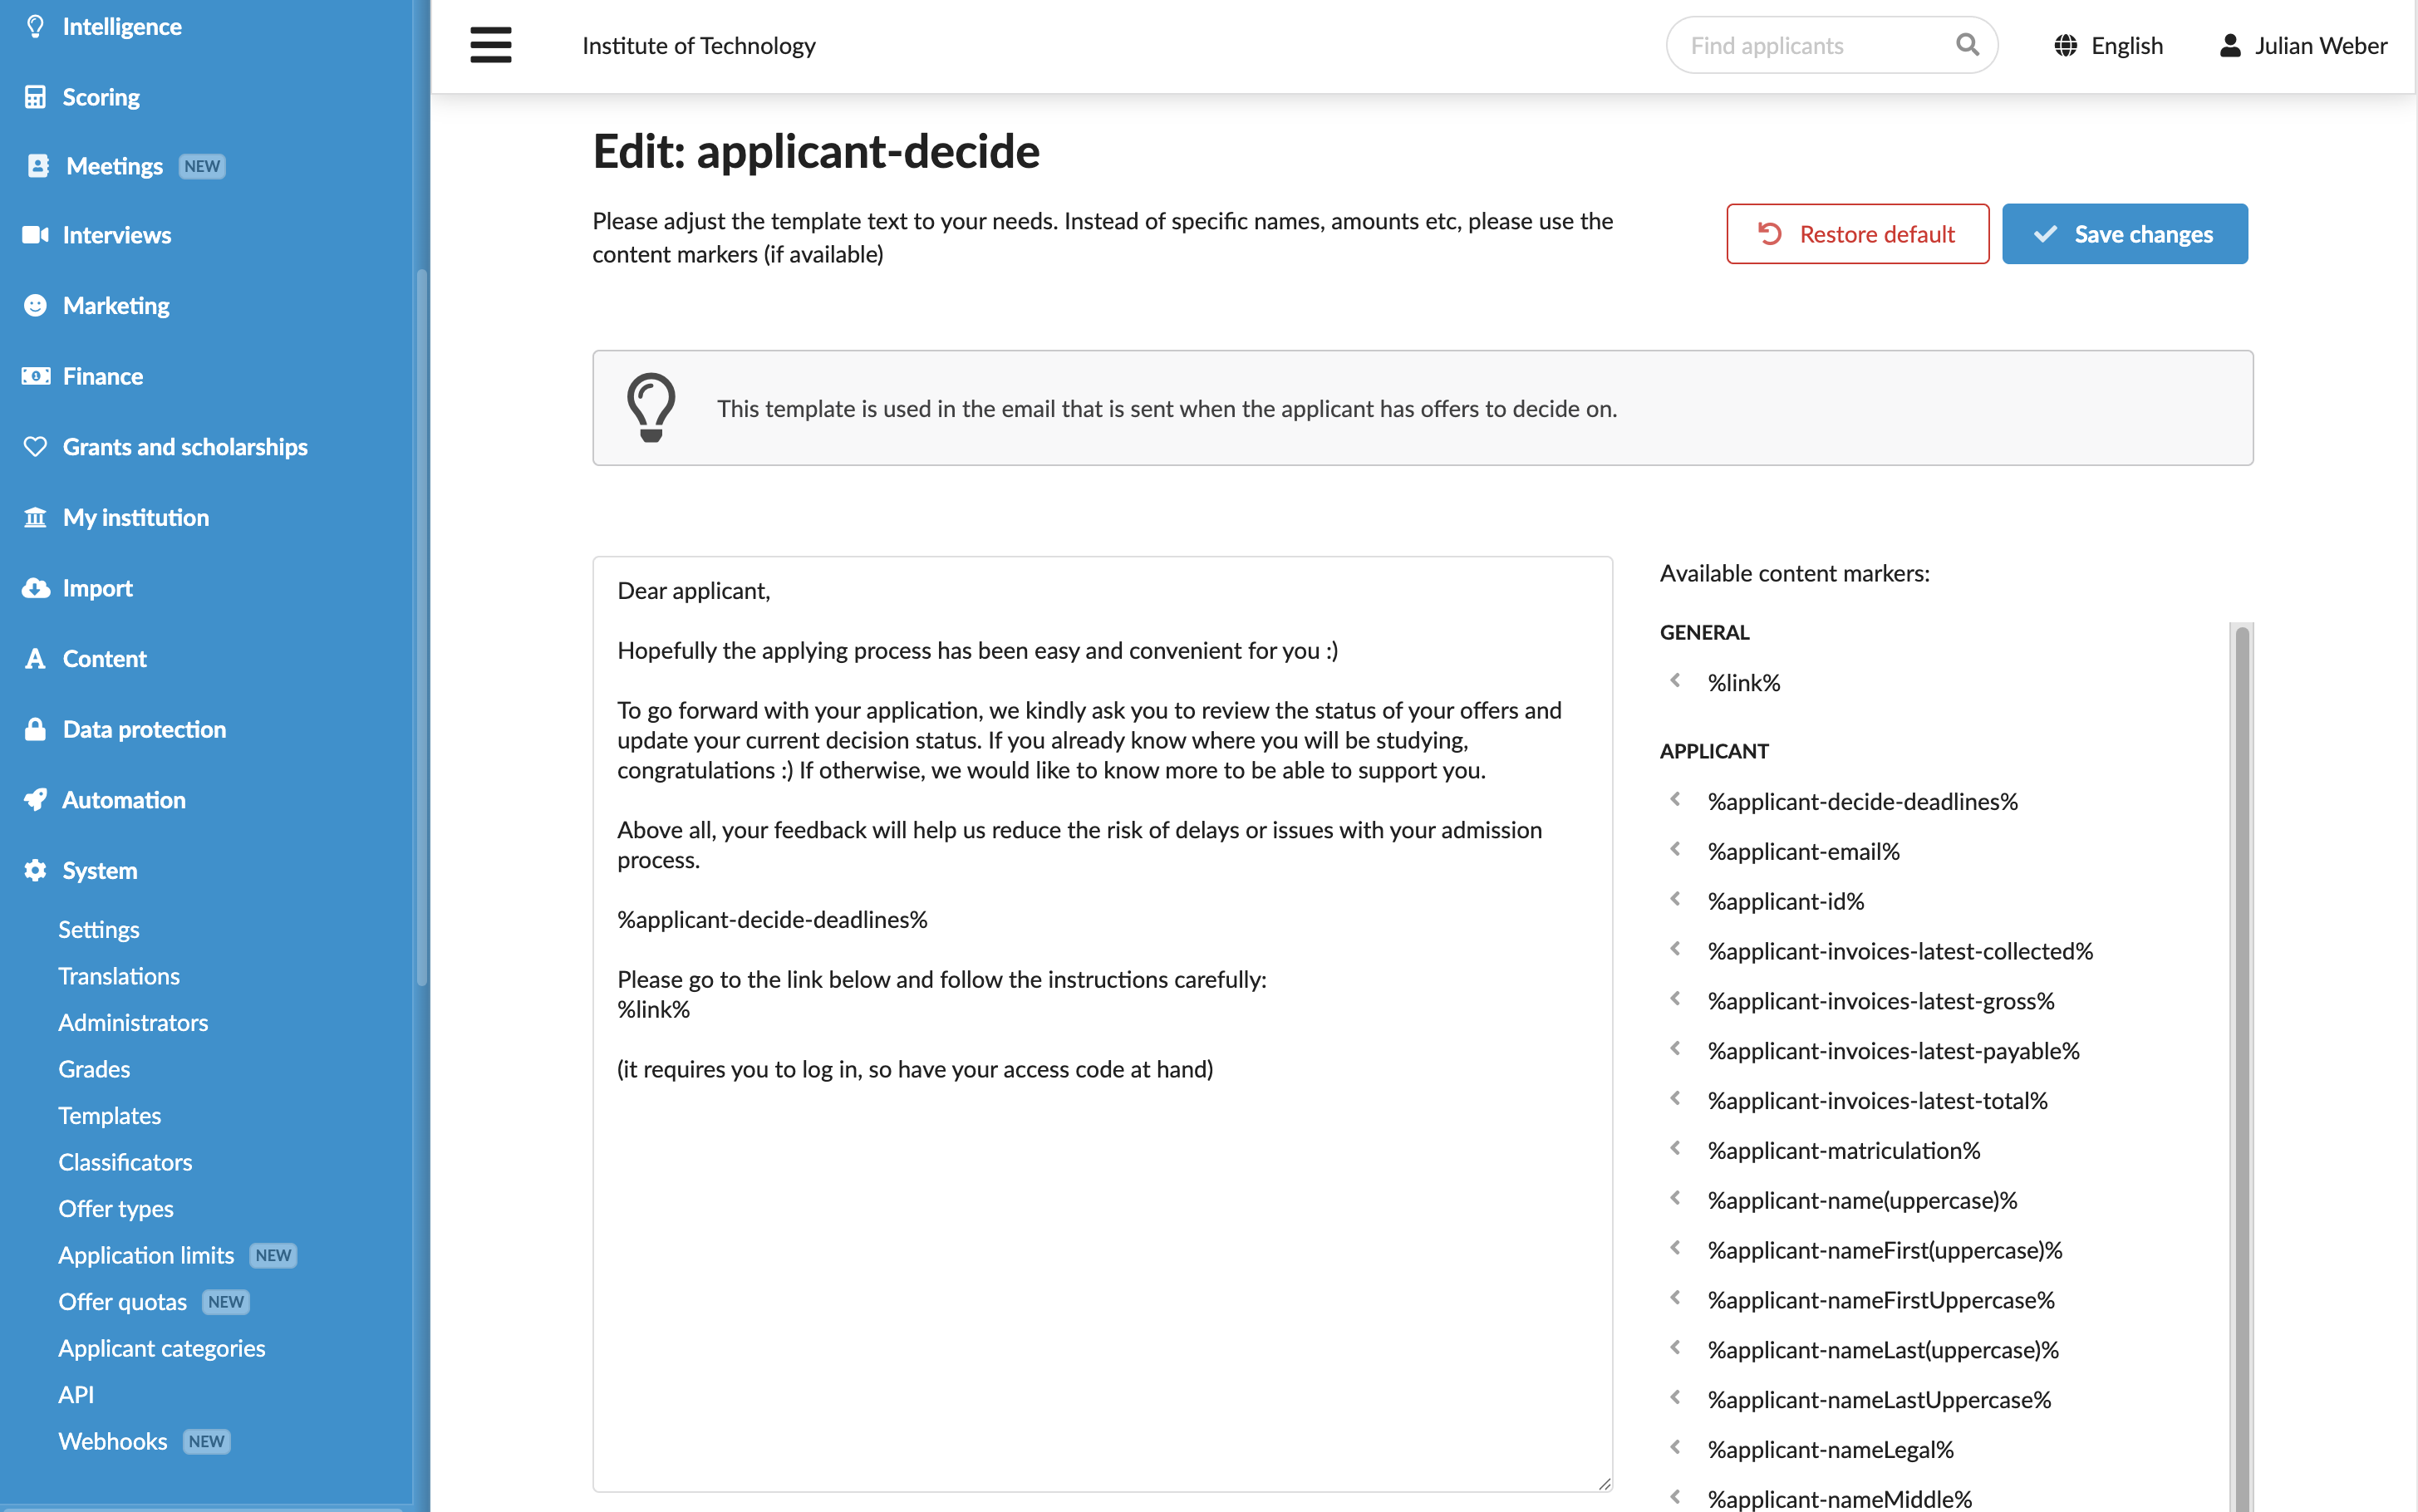
Adjust the email content
You can customize both branding and content of emails sent to applicants.
Email templates are universal across the entire DreamApply instance and cannot be customized based on the programme type, citizenship or any other criteria. Please create a single, universal template that applies to all applicants.
- In the main menu, under System, select Templates.
- In the templates list, select to edit the necessary template.
- Adjust the template content as needed. You can use content markers to personalize the message and the Textile markup to format and structure the text.
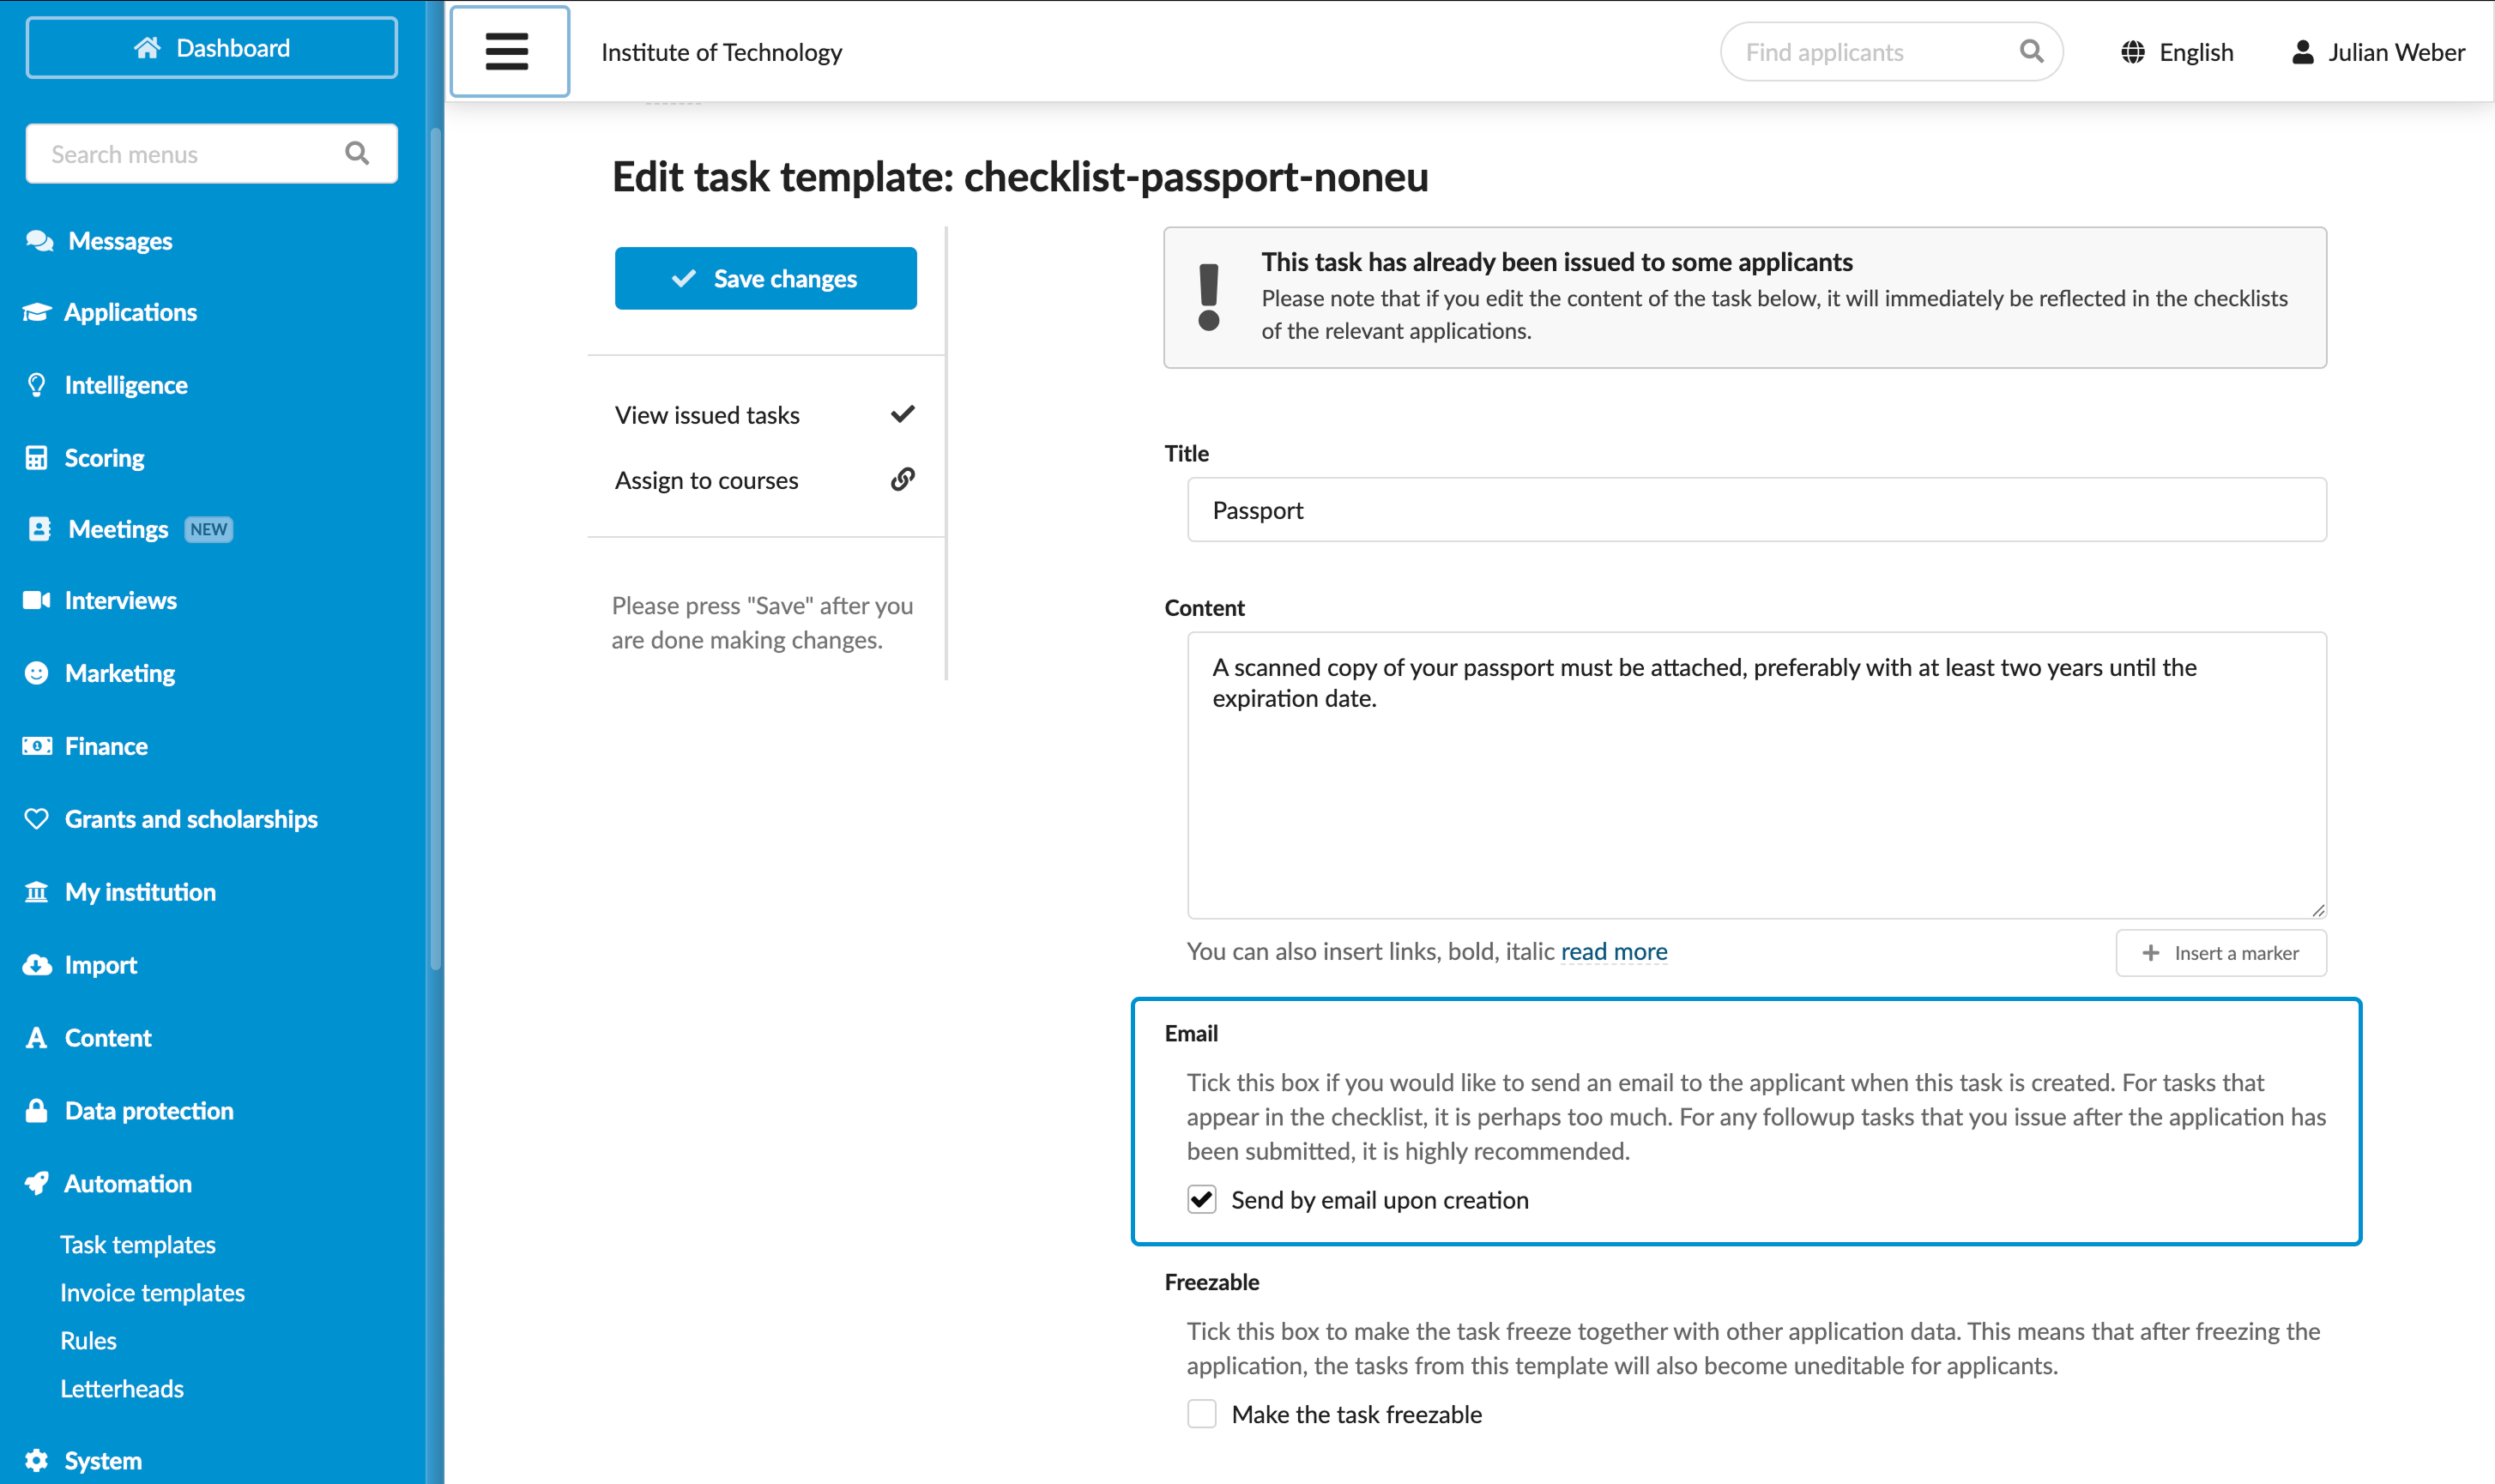
Enable task notifications
Tasks assigned to applicants are displayed in the Tasks view of the Applicant portal. You can customize the task content and additionally configure DreamApply to automatically send email notifications to inform applicants about assigned tasks.
In the main menu, under Automation, select Task templates.
In the templates list, select to edit the necessary template.
In the Title field, specify the task title. The task title is displayed in the Subject field of the email notification.
In the Content field, adjust the task content. The task content is displayed in the Body field of the email notification.
You can use content markers to personalize the message and the Textile markup to format and structure the text.
In the Email section, select the Send by email upon creation check box to send email notifications to applicants when the task is assigned.
At the top of the form, click Save settings.