Set up offer types
Roles
These roles reflect the default DreamApply setup.
You can define custom roles based on your
institution's needs. Learn more →:
You can define custom roles based on your
institution's needs. Learn more →
To start working with offers, you need to define offer types. Offer types represent distinct stages in the admission workflow, starting from initial submission up to final decision.
DreamApply comes with a predefined set of offer types. These types are carefully designed to cover common review stages. If necessary, you can add your own offer types or customize existing types.
Before you begin
To set up offer types, your account must have the Superuser role.
Create offer types
To create a new offer type:
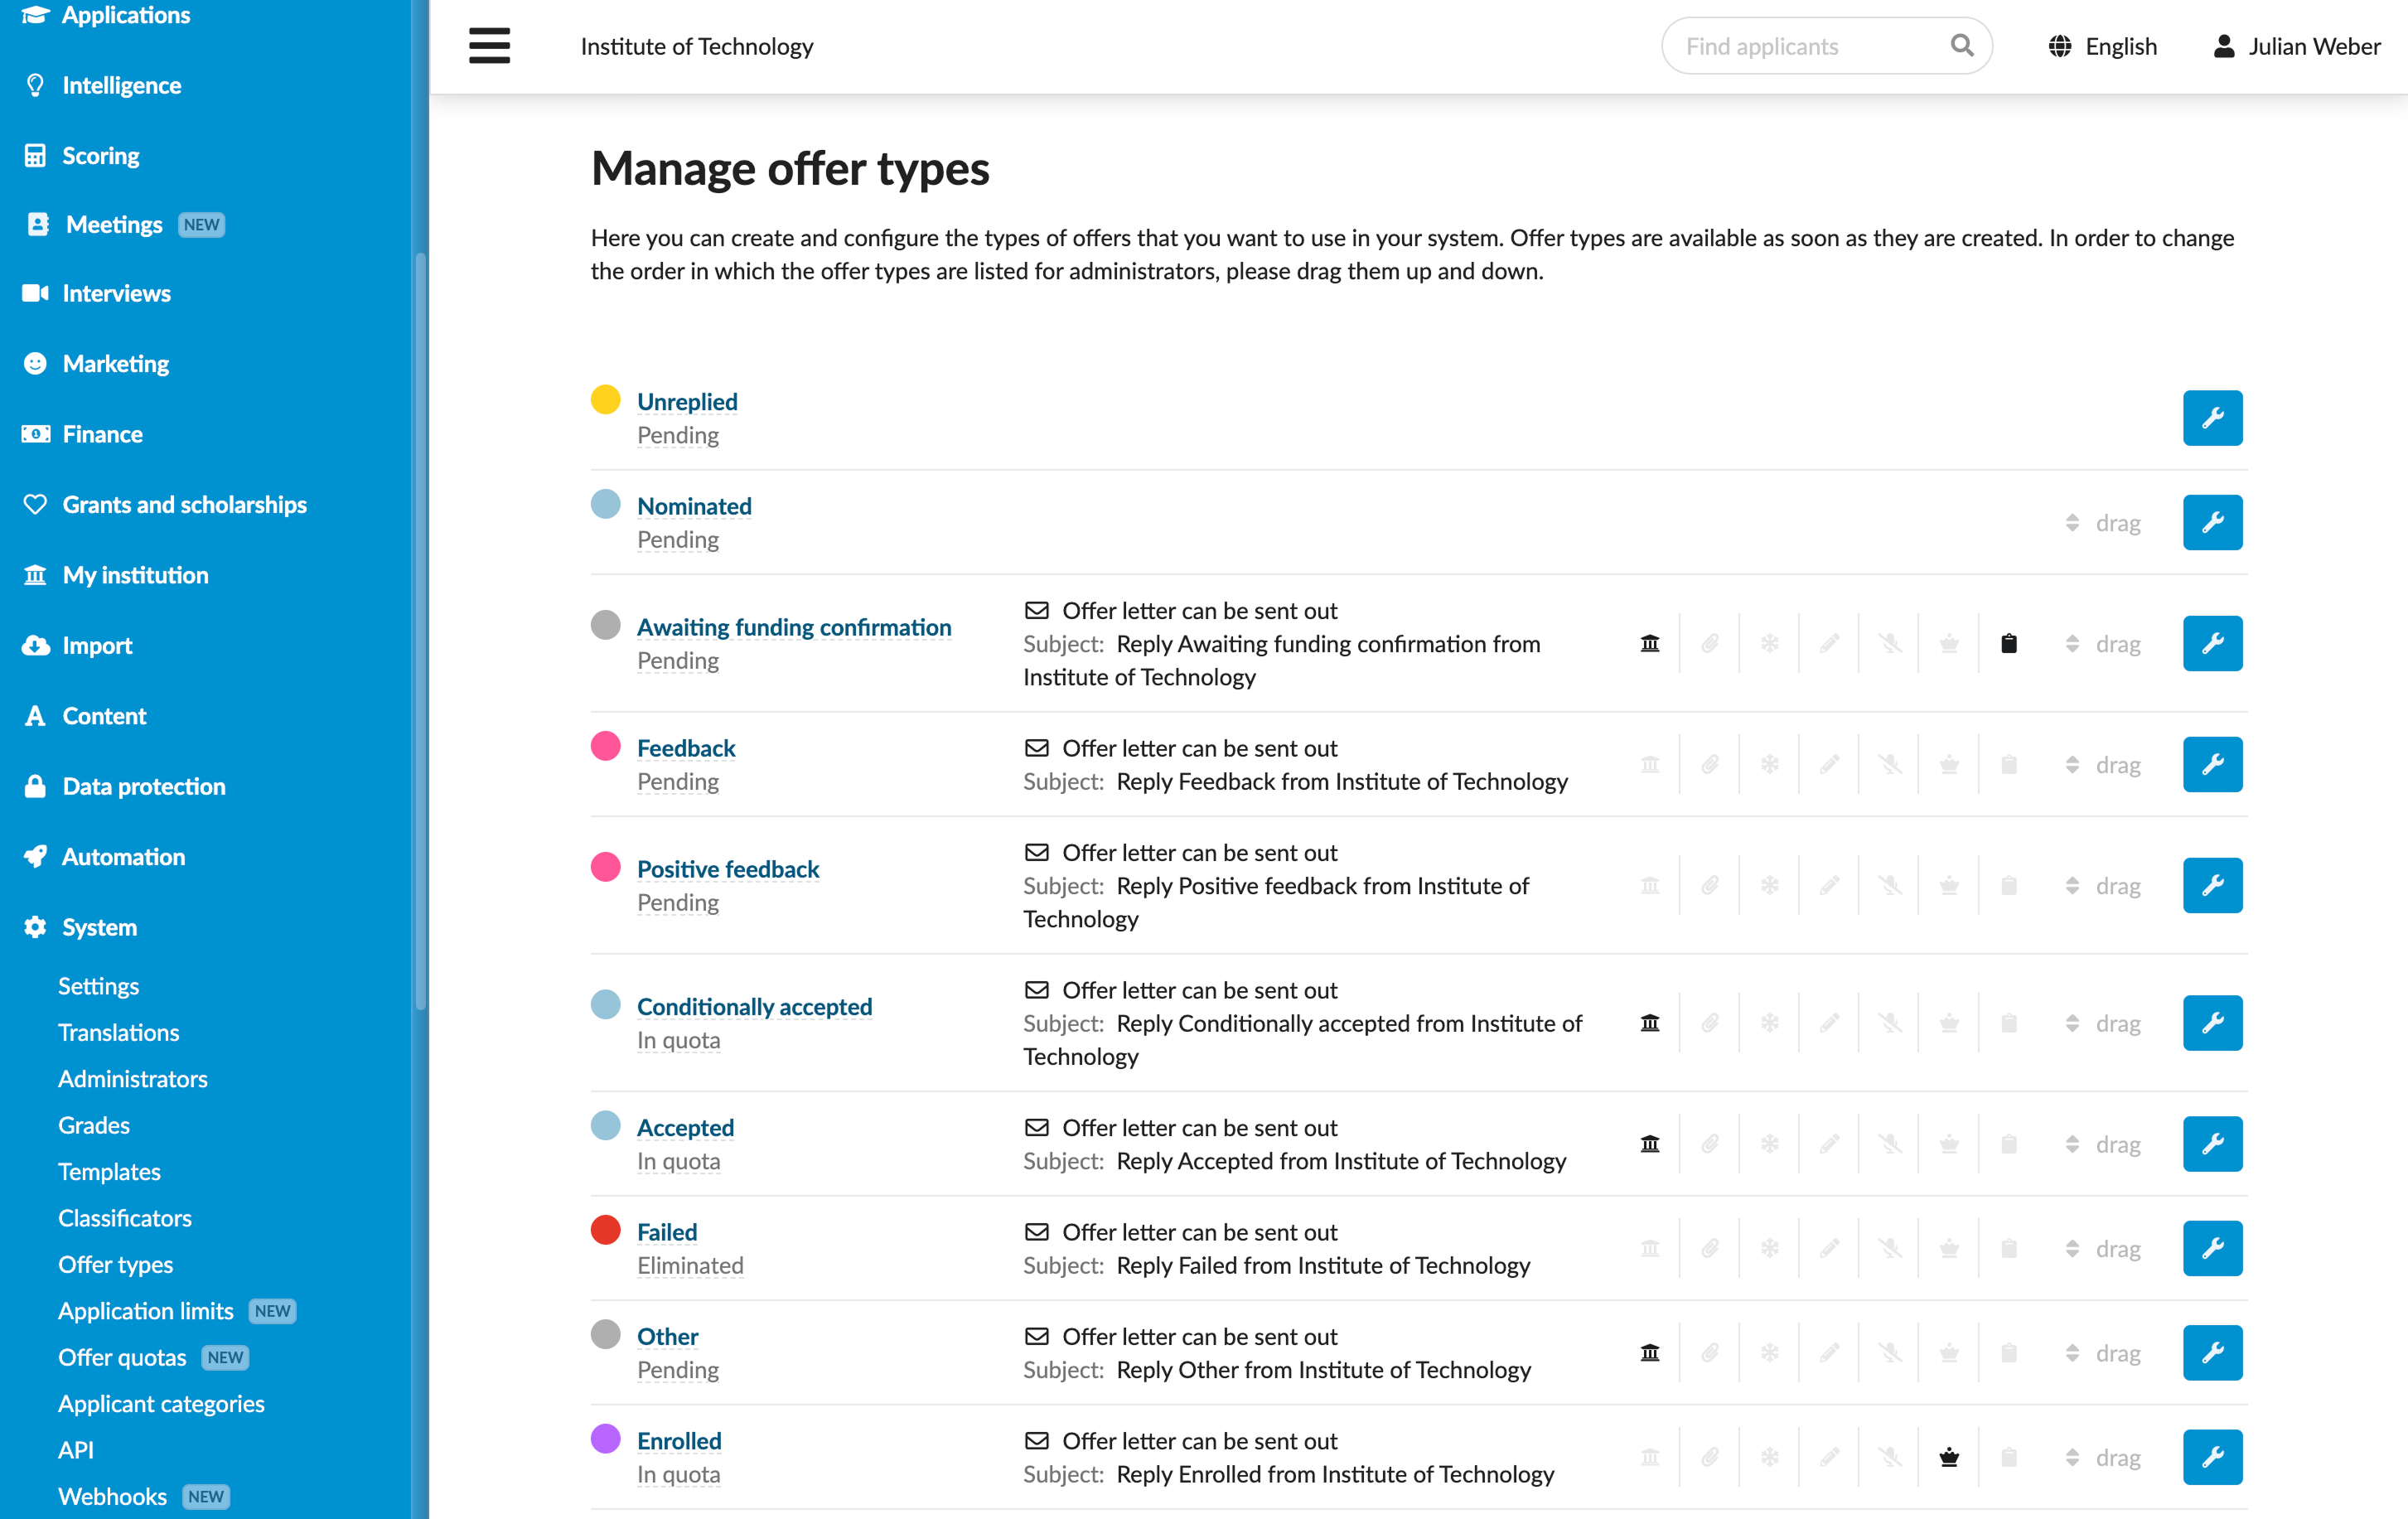
In the main menu, under System, select Offer types.
At the bottom of the offer type list, click Add a new offer type.
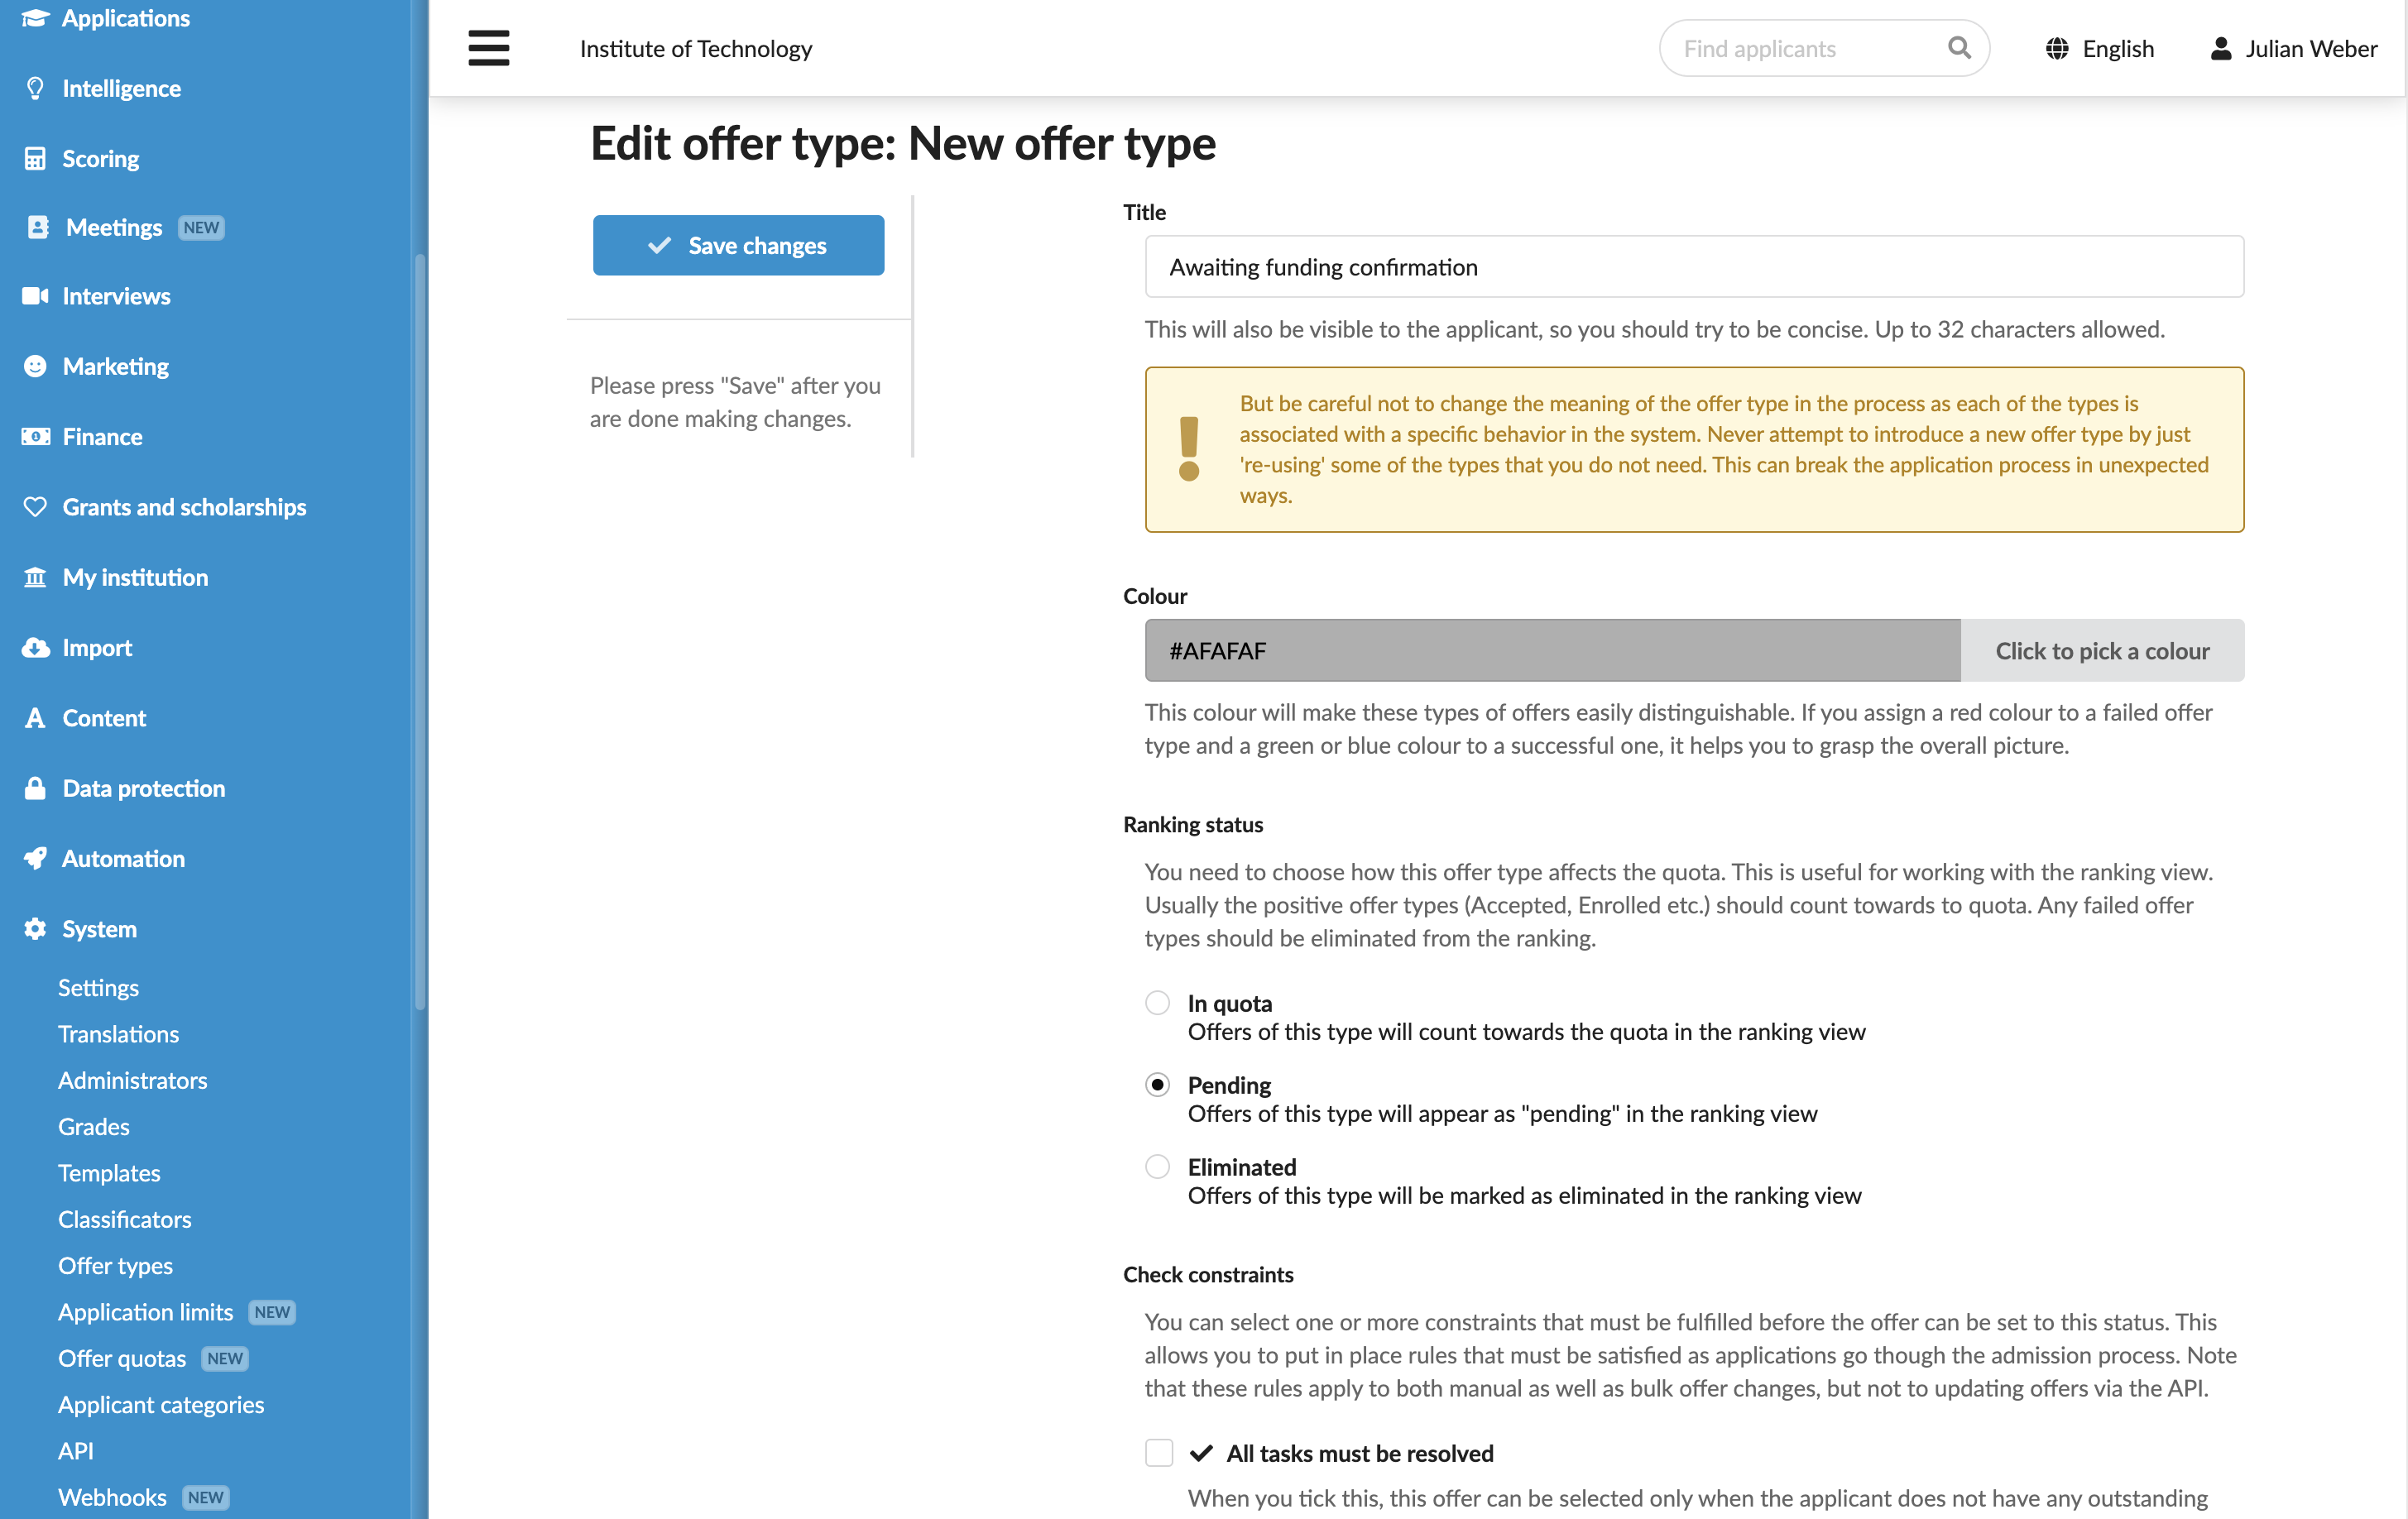
Specify the type title and pick a color to make it easy to differentiate.
In the Rankings section, specify how the offer type must affect the offer quota.
In the Check constraints section, specify any conditions that must be met before the offer type can be set.
In the Offer letter section, choose if Administrators must have the ability to only save the offer type or they can also confirm the offer and send it out to applicants. In the latter case, set up the offer letter template. You can use content markers to personalize the letter and the Textile markup to format and structure the text.
If necessary, specify an email address to which a copy of the offer letter must be sent.
If the Offer letter can be sent out option is not enabled, the Confirm and send out button will be disabled for this offer type. For details, see Saving and confirming offers.
In the Decisions section, indicate if applicants need to either accept or decline the offer.
- To automatically decline all other offers when an applicant accepts an offer of this type, enable the Decline all other offers option. This option helps prevent applicants from holding multiple offers at once.
- To permanently lock declined decisions, enable the Strict “Declined” decision option. This option prevents applicants who have declined an offer from changing their response back to Undecided or Accepted.
In the Freezing and Reopen section, define how DreamApply must handle the application data once the offer type is set.
In the Silence section, specify if applicants must receive notifications once the offer type is set.
If necessary, mark the offer type as Exclusive.
In the Attachments section, upload any files you want to include with the offer letter.
In the Offer reasons section, specify additional offer reasons. When Administrators set the offer type, they will need to select one of the defined reasons.
Offer reasons are used for internal reference; applicants cannot see them. Administrators can view offer reasons on the offer card and in the Rankings list below the priority description.
In the Additional appform questions section, select any additional appforms that applicants need to complete.
At the top of the form, click Save changes.
To organize your application workflow, drag and drop the new offer type to its desired position in the offer type list.