Organize invoices
Roles
These roles reflect the default DreamApply setup.
You can define custom roles based on your
institution's needs. Learn more →:
You can define custom roles based on your
institution's needs. Learn more →
To keep your invoices organized and trackable in the system, you can set up invoice series. This feature ensures that all invoice numbers follow a clear, consistent format, which helps in maintaining better records.
Invoice series are optional in DreamApply. If you do set up a custom invoice series, DreamApply will use its default series to generate invoices. The default series uses a simple auto-incrementing numeric sequence without a prefix.
You can set up different invoice series for each invoice template or use the same series for several templates. In the latter case, the auto-incrementing sequence is shared across all of invoice templates. For example, if the Application fee and Tuition fee templates are set up to use the same series, DreamApply will sequentially generate the following invoices:
- Invoice #FEE-2025-001 (for the Application fee)
- Invoice #FEE-2025-002 (for the Tuition fee)
and so on, continuing the numbering in the order invoices are created.
Before you begin
To set up invoice series, your account must have the Superuser or Accountant role or the accounting-view and accounting-edit permissions.
Create invoice series
To set up an invoice series:
- In the main menu, under Finance, click Invoice series.
- At the bottom of the series list, click Add a new series.
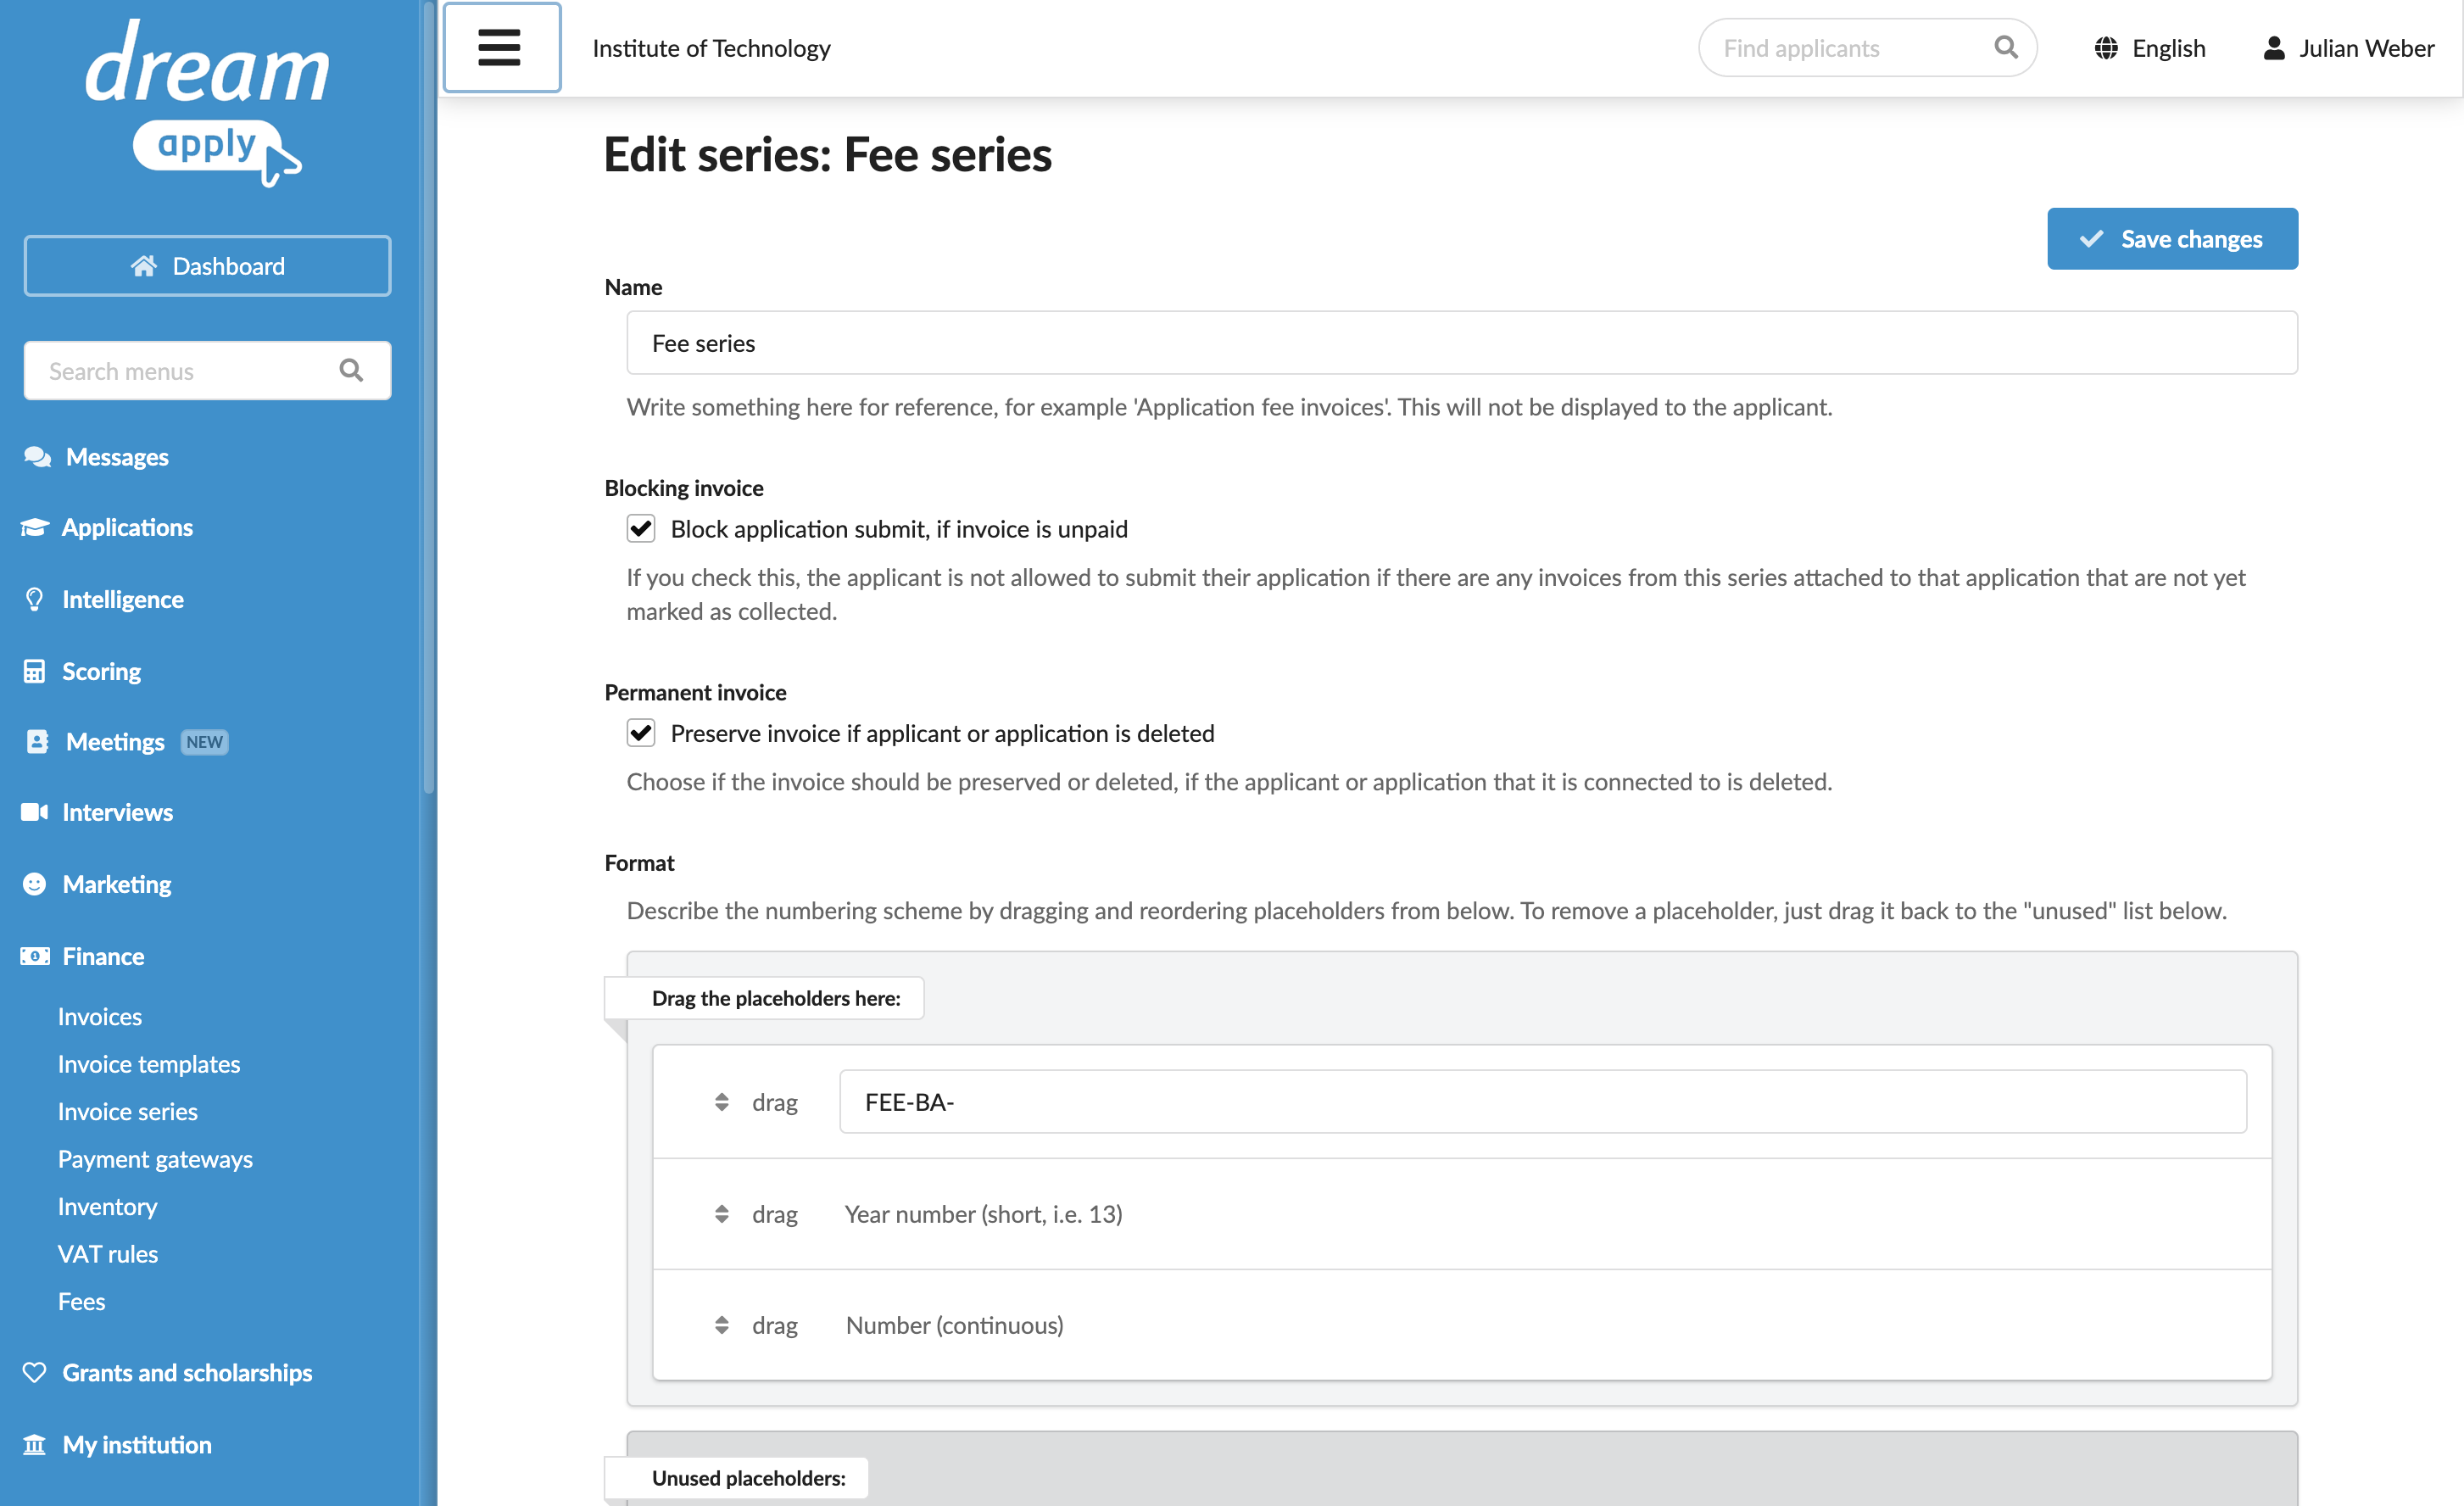
- In the Name field, specify the series name. This name will be used for internal reference only and will not be displayed to applicants.
- In the Blocking invoice section, specify whether applications must be allowed to proceed if invoices from the series have not been collected.
- In the Permanent invoice section, specify how invoices from the series must be handled if the parent applicants or applications are deleted from the system. For details, see Retain or delete invoices.
- If payment gateways are set up, in the Payment gateways section, choose the payment gateways whose buttons must appear on invoices from the series and specify the button behavior after the payment deadline.
- In the Format section, define the format for invoice numbers. Use fields below to add a starting prefix if needed. Then drag and drop the placeholders to arrange the structure of invoice numbers.
- At the top of the form, click Save changes.