Integrate with Matomo
Roles
These roles reflect the default DreamApply setup.
You can define custom roles based on your
institution's needs. Learn more →:
You can define custom roles based on your
institution's needs. Learn more →
To integrate with Matomo, perform the following tasks:
Before you begin
- Make sure you have set up a Matomo instance in the cloud or on-premise.
- To integrate with DreamApply, your account must have the
Superuserrole or theinstancepermission.
Get the Matomo instance details
To connect to Matomo, you need to obtain a Matomo URL and site ID.
The Matomo URL is the address where your Matomo instance is hosted.
- If you are using Matomo Cloud, you choose the subdomain during registration. The cloud URL looks like:
https://your-name.matomo.cloud. - If you are self-hosting Matomo, you define your own URL when you deploy the Matomo instance.
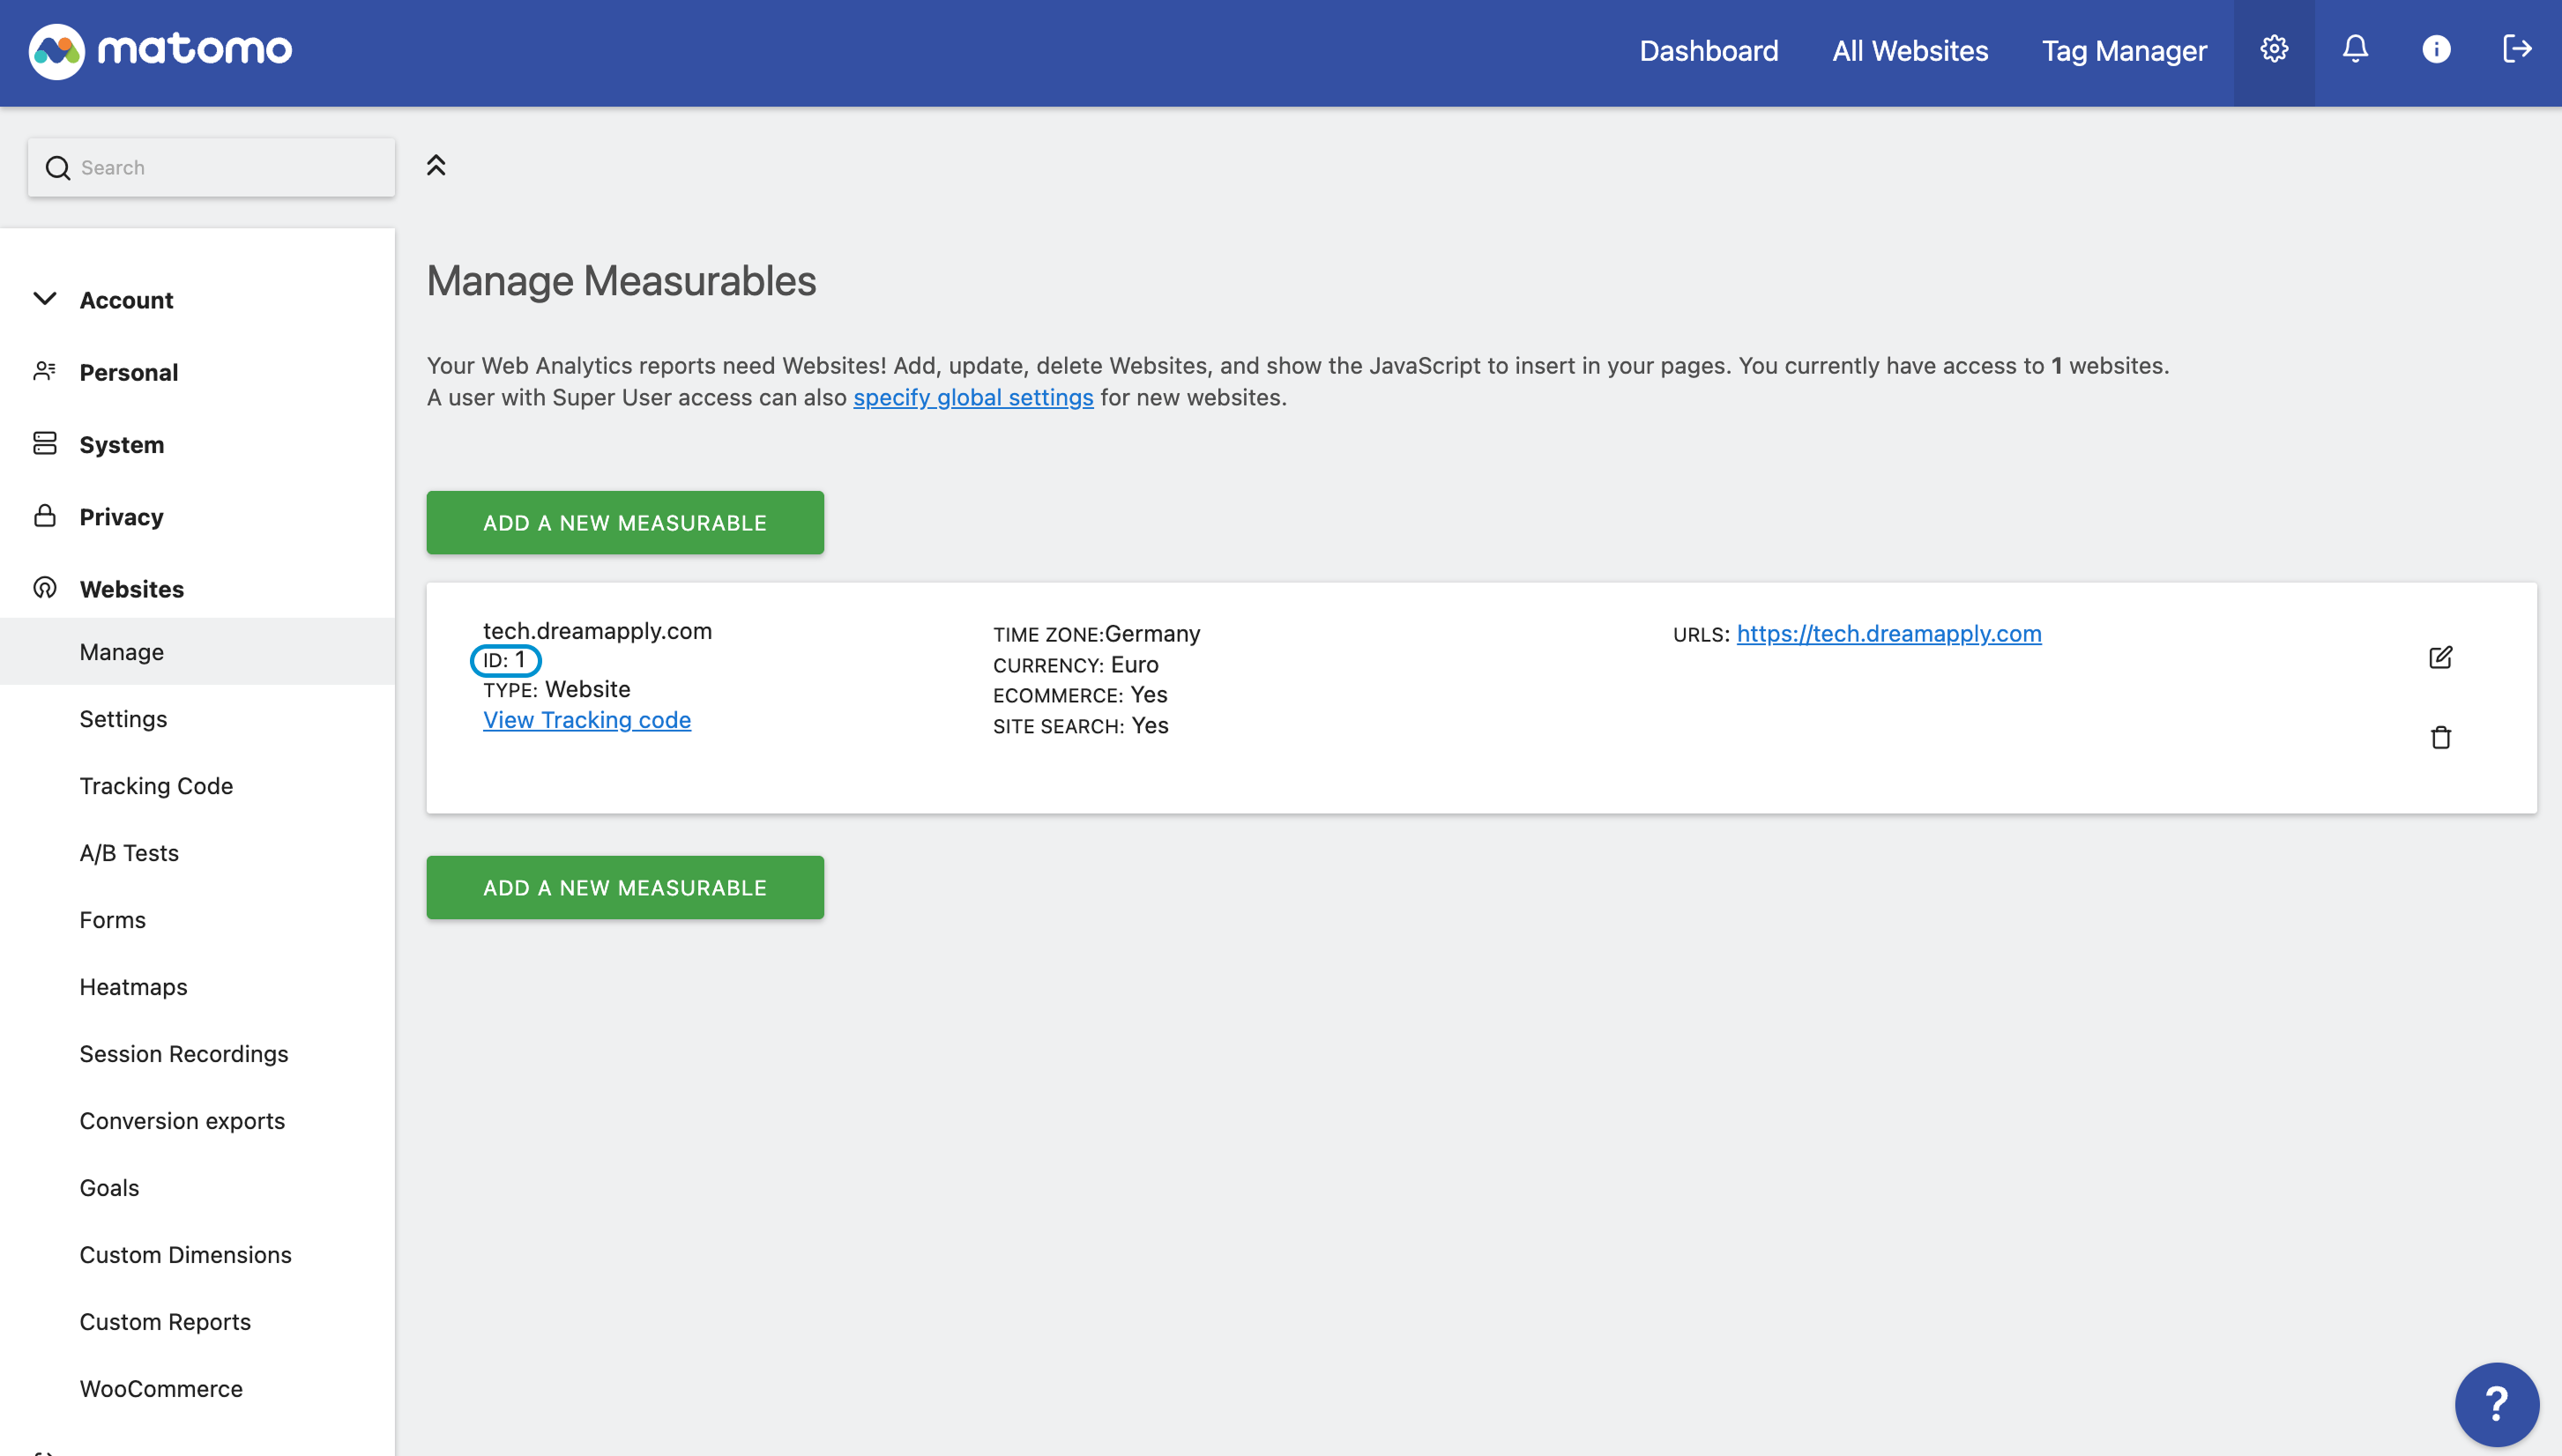
To obtain the site ID:
- Log in to your Matomo instance.
- In the top right corner, click the gear icon and under Websites, select Manage.
- To track the DreamApply portal, you can create a new measurable or use an existing one. In the measurable card, make note of and copy the site ID.
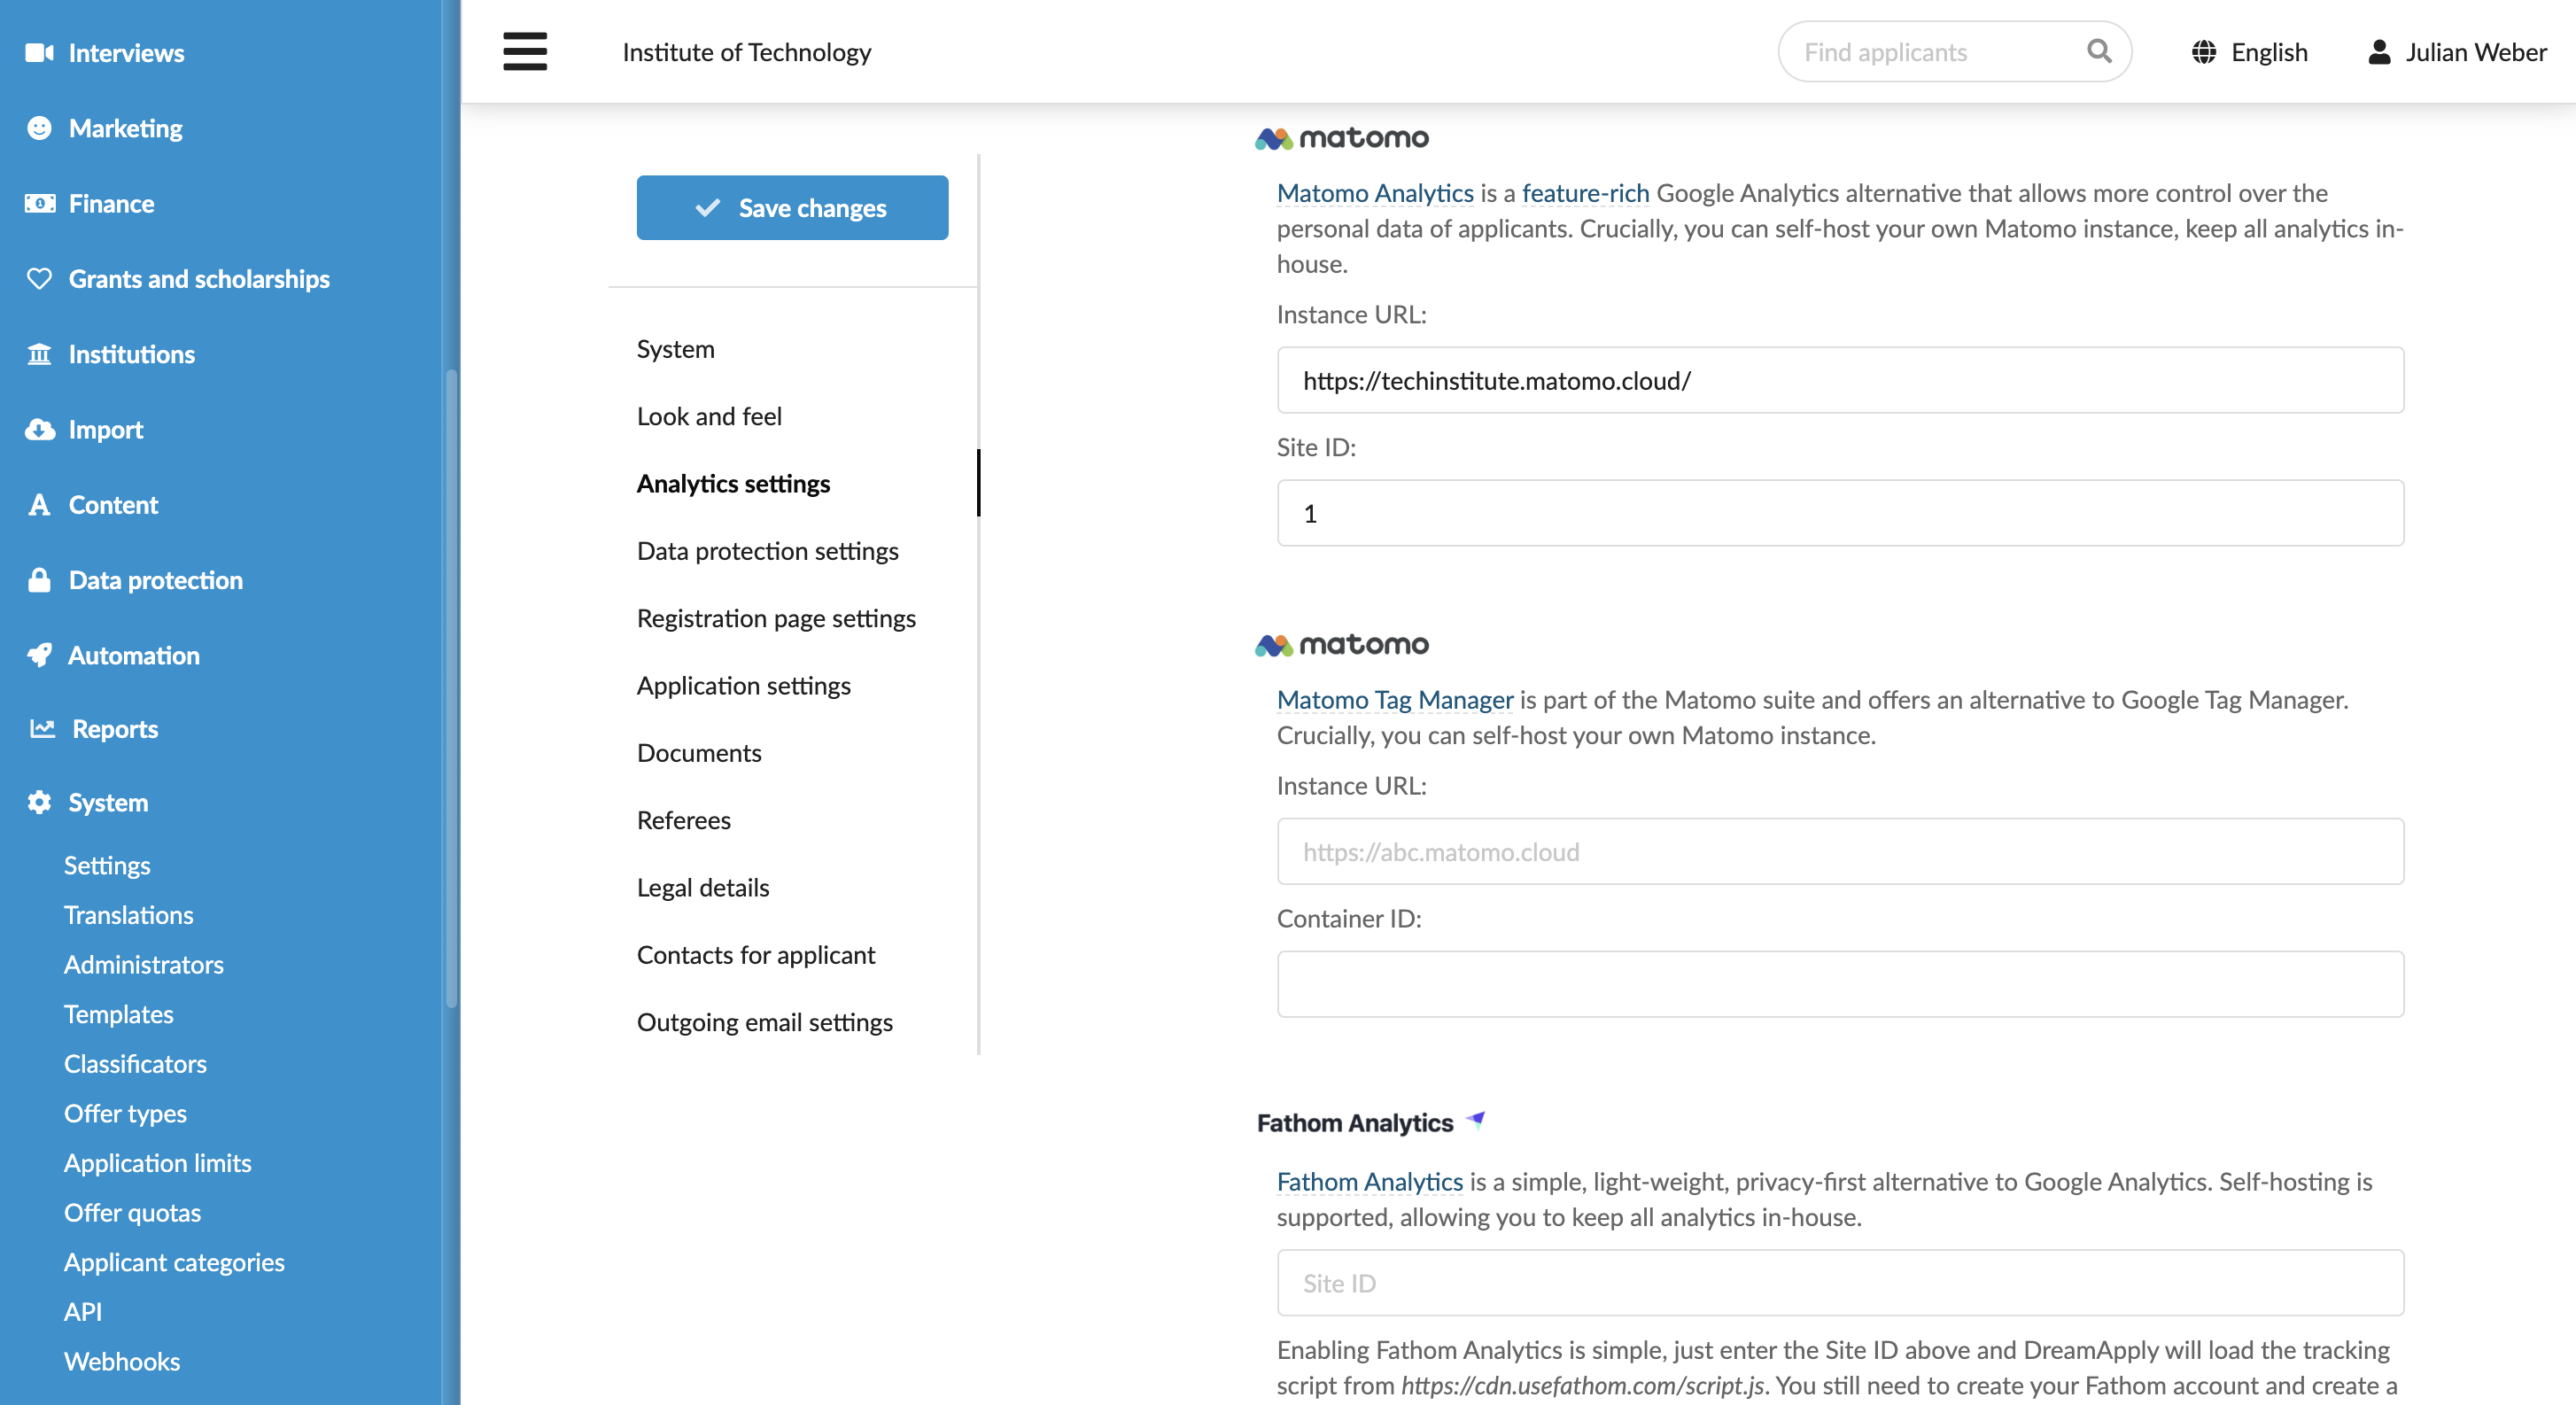
Configure integration settings
To connect to Matomo in DreamApply:
- In the main menu, under System, select Settings.
- In the Analytics settings section, under Matomo, specify the Matomo URL and site ID.
- At the top of the form, click Save changes.
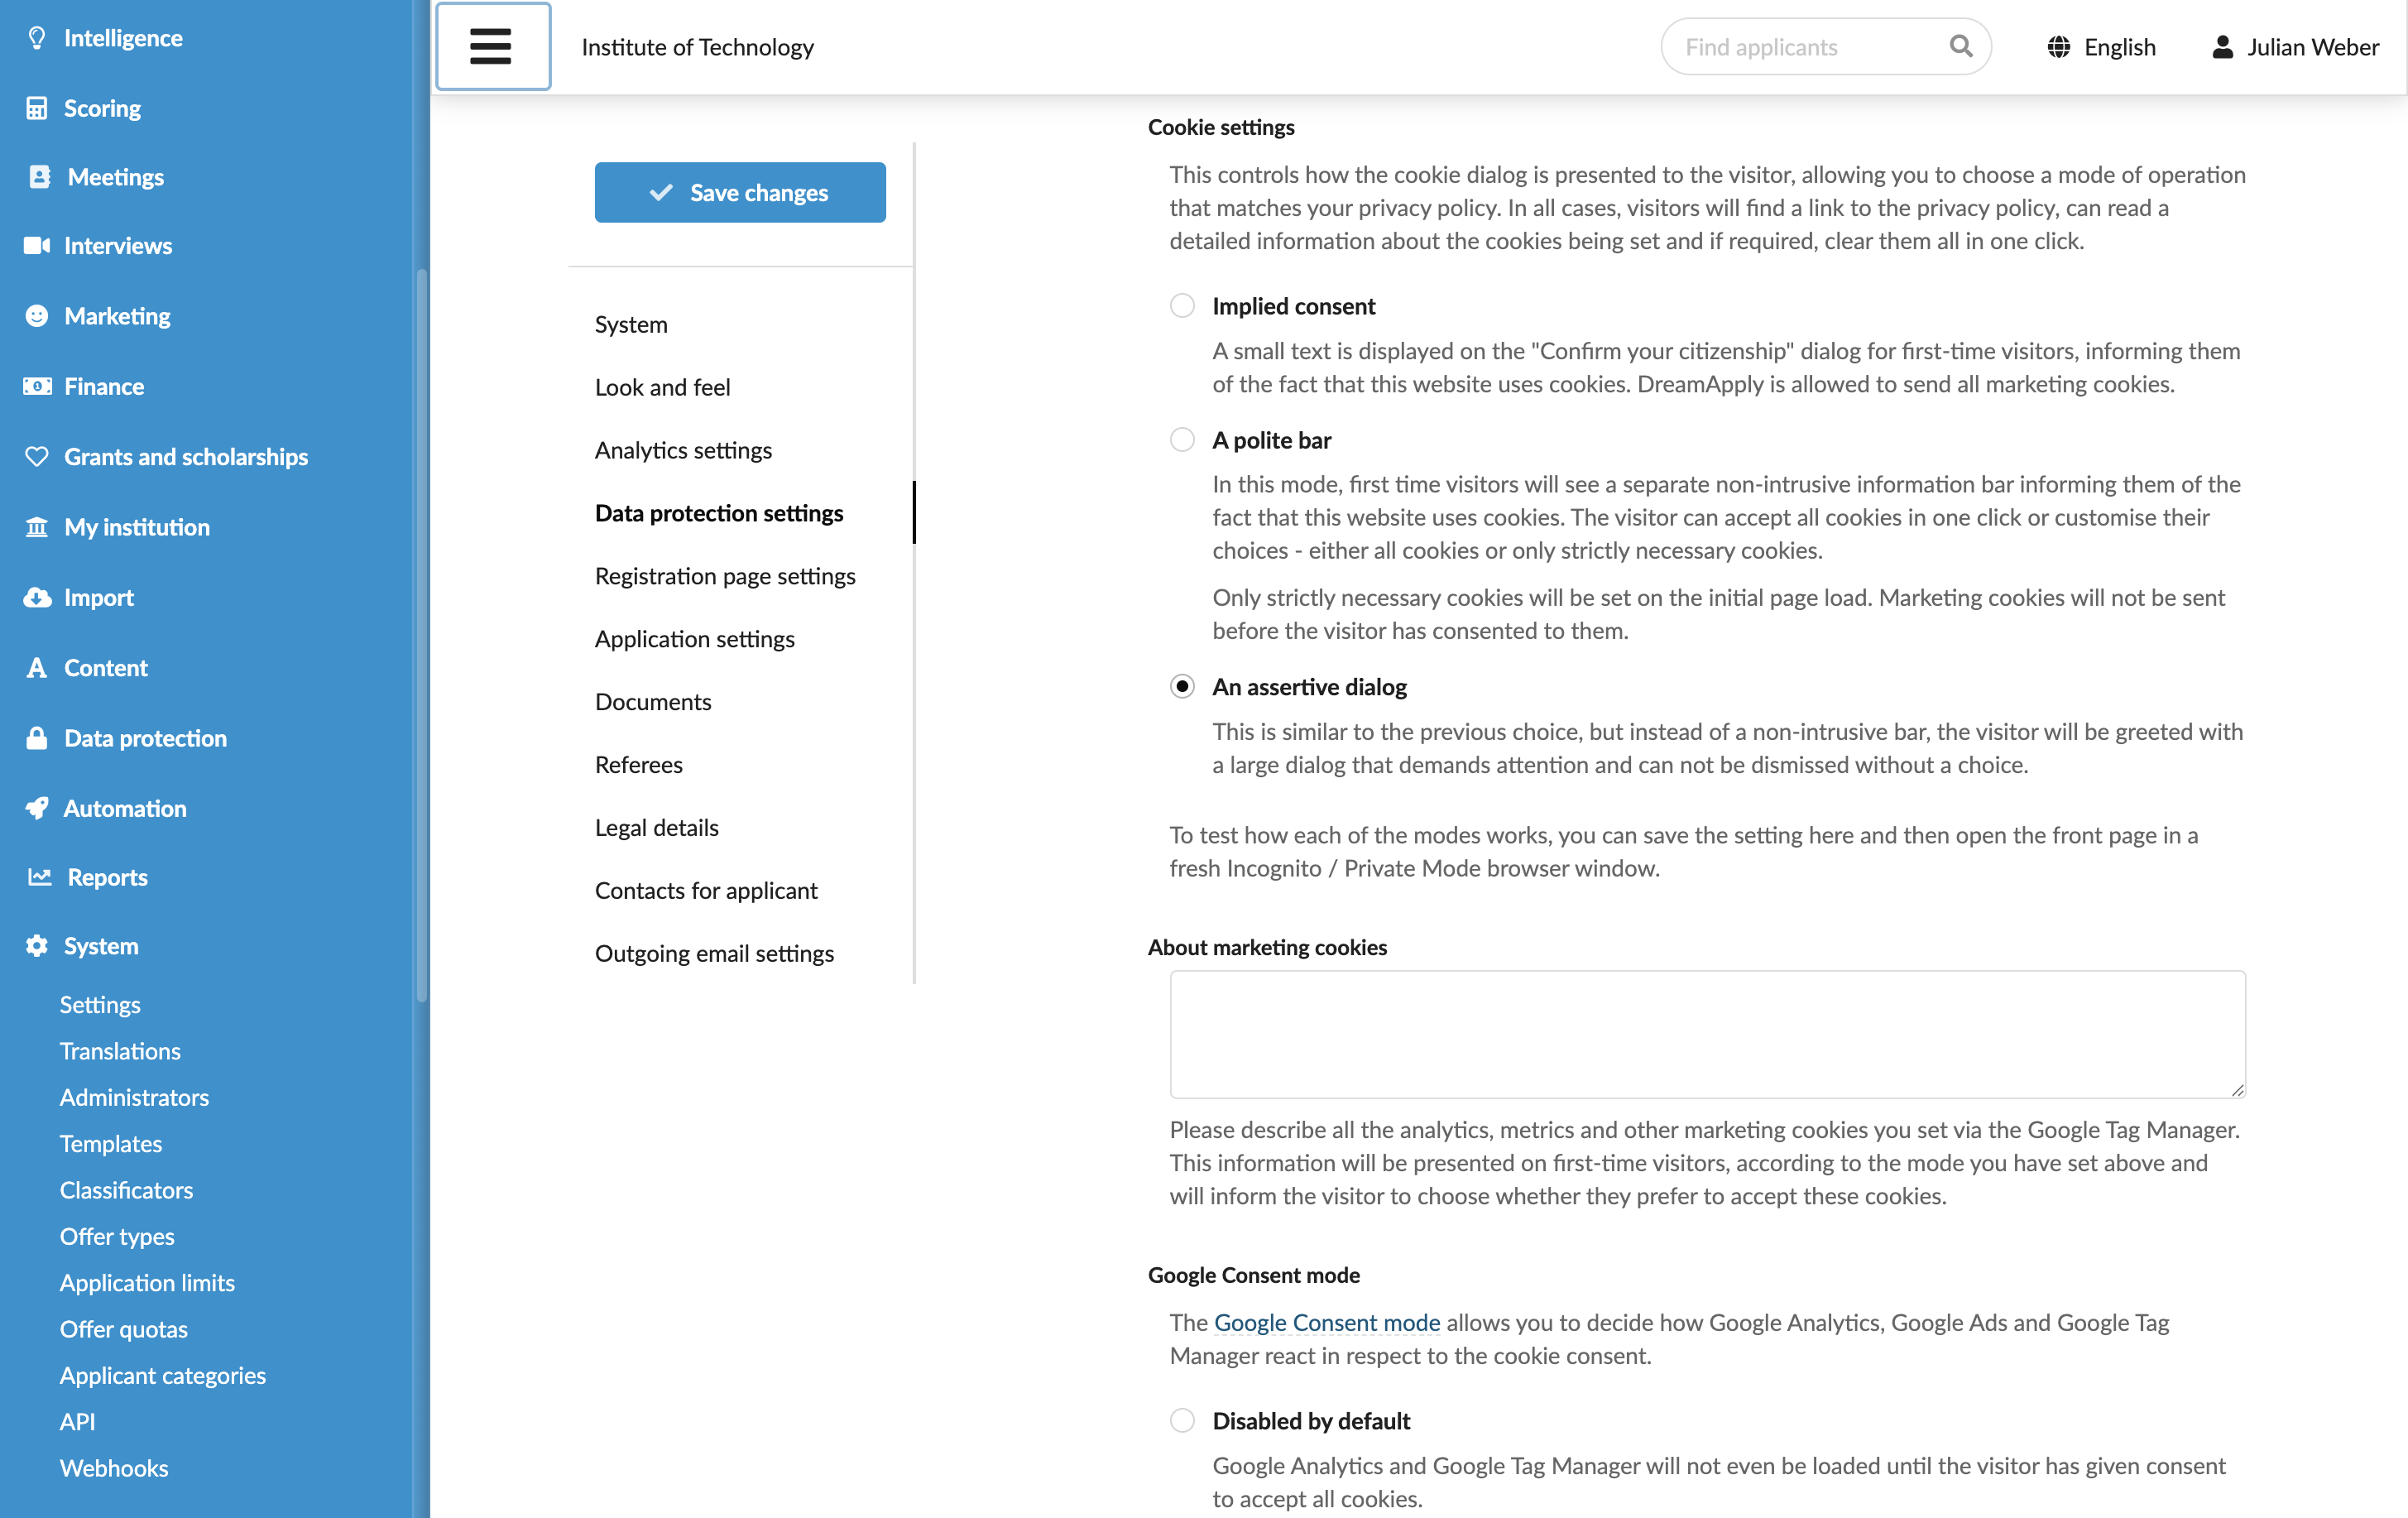
Configure consent settings
To configure consent settings for Matomo:
- In the main menu, under System, select Settings.
- In the Data protection section, select the consent mode for cookies. For details, see Manage cookies.
- At the top of the form, click Save changes.
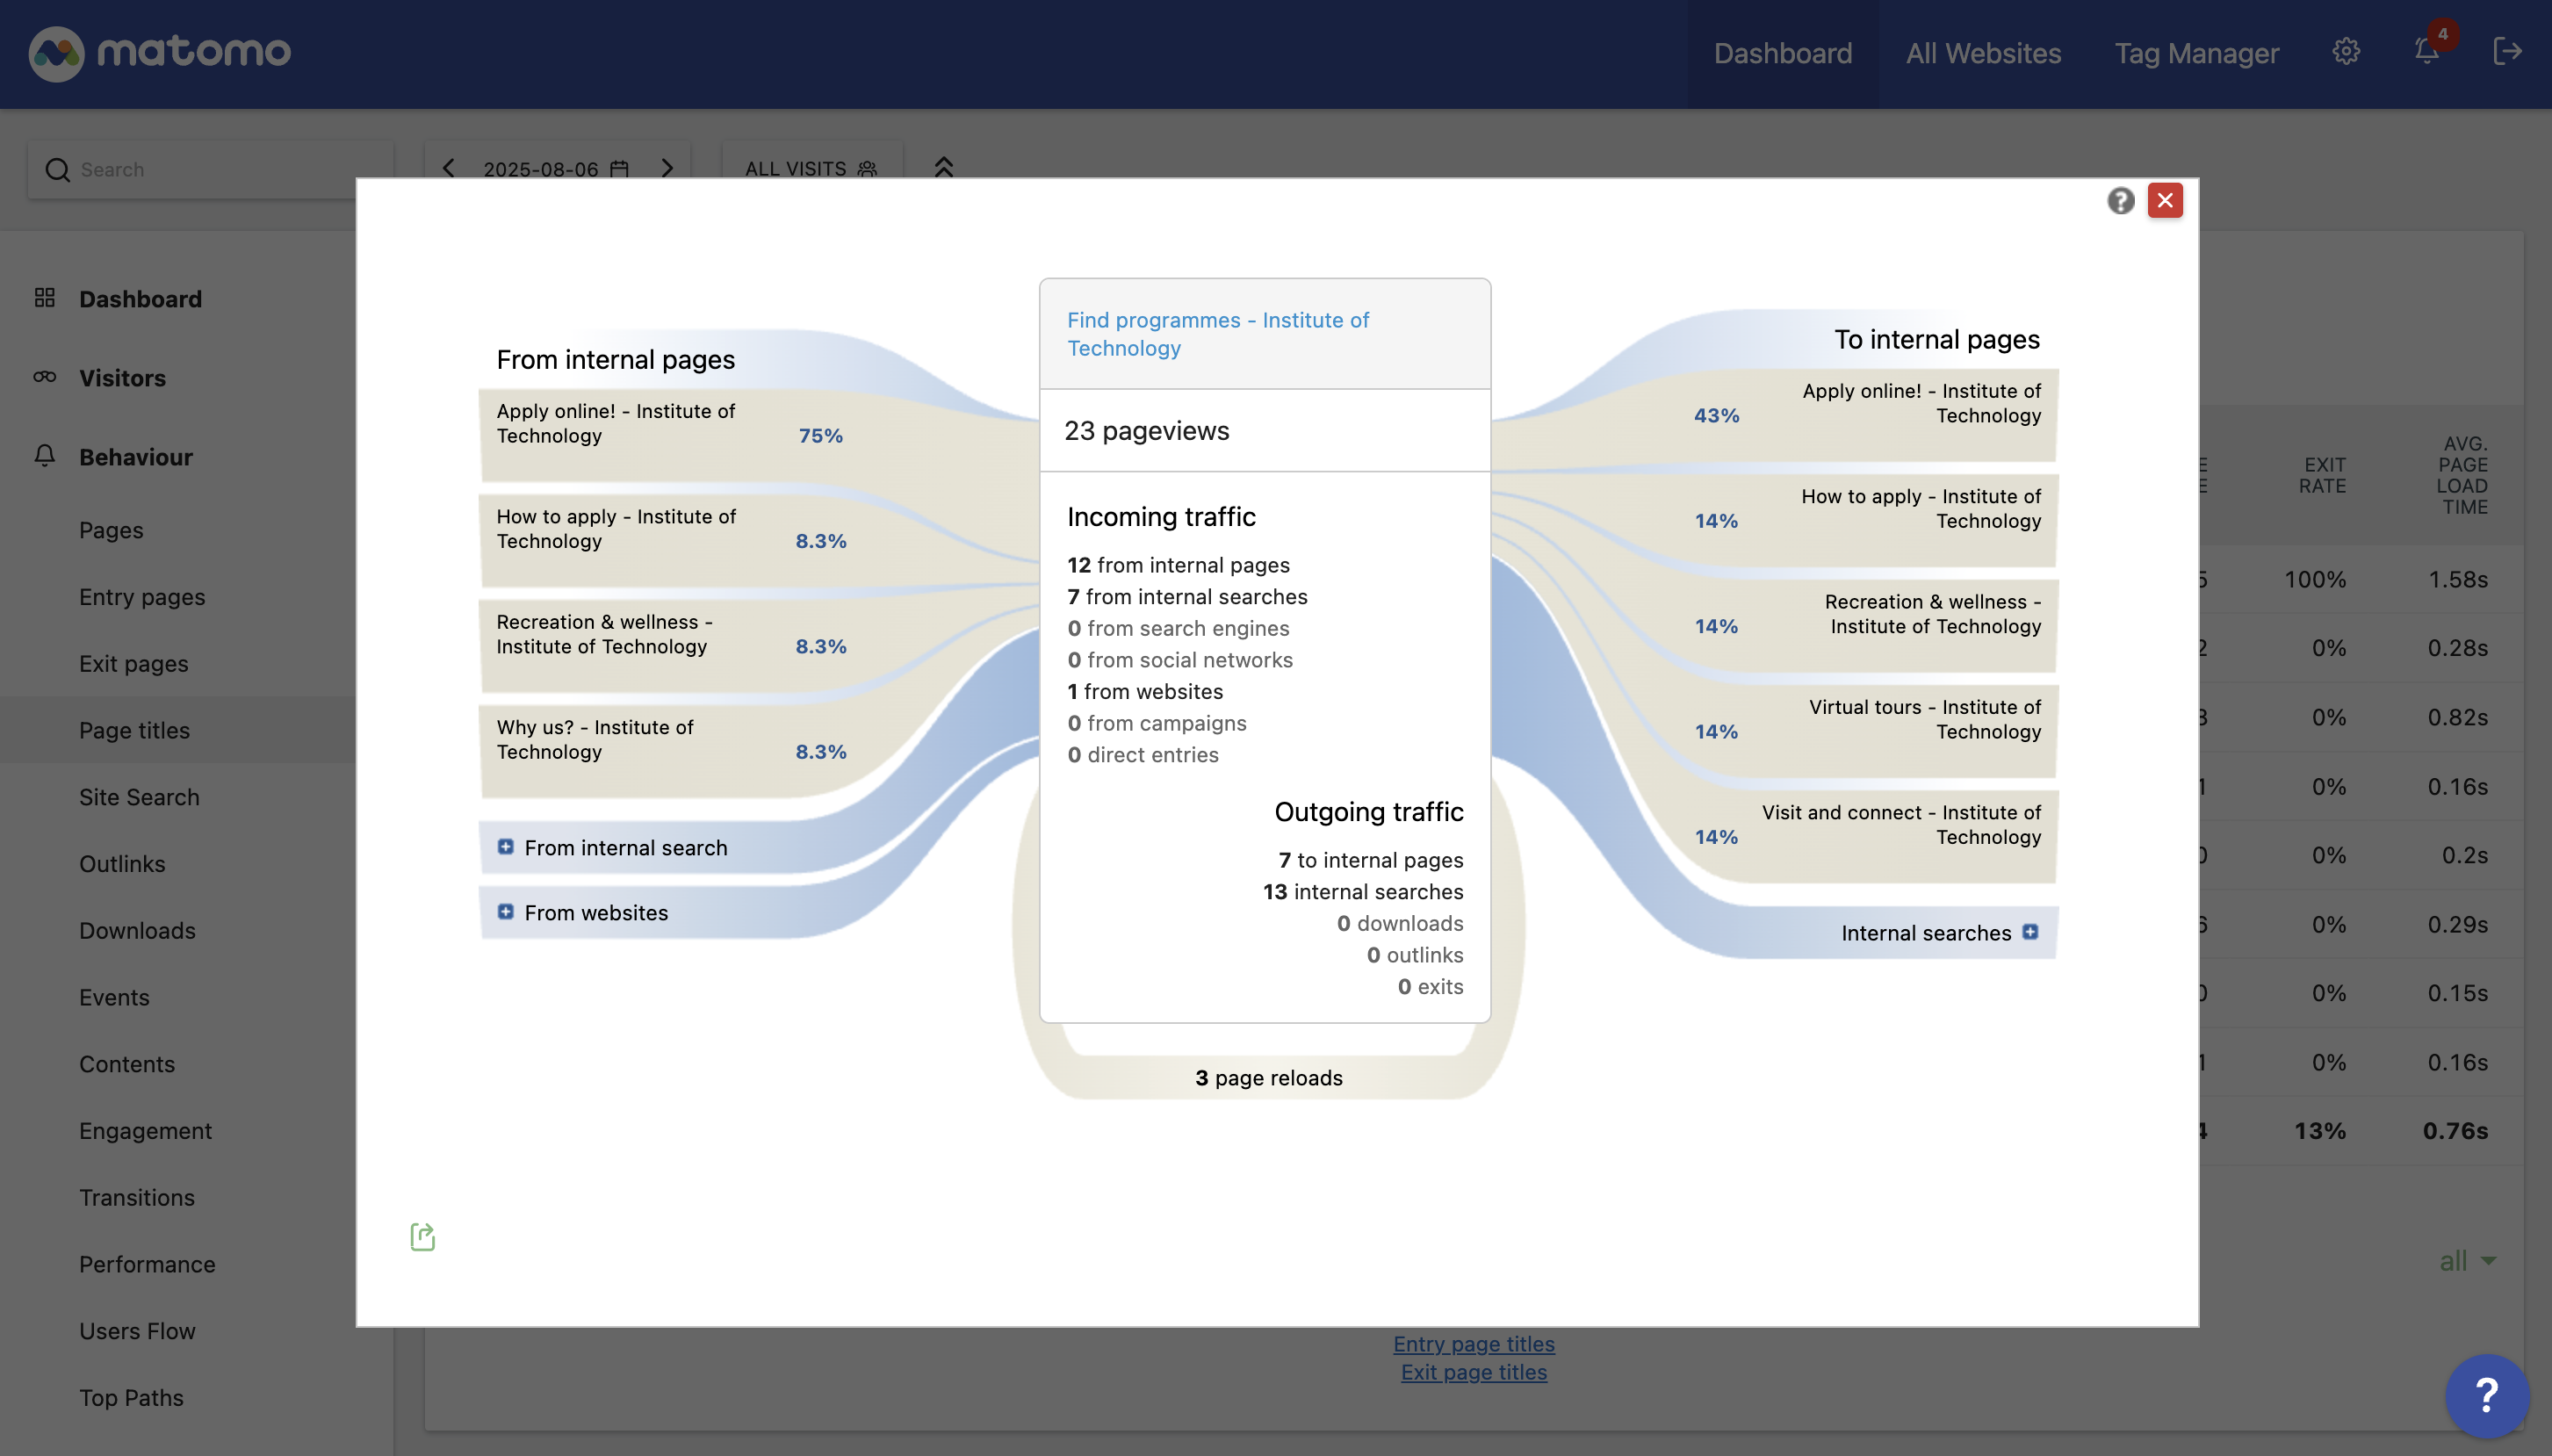
View reports
Once the integration is set up, you can view reports in Matomo to monitor key metrics such as user traffic, engagement and pageviews.