Integrate with Posnet
Roles
These roles reflect the default DreamApply setup.
You can define custom roles based on your
institution's needs. Learn more →:
You can define custom roles based on your
institution's needs. Learn more →
DreamApply can be integrated with Posnet by YapiKredi. To enable payments using Posnet, perform the following tasks:
Before you begin
To integrate with DreamApply, your account must have the Superuser role or the accounting-gateways permission.
Obtain the Posnet API credentials
To start using Posnet with DreamApply, you need to obtain the following Posnet API credentials:
- Merchant ID: A 10 digit Yapı Kredi Bank merchant number
- Terminal ID: A 8 digits Yapı Kredi Bank merchant terminal number
- Posnet ID: An up to 16 digits Yapı Kredi Bank merchant Posnet number used in 3D Secure encryption transactions
- Encryption Key: An encryption key used to sign payment requests
API credentials are provided by YapiKredi as part of the onboarding process. To obtain them, visit the YapiKredi website and submit a merchant application request.
Ensure the credentials you receive are for the production (live) environment. Sandbox (test) credentials cannot be used for live payment transactions in DreamApply.
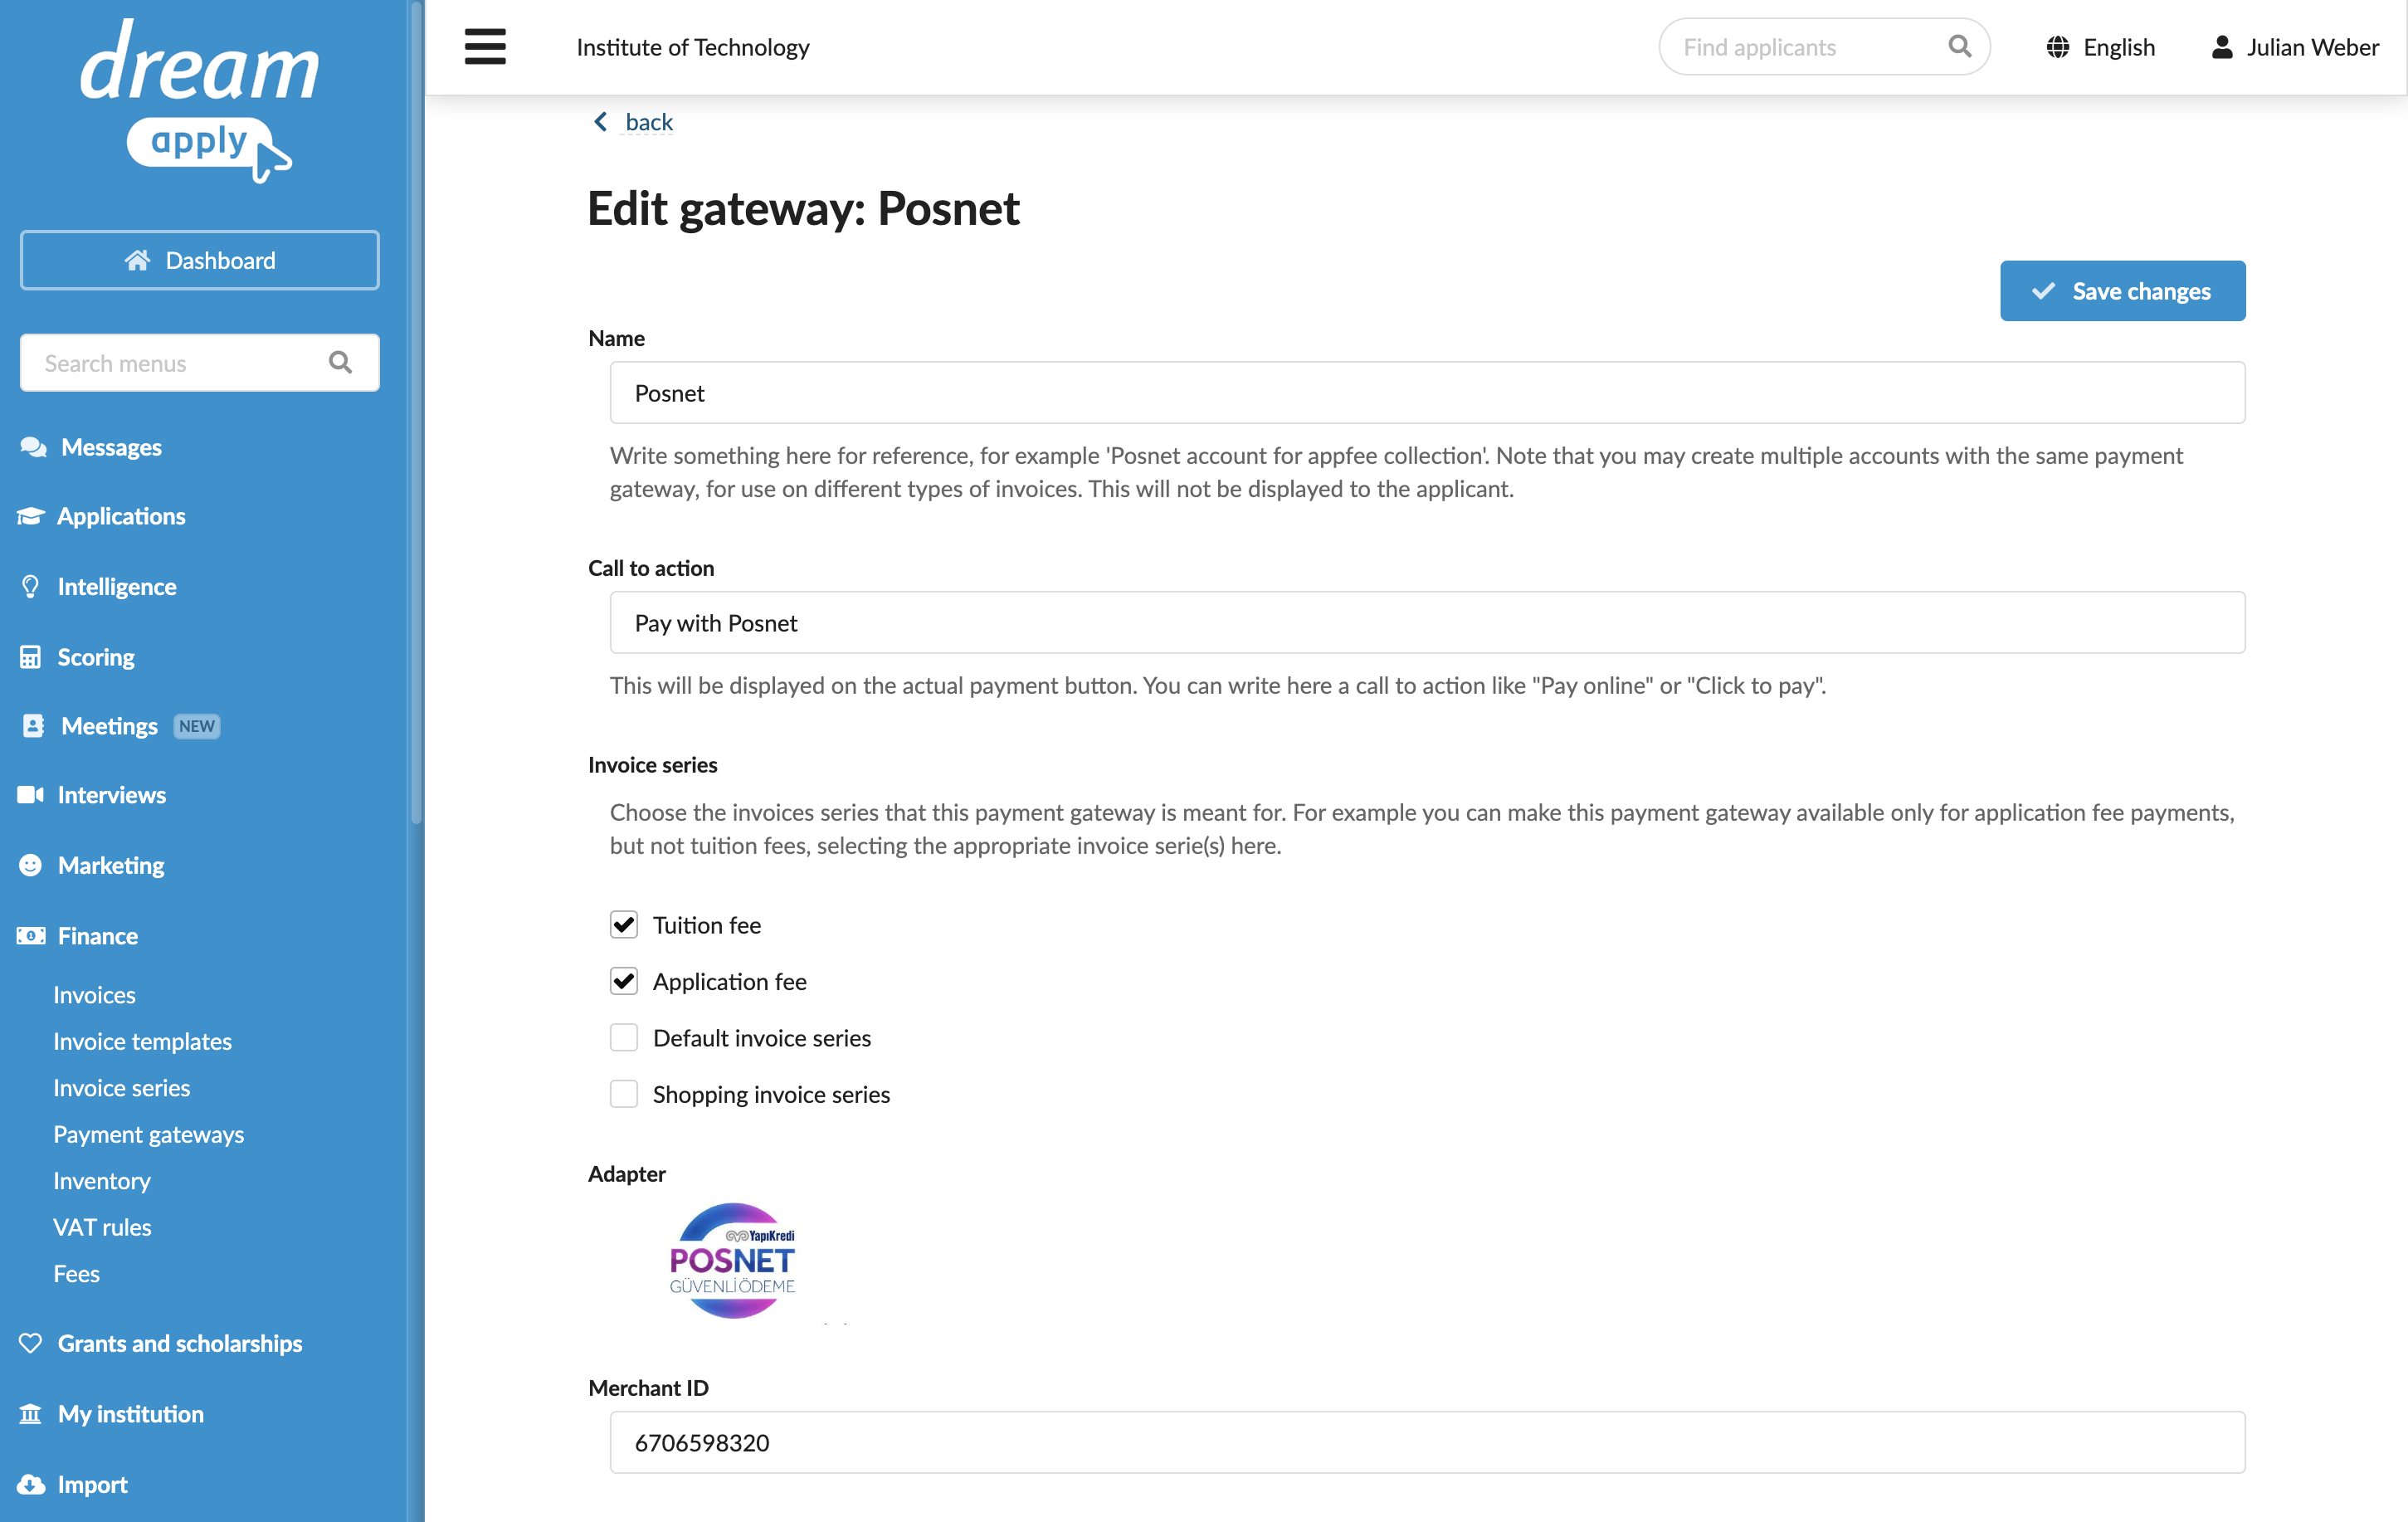
Configure the Posnet gateway
To configure a Posnet payment gateway in DreamApply:
In the main menu, under Finance, select Payment gateways.
In the gateway list, select Posnet.
Specify the gateway settings:
In the Name field, specify the gateway name. This name will be used for internal reference only and will not be displayed to applicants.
In the Call to action field, specify the text to display on the payment button on financial documents, for example, Pay with Posnet.
In the Invoice series section, select check boxes next to the invoice series that must be processed through the Posnet gateway. If a specific series is not selected, DreamApply will not display the payment button on documents that use this series.
You can link the same invoice series to several payment gateways to allow applicants to choose their preferred payment option.
In the Partial payments section, select the Allow making partial payments check box to enable partial payments through the gateway.
Specify the API credentials obtained from YapiKredi.
At the top of the form, click Save changes.