Create Advisor accounts
Roles
These roles reflect the default DreamApply setup.
You can define custom roles based on your
institution's needs. Learn more →:
You can define custom roles based on your
institution's needs. Learn more →
You must set up accounts for all Advisors involved in the admission process. To do this:
Before you begin
To set up an Advisor account, your account must have the Superuser or Marketing administrator role or the advisors permission.
Add an Advisor account
To add an Advisor account:
- In the main menu, under Marketing, select Advisors.
- Under the Advisor list, click New advisor.
- Specify the Advisor’s name and the territory from which they send applicants.
- If necessary, in the Tracker field, change the name of the tracker that will be assigned to applicants managed by this Advisor.
- In the Postal address section, provide the Advisor’s address if necessary.
- In the Policy section, select the permission level for the Advisor and enable required options. For details, see Advisor permission levels.
- In the Contract validity section, define the account active period. To limit the account lifetime, you can specify a start date, an end date or both.
- If necessary, add the Advisor account to a specific group, provide additional notes and upload accompanying documentation.
- At the top of the form, click Save changes and define the Advisor account contacts if necessary.

Define the Advisor account contacts
After you create an Advisor account, you can define one or more contacts for it. The Advisor account contacts serve two purposes:
- Email routing: You can specify one or more email addresses to send copies of applicant communications to the Advisor. DreamApply only sends copies if the CC applicant emails to the Advisor option is enabled for the Advisor account.
- DreamApply portal access: You can grant the Advisor access to the DreamApply portal. The Advisor can then log in to the portal and perform actions based on their access level.
You can use contacts for either purpose or both, depending on your institutional needs.
One Advisor account can be associated with several contacts, for example, if you want to define both institutional and personal email addresses. However, for proper access control, follow these recommendations:
- Do not share one account among multiple people. Each Advisor account must correspond to a single person.
- Limit portal access: Grant portal access to only one contact to ensure a single DreamID record is created and used.
To add a contact to an Advisor account:
In the main menu, under Marketing, select Advisors.
In the Advisor list, select to edit the Advisor account.
In the Contacts section, click New contact.
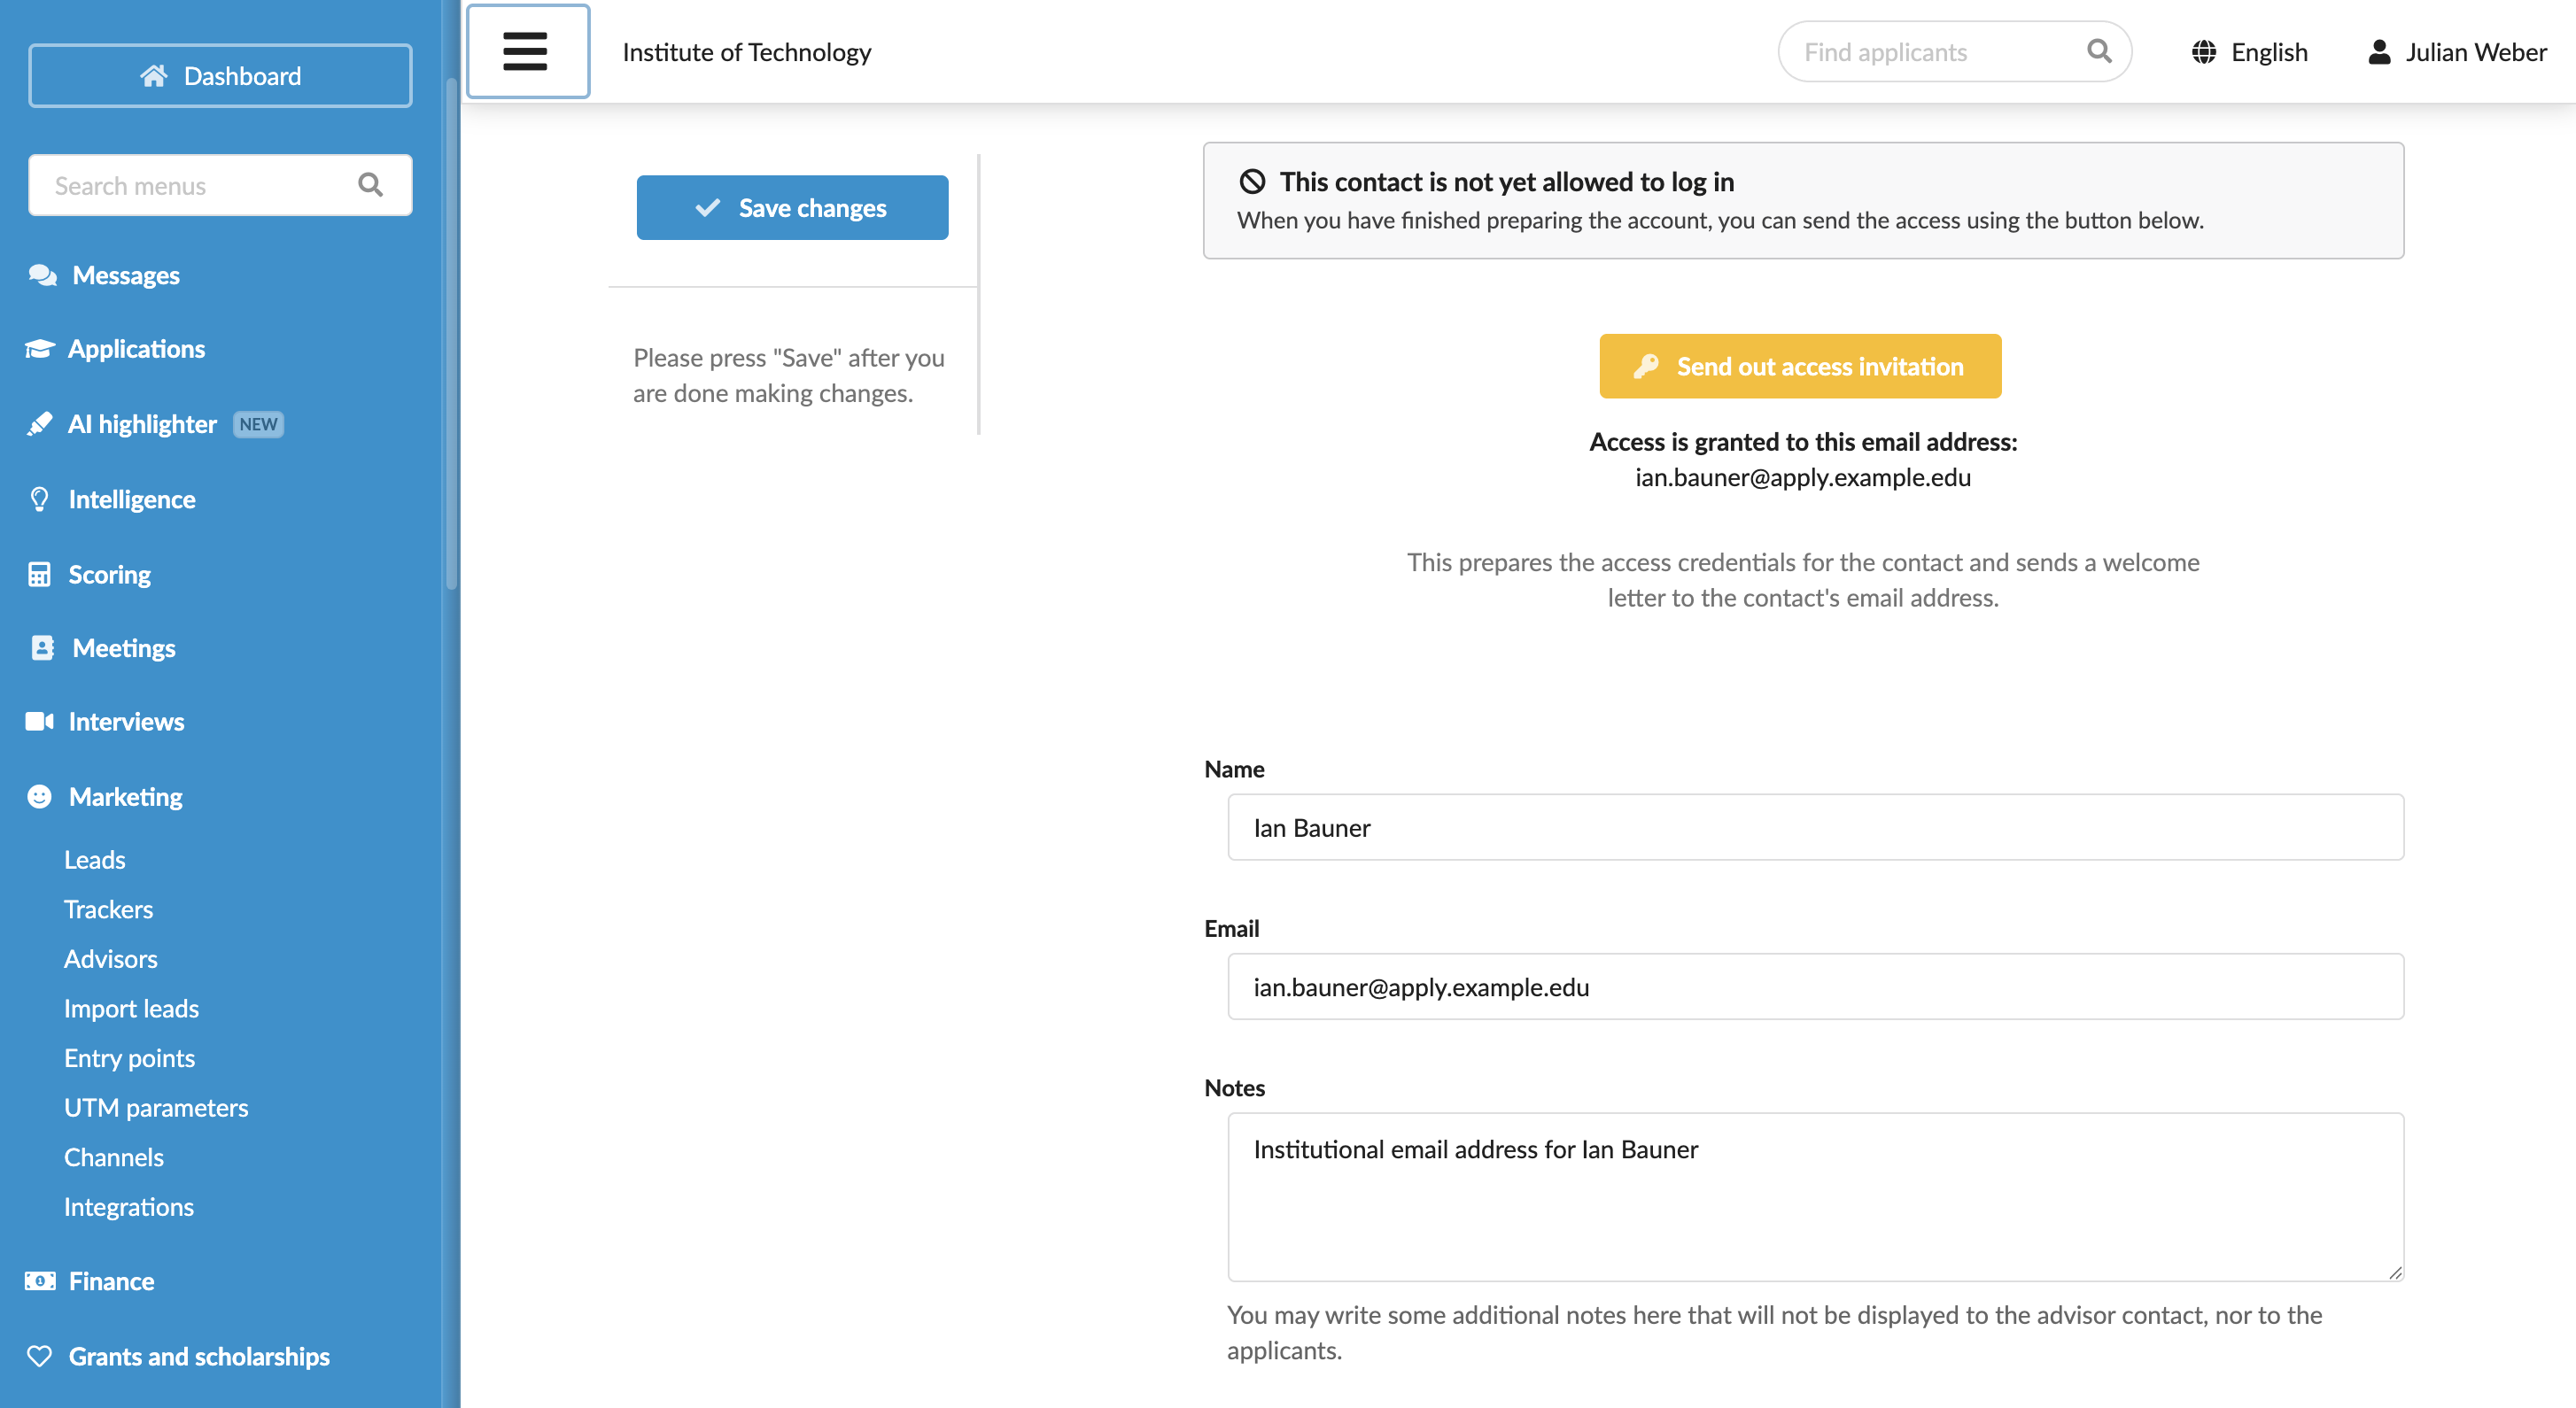
Define the contact name, email address and additional notes. These notes will be used for internal reference only and will not be displayed to the Advisor or applicants.
At the top of the form, click Save changes.
To grant portal access to the contact, at the top of the form, click the Send out access invitation button.
DreamApply will create a new DreamID record for the Advisor and send a welcome email with joining instructions to the specified email address. When the Advisor logs in using their DreamID, they will confirm their email ownership and gain access to the portal.