Getting started with Textile
Assume you want to add content to the main page of the DreamApply portal. Textile will help you highlight key points, organize requirements and guide applicants through their next steps.
Step 1. Locate the front-segment
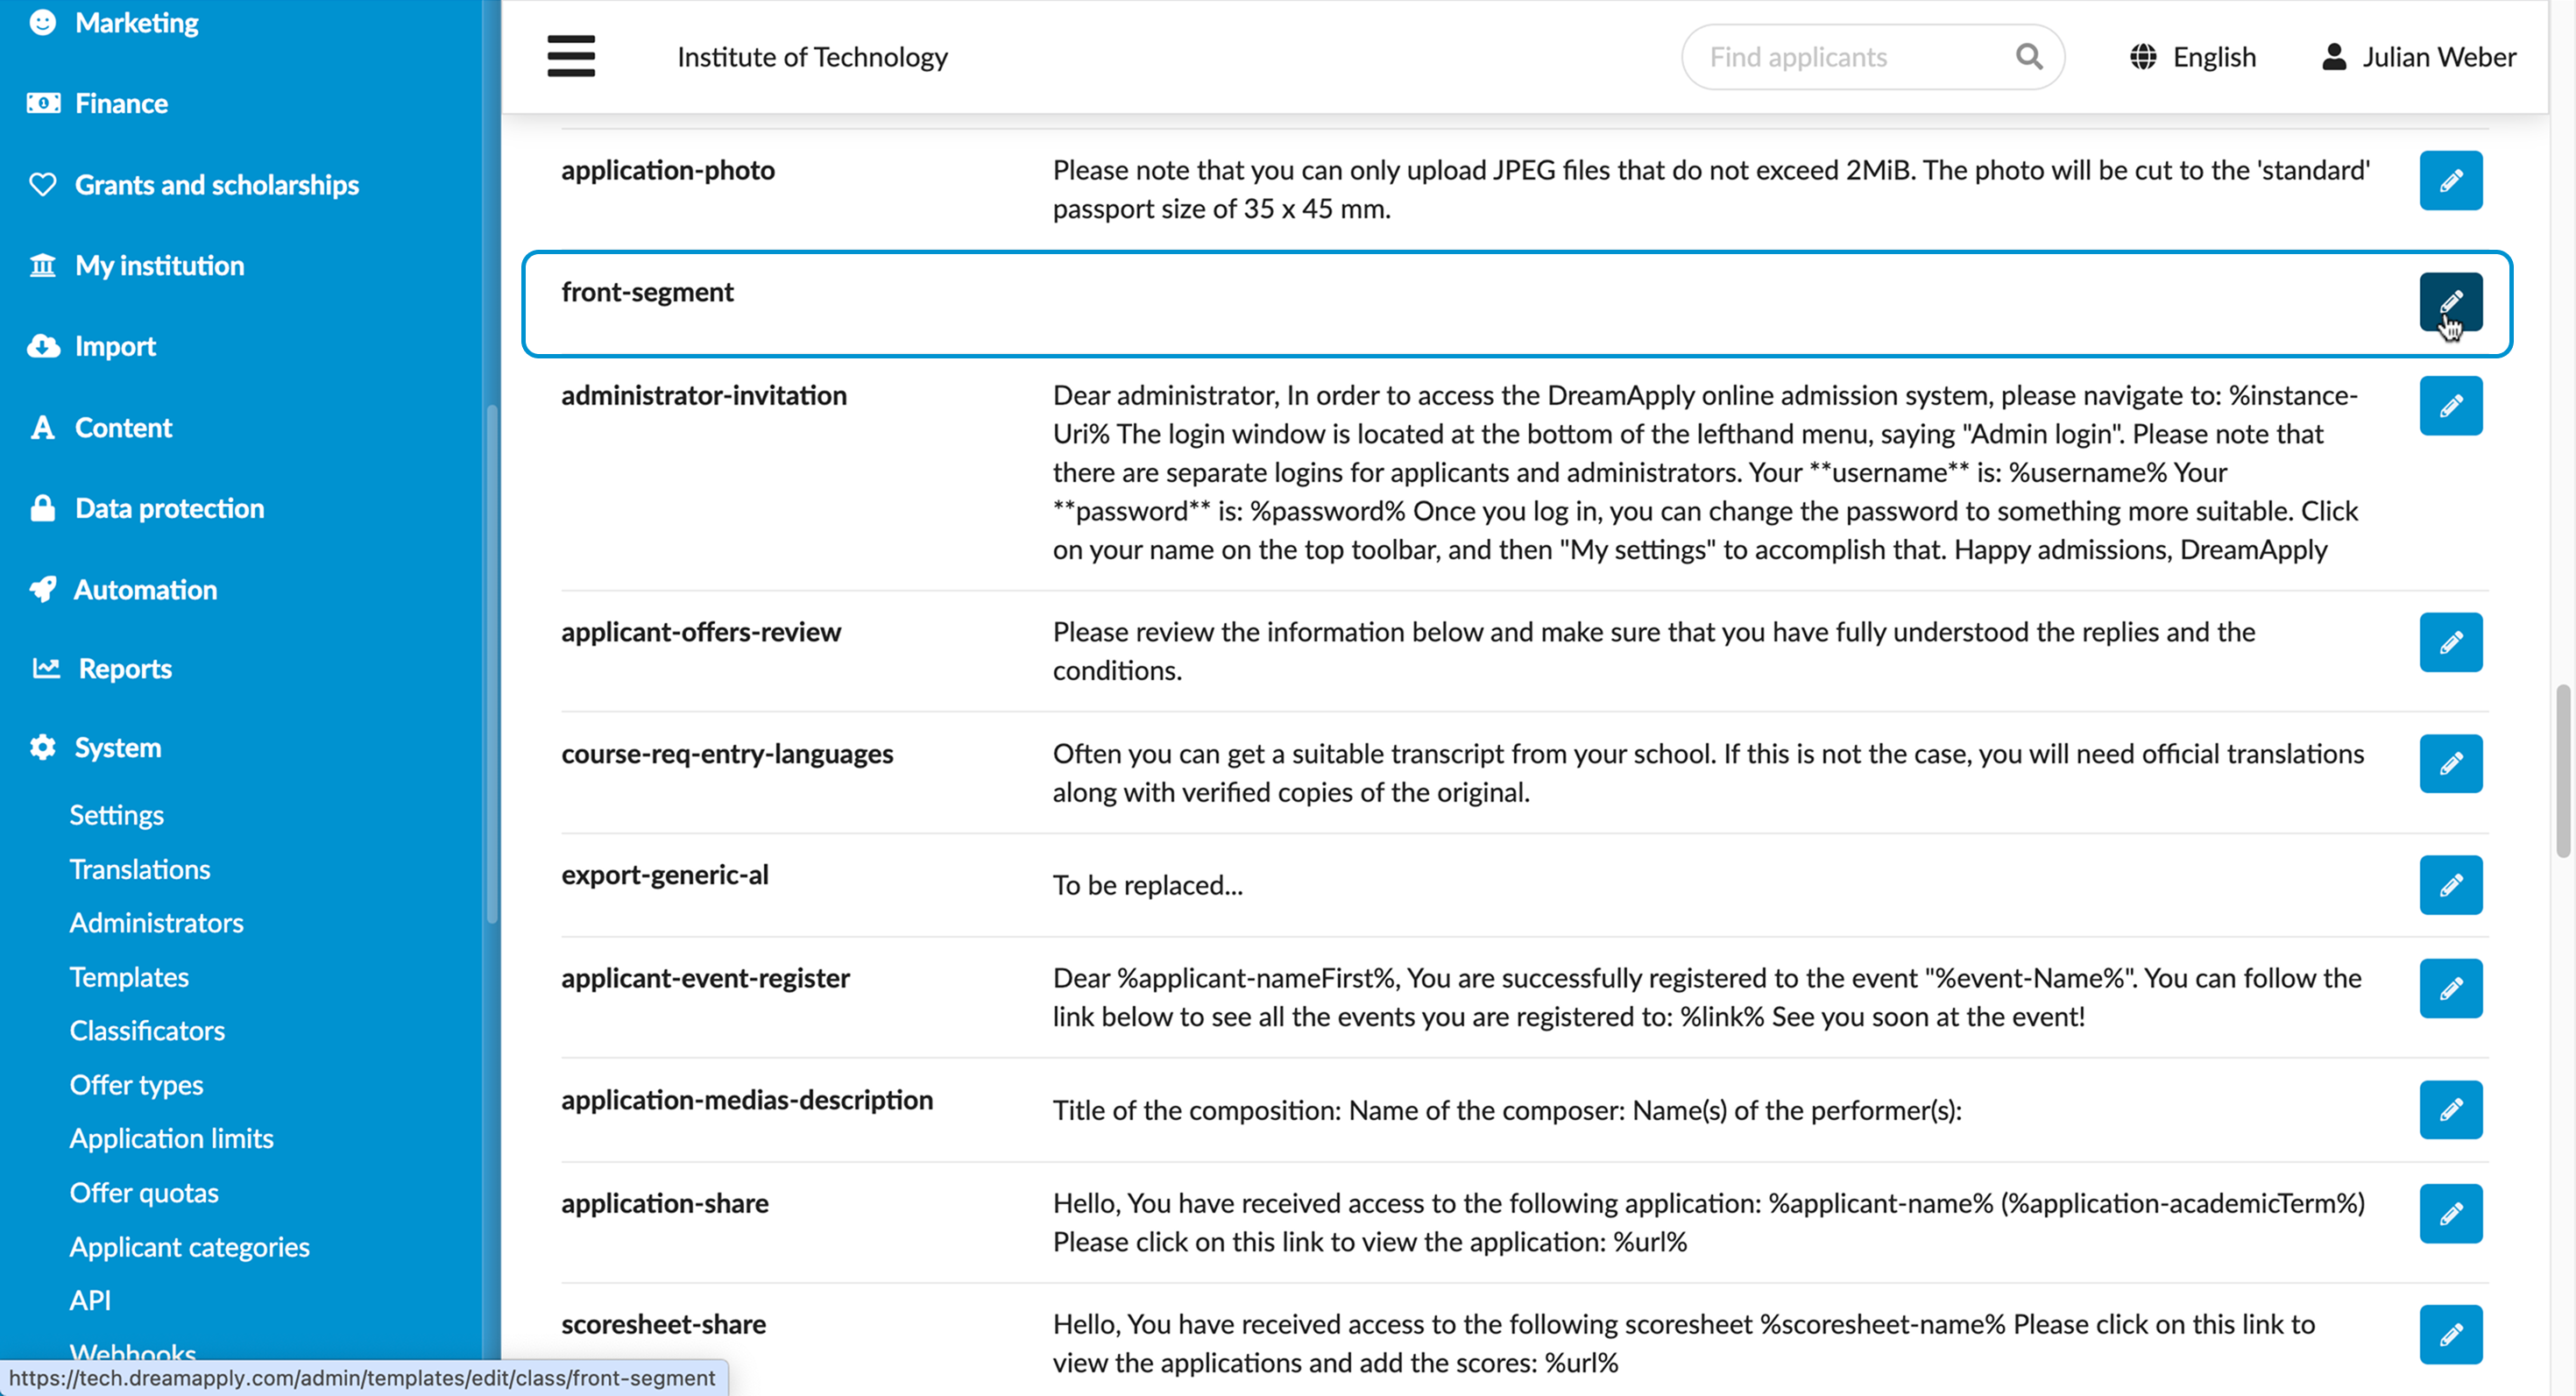
DreamApply uses templates to display content across the portal, including portal pages, invoice blueprints and system emails. The content displayed under the top banner on the main page is controlled by the front-segment template.
- In the main menu, under System, select Templates.
- In the template list, locate the front-segment.
- To the right of the template, click the Edit icon.
Alternatively, you can open the main portal page as an Administrator and click Add/Edit front segment.
Step 2. Add headings
Use headings to separate major sections and help applicants find information quickly. Start a line with a heading tag, such as h1.. Place each heading on a new line and separate headings with a blank line.
h1. Welcome to the Admissions portal

h1. Application steps

h1. Required documents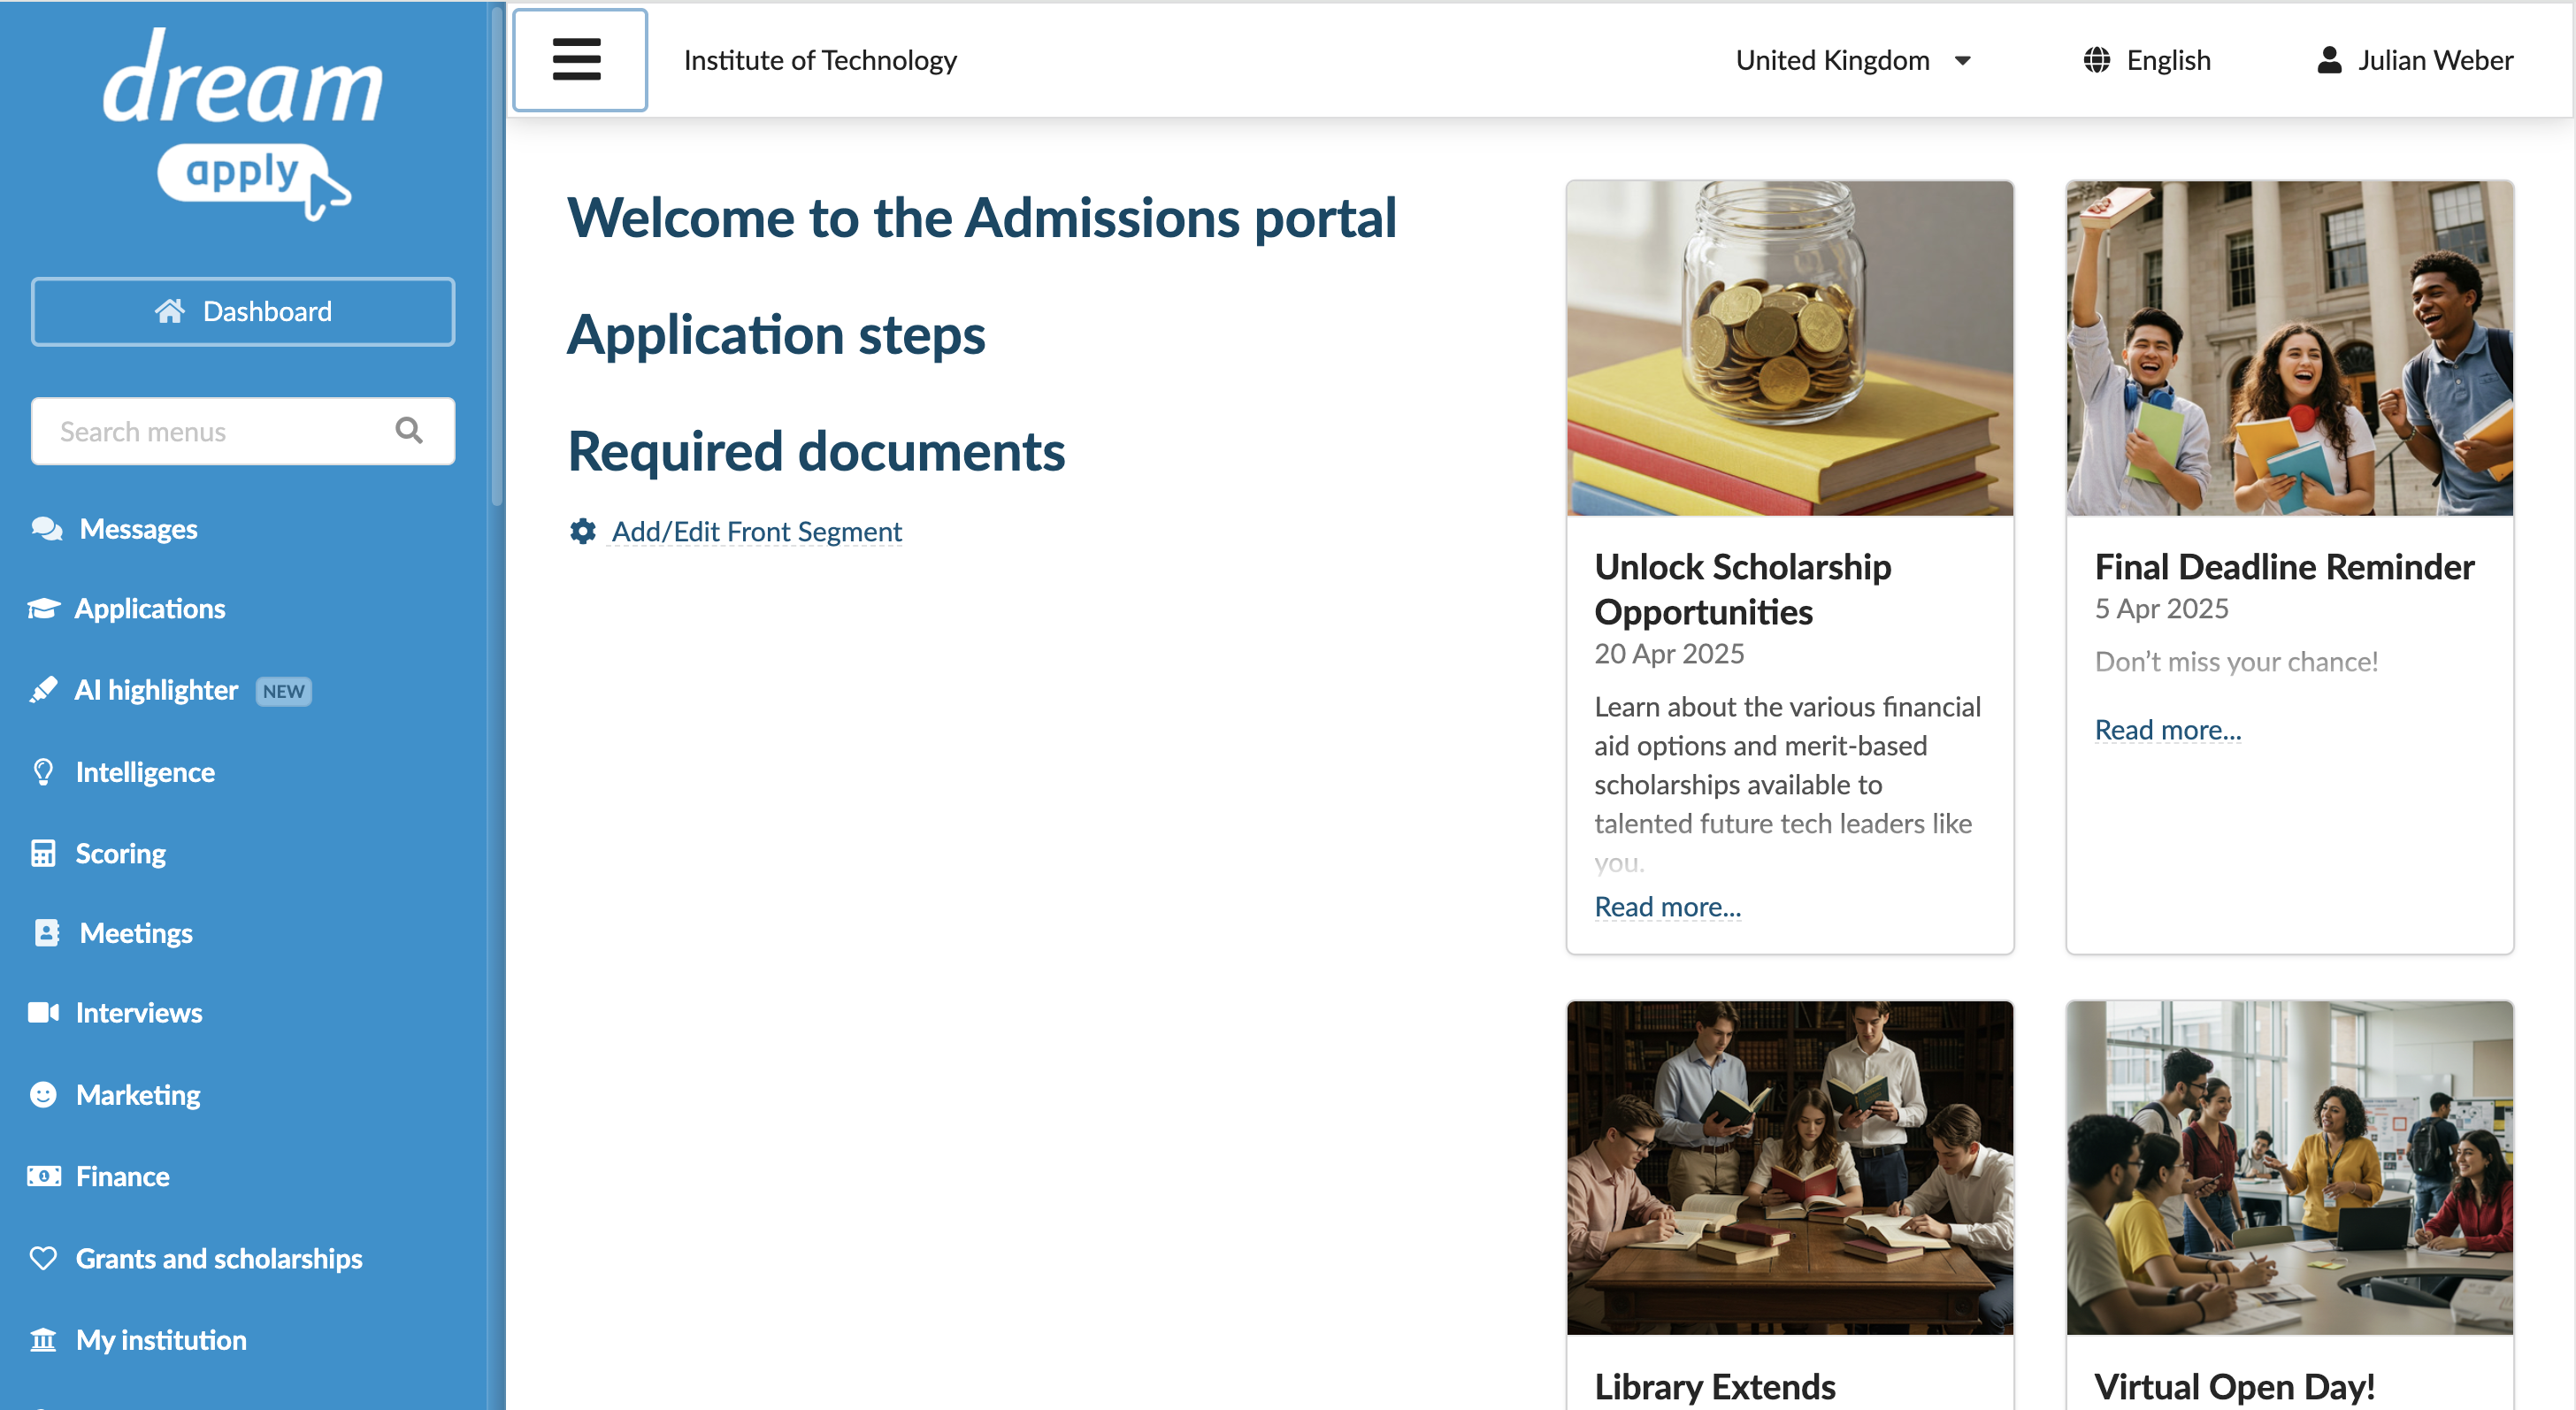
Step 3. Write paragraphs
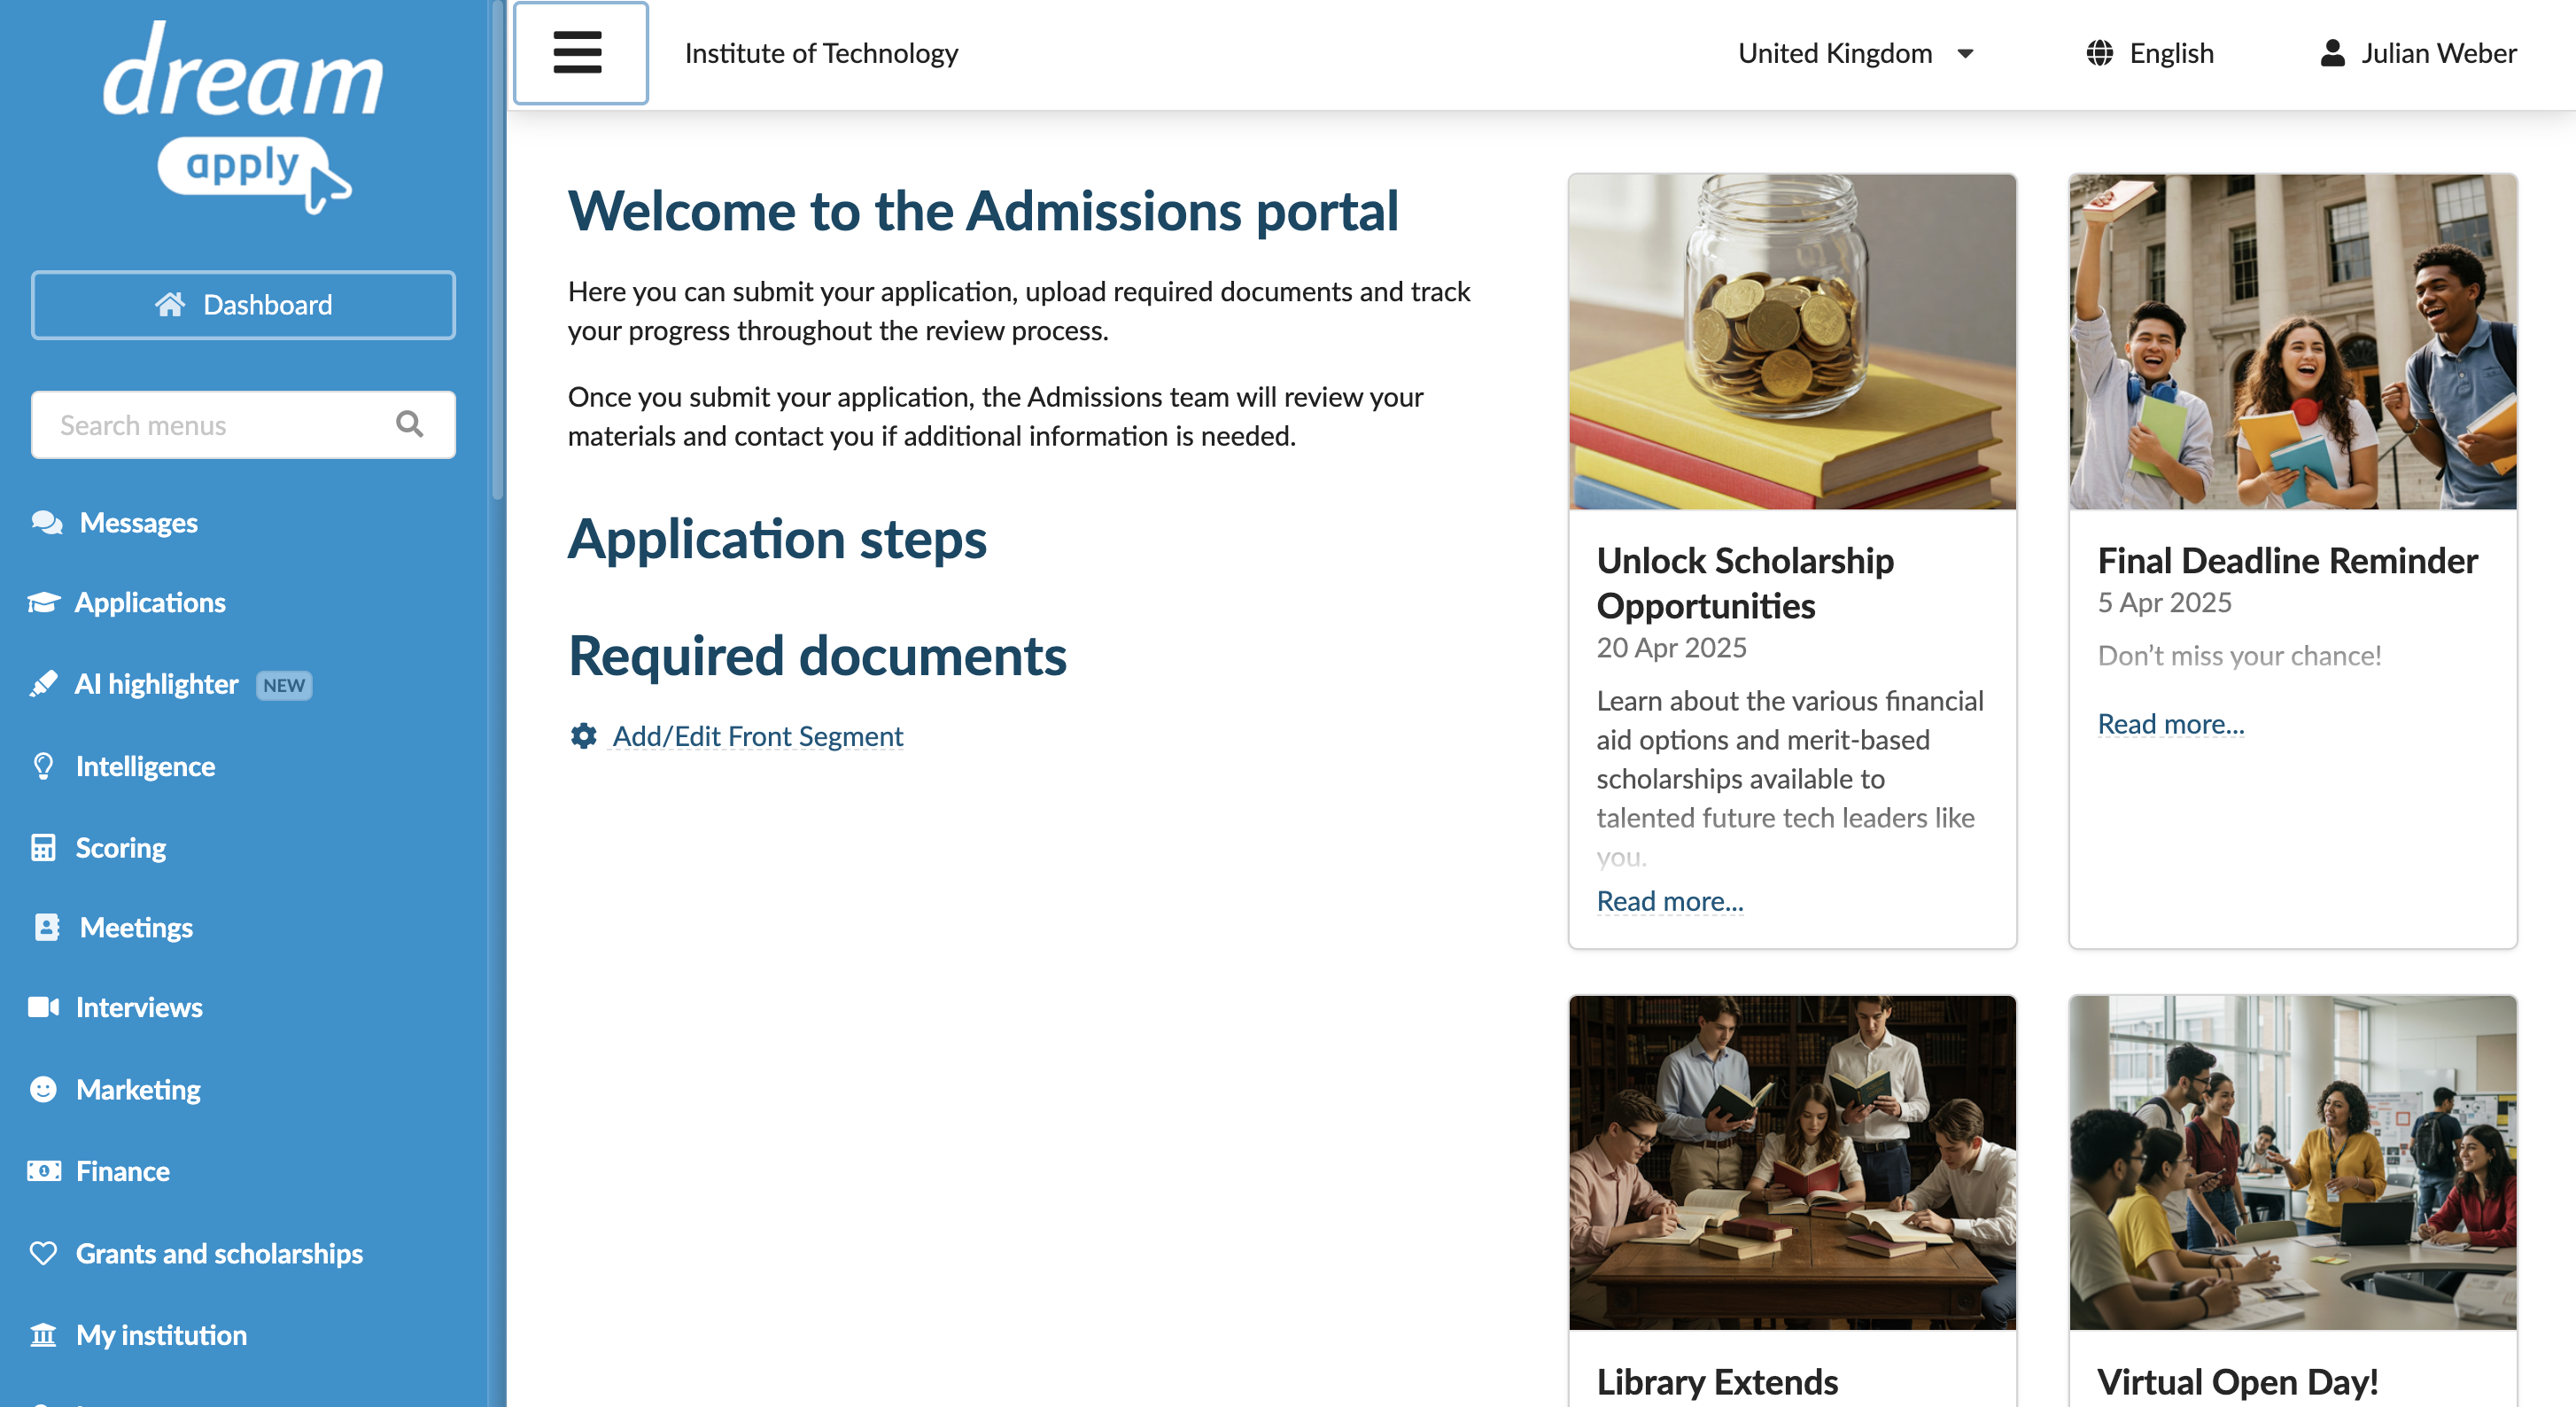
Add body text to introduce applicants to the application process. Separate paragraphs with a blank line.
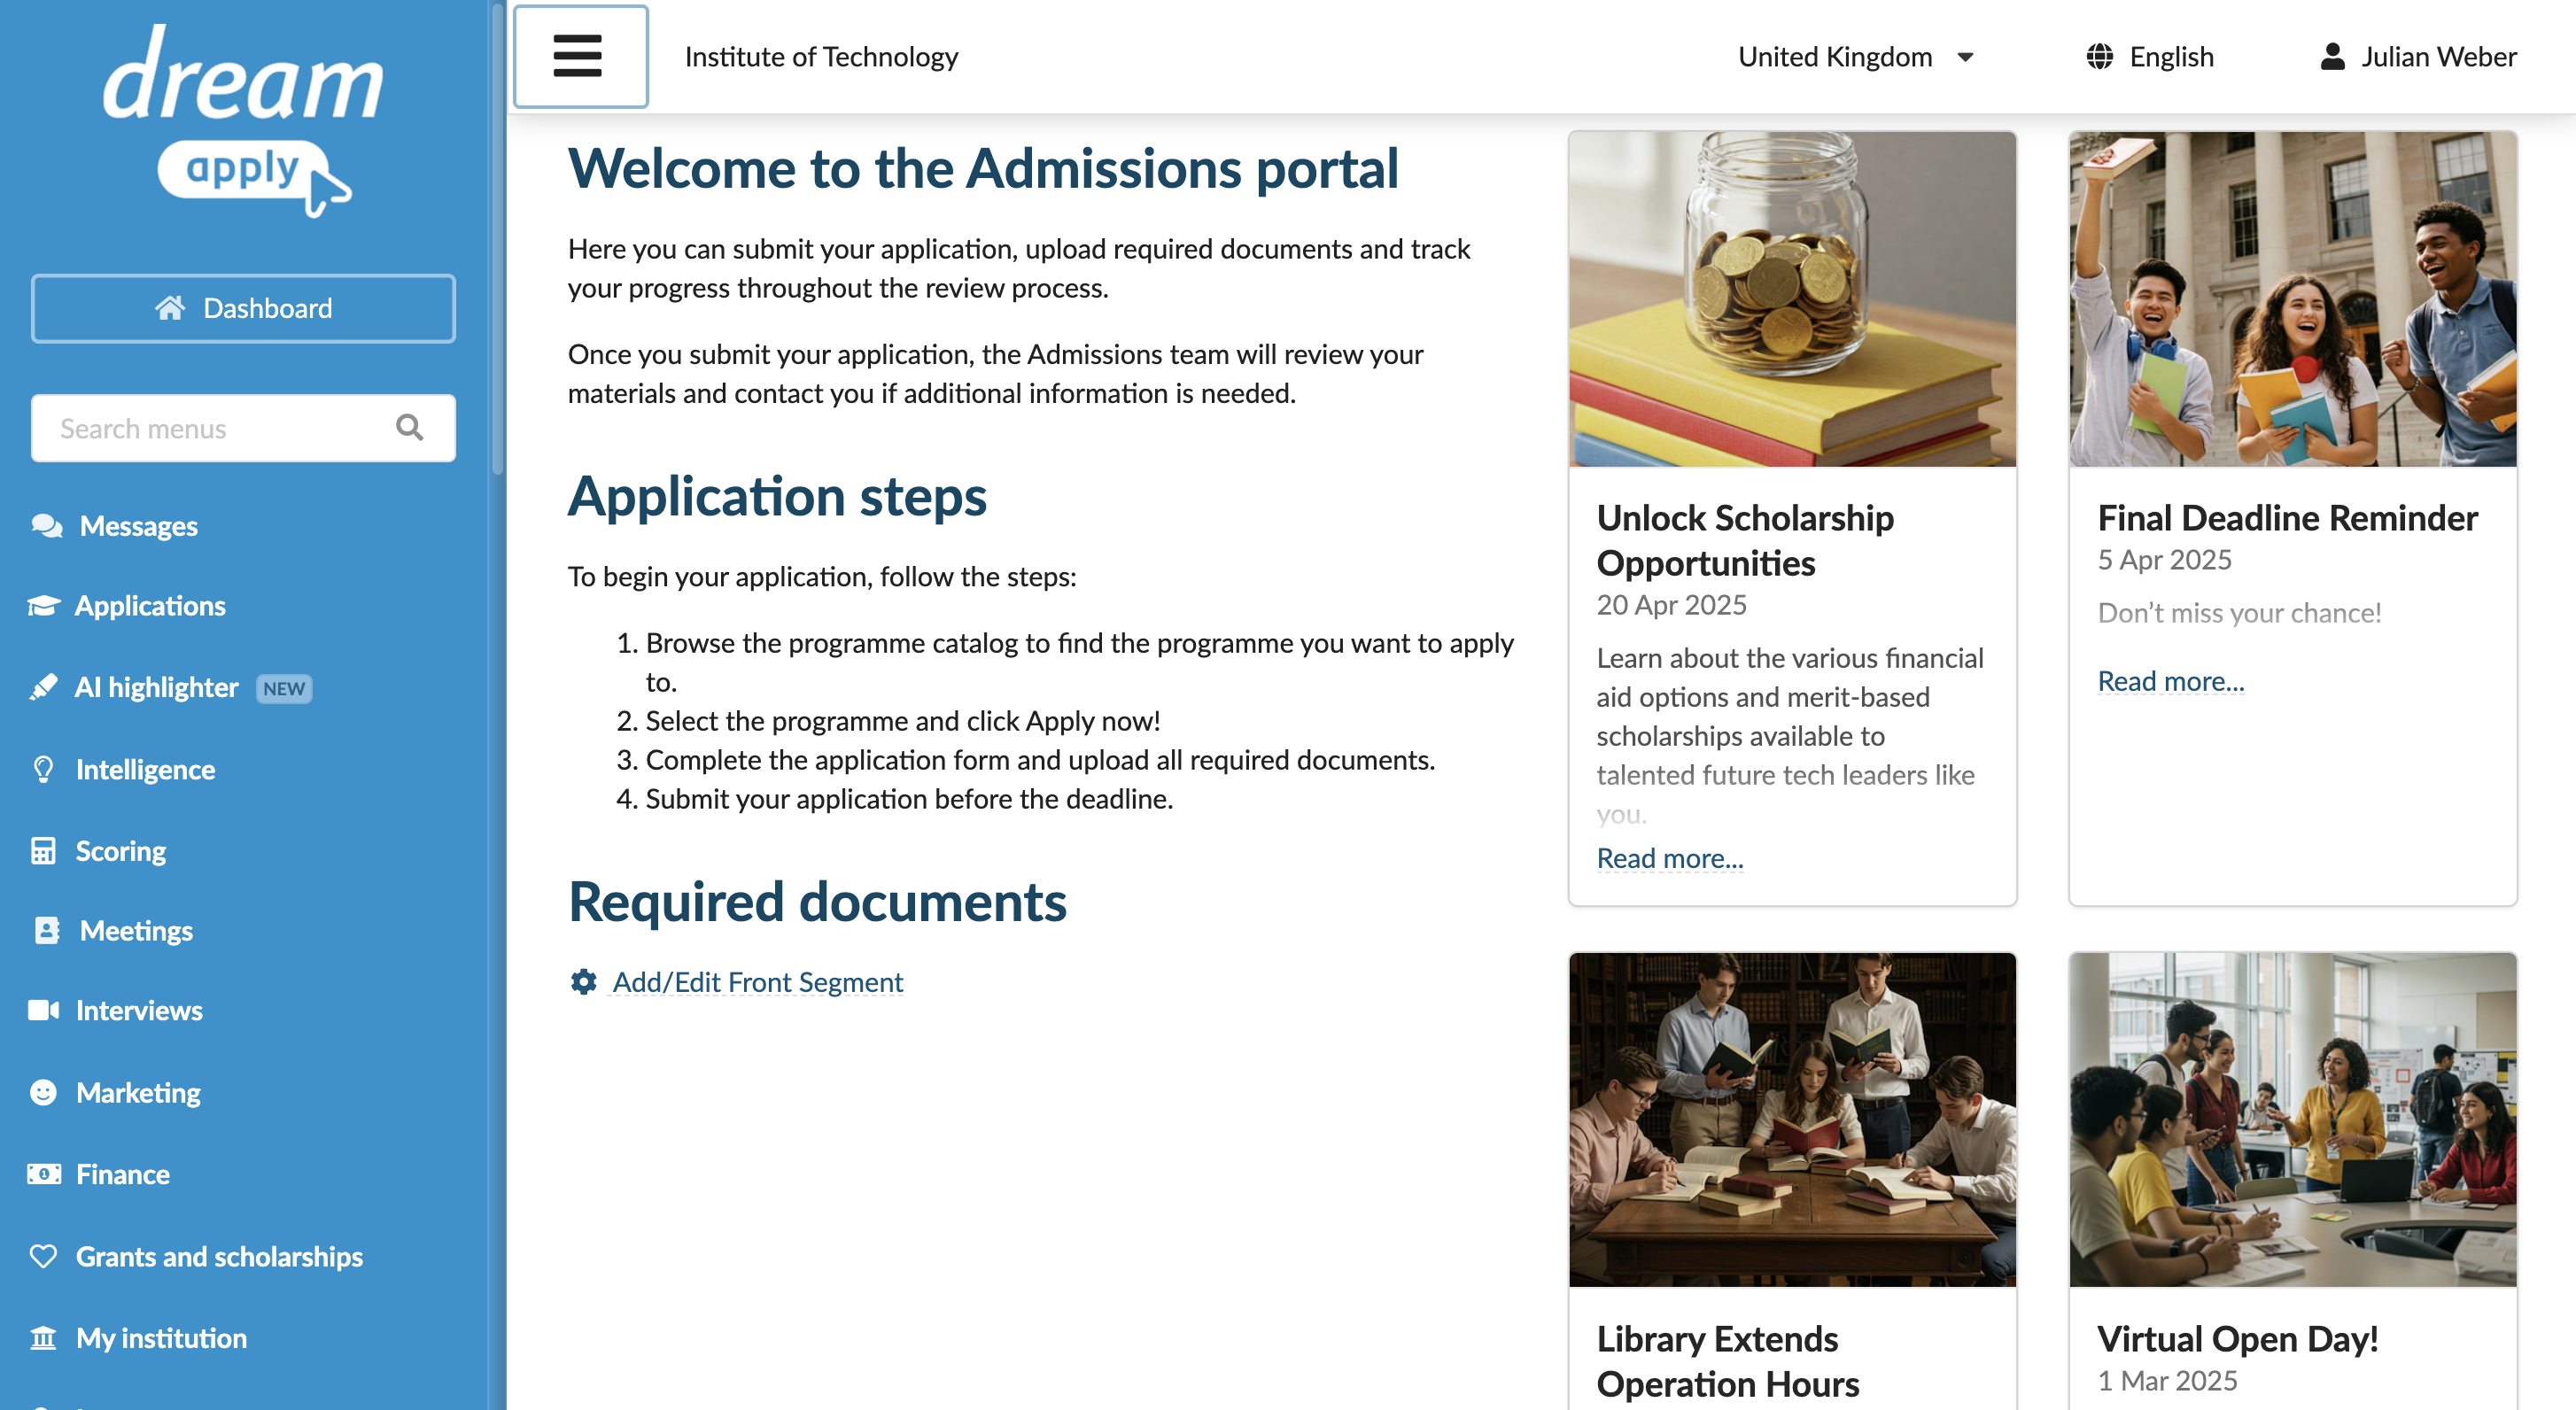
h1. Welcome to the Admissions portal

Here you can submit your application, upload required documents and track your progress throughout the review process.

Once you submit your application, the Admissions team will review your materials and contact you if additional information is needed.

...
Step 4. Create lists
Use lists to present information in a simple, readable format:
- Unordered (bulleted) lists: Start each list item with an asterisk
* - Ordered (numbered) lists: Start each list item with a hash
#
...
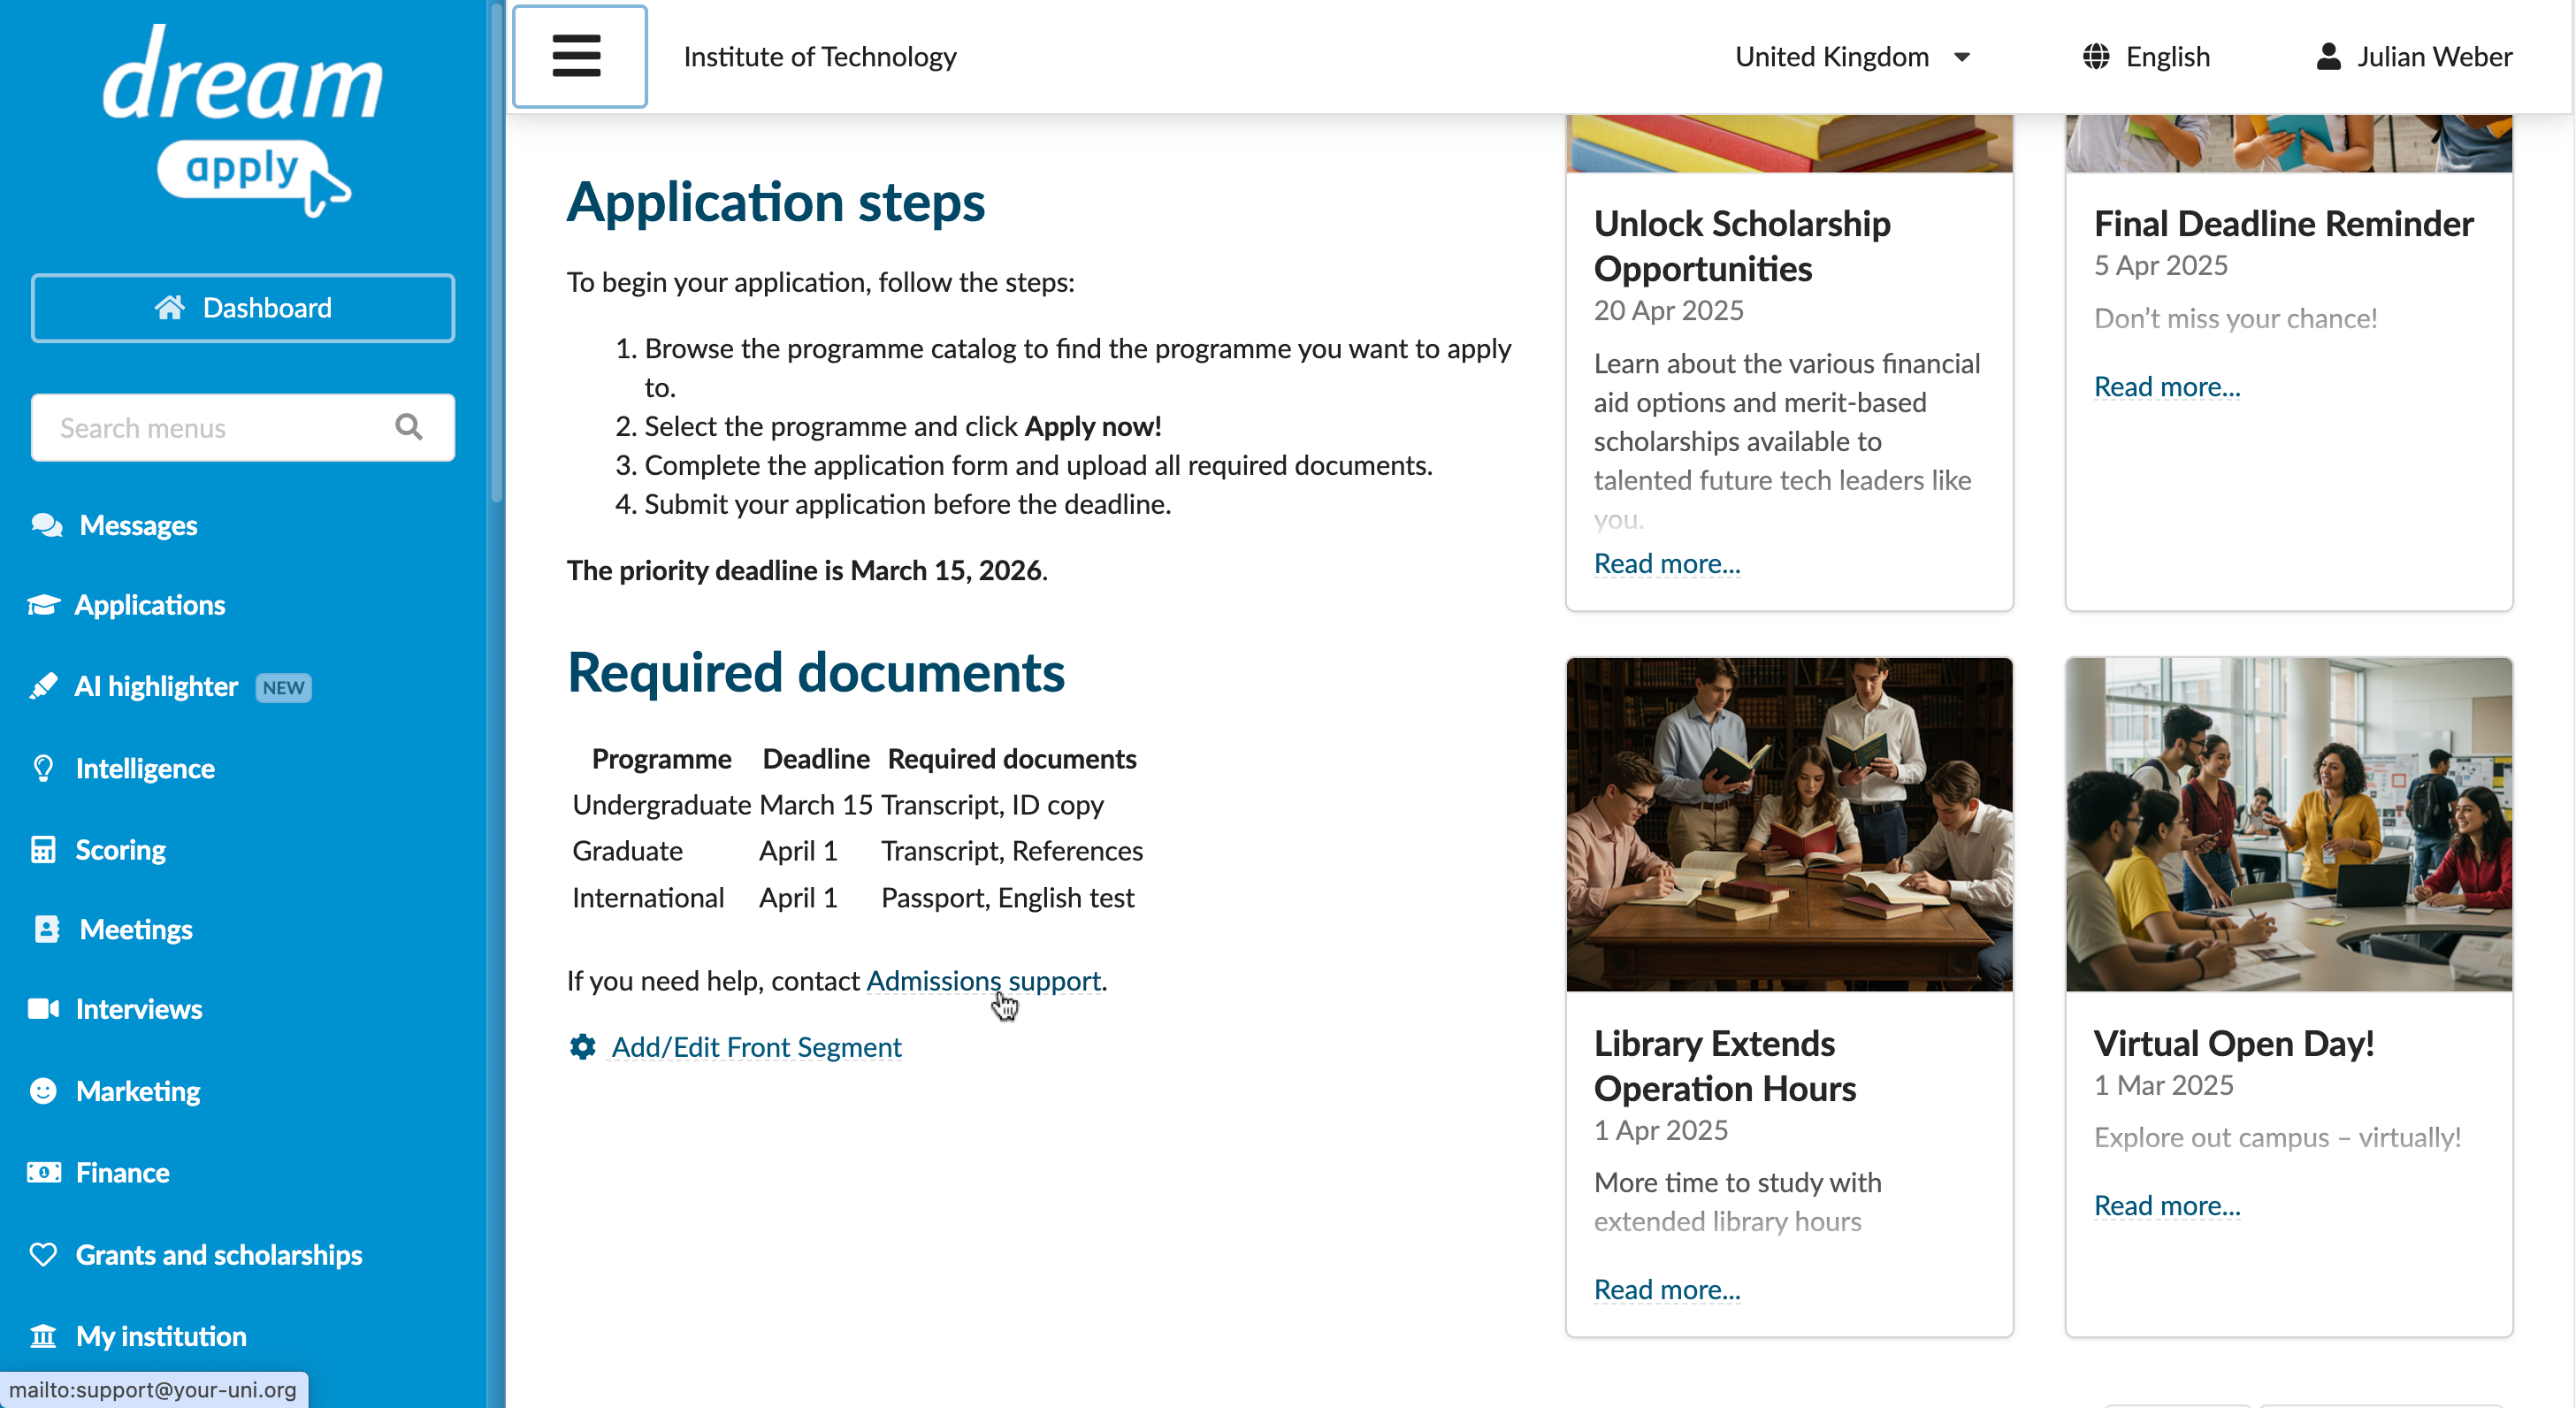
h1. Application steps
To begin your application, follow the steps:
# Browse the programme catalog to find the programme you want to apply to.
# Select the programme and click Apply now!
# Complete the application form and upload all required documents.
# Submit your application before the deadline.
...
Step 5. Use bold text for critical information
Use bold formatting to highlight important deadlines or required actions. Wrap the text in single asterisks *.
...
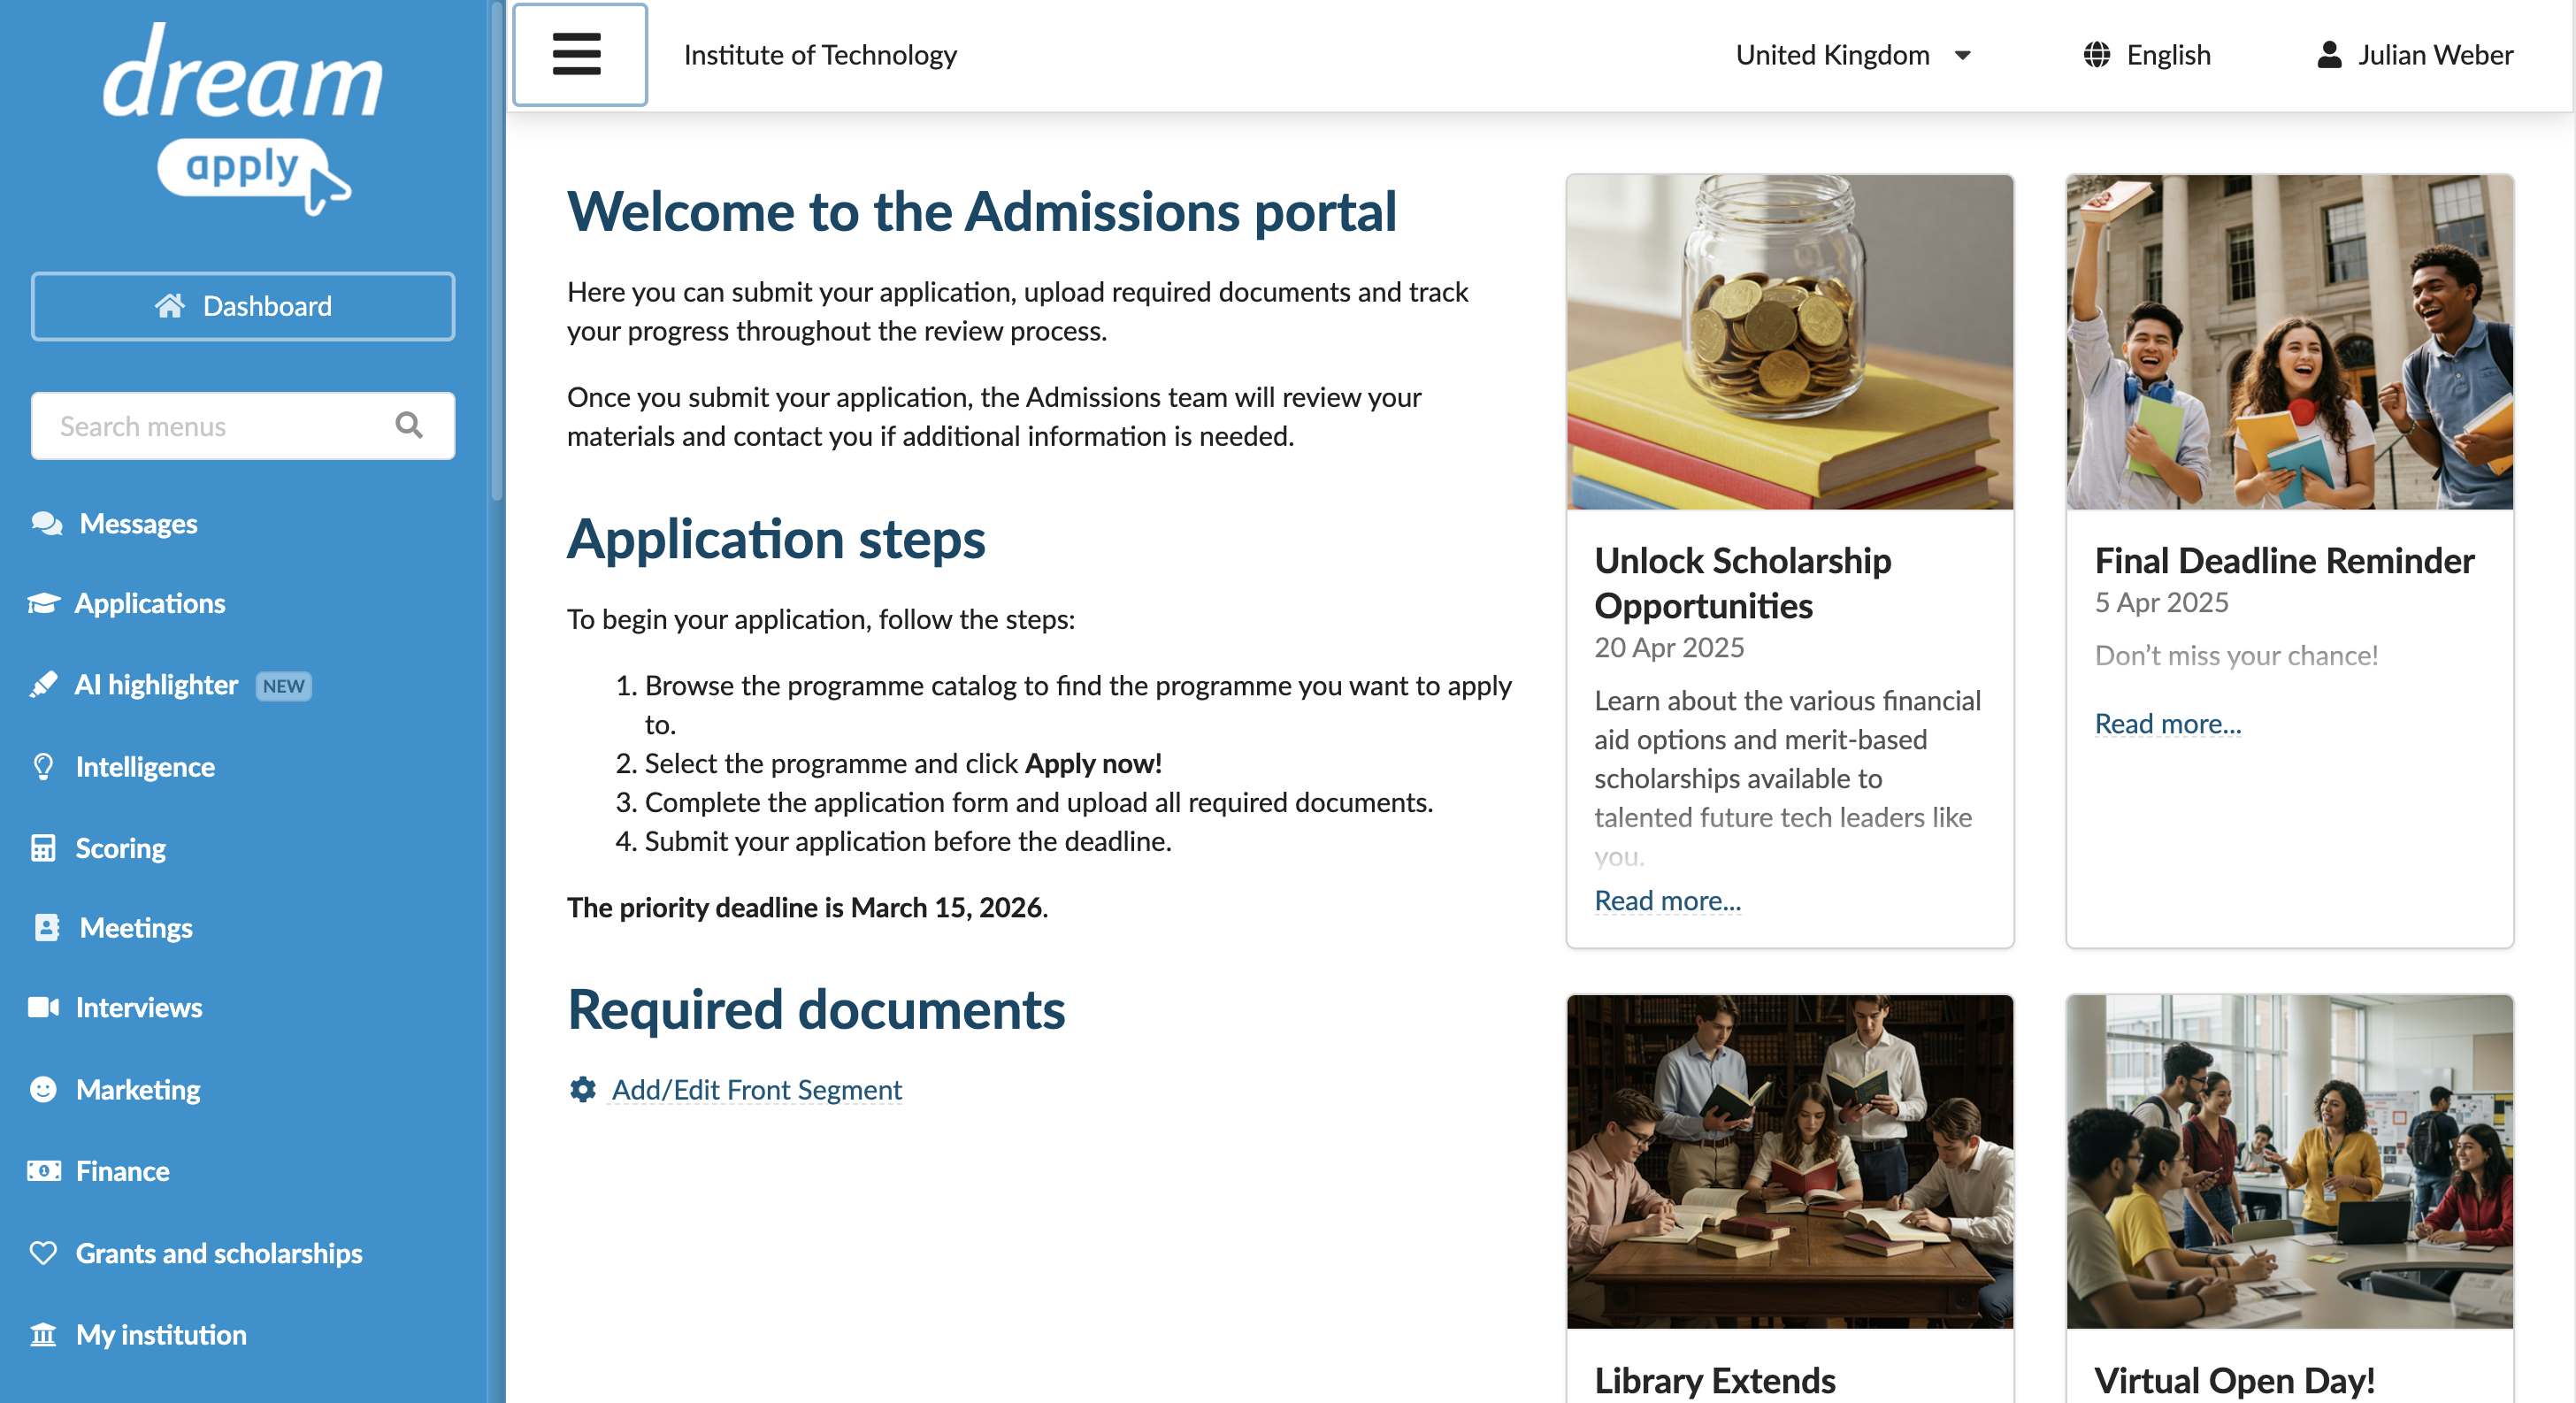
h1. Application steps
To begin your application, follow the steps:
# Browse the programme catalog to find the programme you want to apply to.
# Select the programme and click **Apply now!**
# Complete the application form and upload all required documents.
# Submit your application before the deadline.
**The priority deadline is March 15, 2026**.
...
Step 6. Use tables
Use tables to display structured information such as lists of required materials.
...
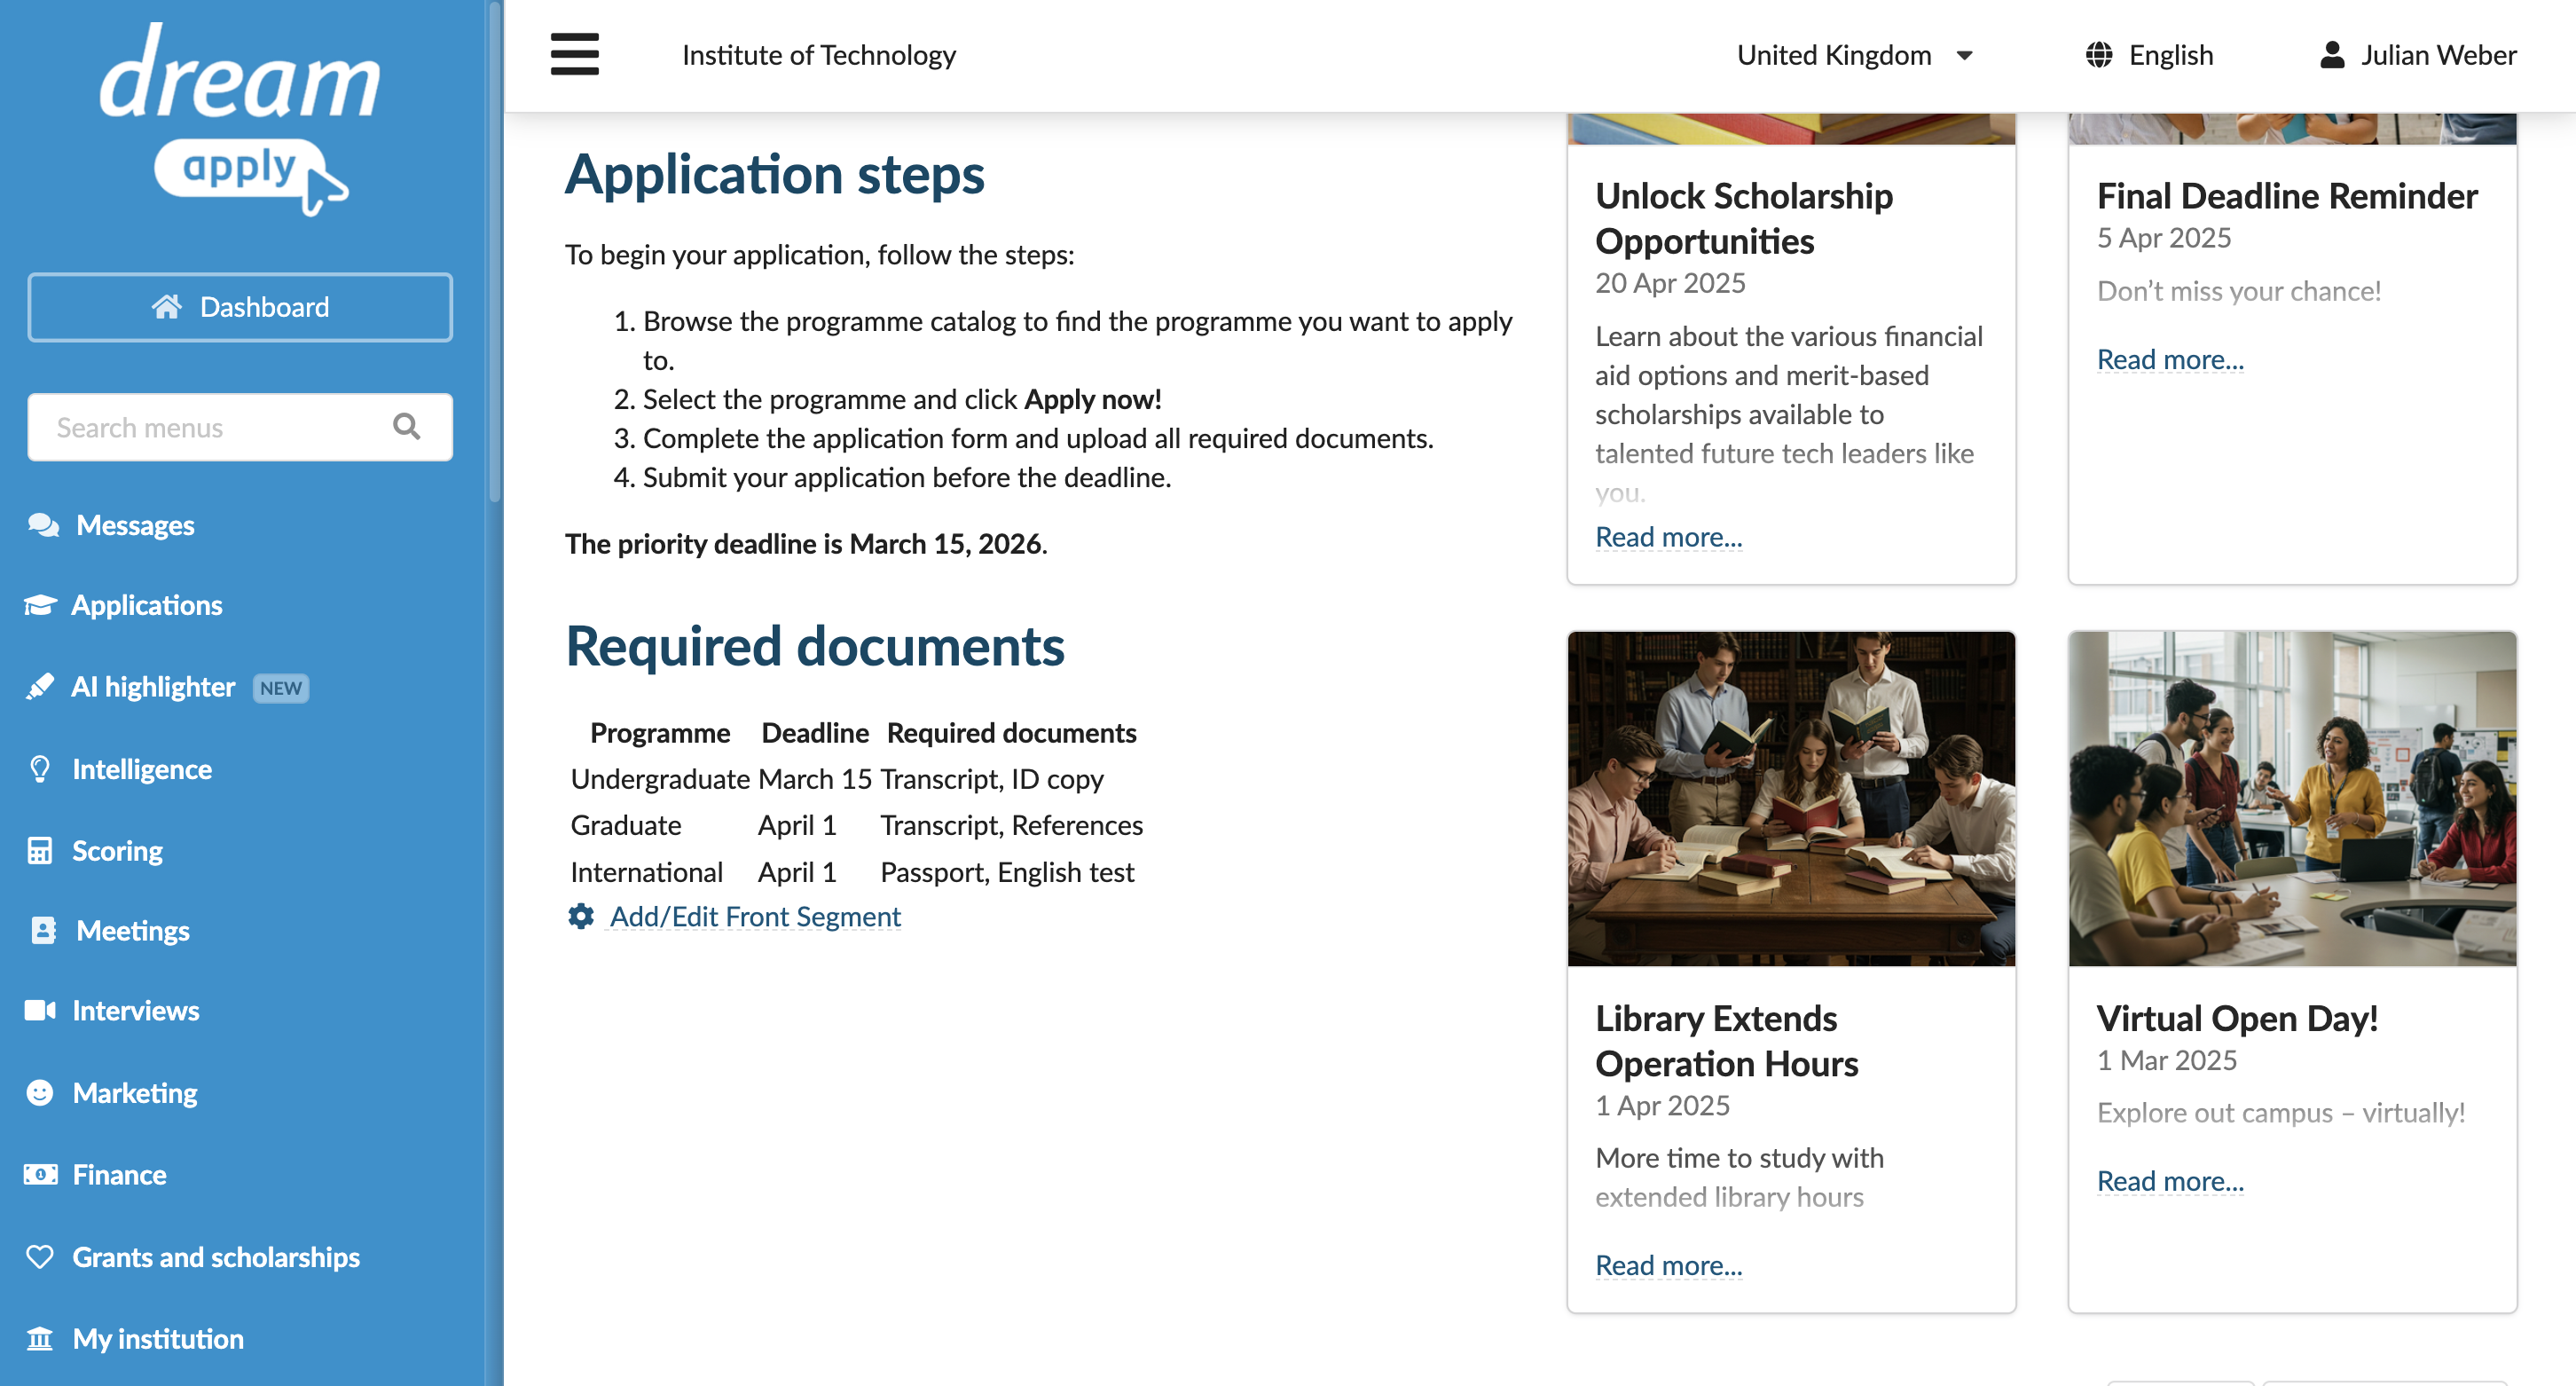
h1. Required documents
| Programme | Deadline | Required documents |
| Undergraduate | March 15 | Transcript, ID copy |
| Graduate | April 1 | Transcript, References |
| International | April 1 | Passport, English test |
...
Step 7. Use table formatting options
Apply additional formatting inside table cells. For example, use |_. to define and highlight a table header.
...

h1. Required documents

|^.
|_. Programme |_. Deadline |_. Required documents |
|~.
| Undergraduate | March 15 | Transcript, ID copy |
| Graduate | April 1 | Transcript, References |
| International | April 1 | Passport, English test |

...
Step 8. Use links
Use links to guide applicants to external resources. Wrap the link text in double quotes ", followed by a colon : and then provide the URL.
...

h1. Required documents

|^.
|_. Programme |_. Deadline |_. Required documents |
|~.
| Undergraduate | March 15 | Transcript, ID copy |
| Graduate | April 1 | Transcript, References |
| International | April 1 | Passport, English test |


If you need help, contact "Admissions support":mailto:support@your-uni.org.

...